Setting up the required environment.
In this lesson, we will download the Kaspresso project, install Android studio and set up the emulator.
Download Android Studio
Android Studio is used for software development. We will need it to write and run autotests.
If you already have Android Studio installed, skip this step. If not, then follow the link and click Download Android Studio.
Run the downloaded file and go through all the steps of the initial setup of the studio. You can use the official manual or the official codelabs manual in case of problems.
After Android Studio is downloaded, run it.
Downloading the Kaspresso project
To download a project, you must have the GIT version control system installed on your computer. You can download GIT and learn more about it here.
Once GIT is installed, you will be able to download the project. To do this, follow the link.
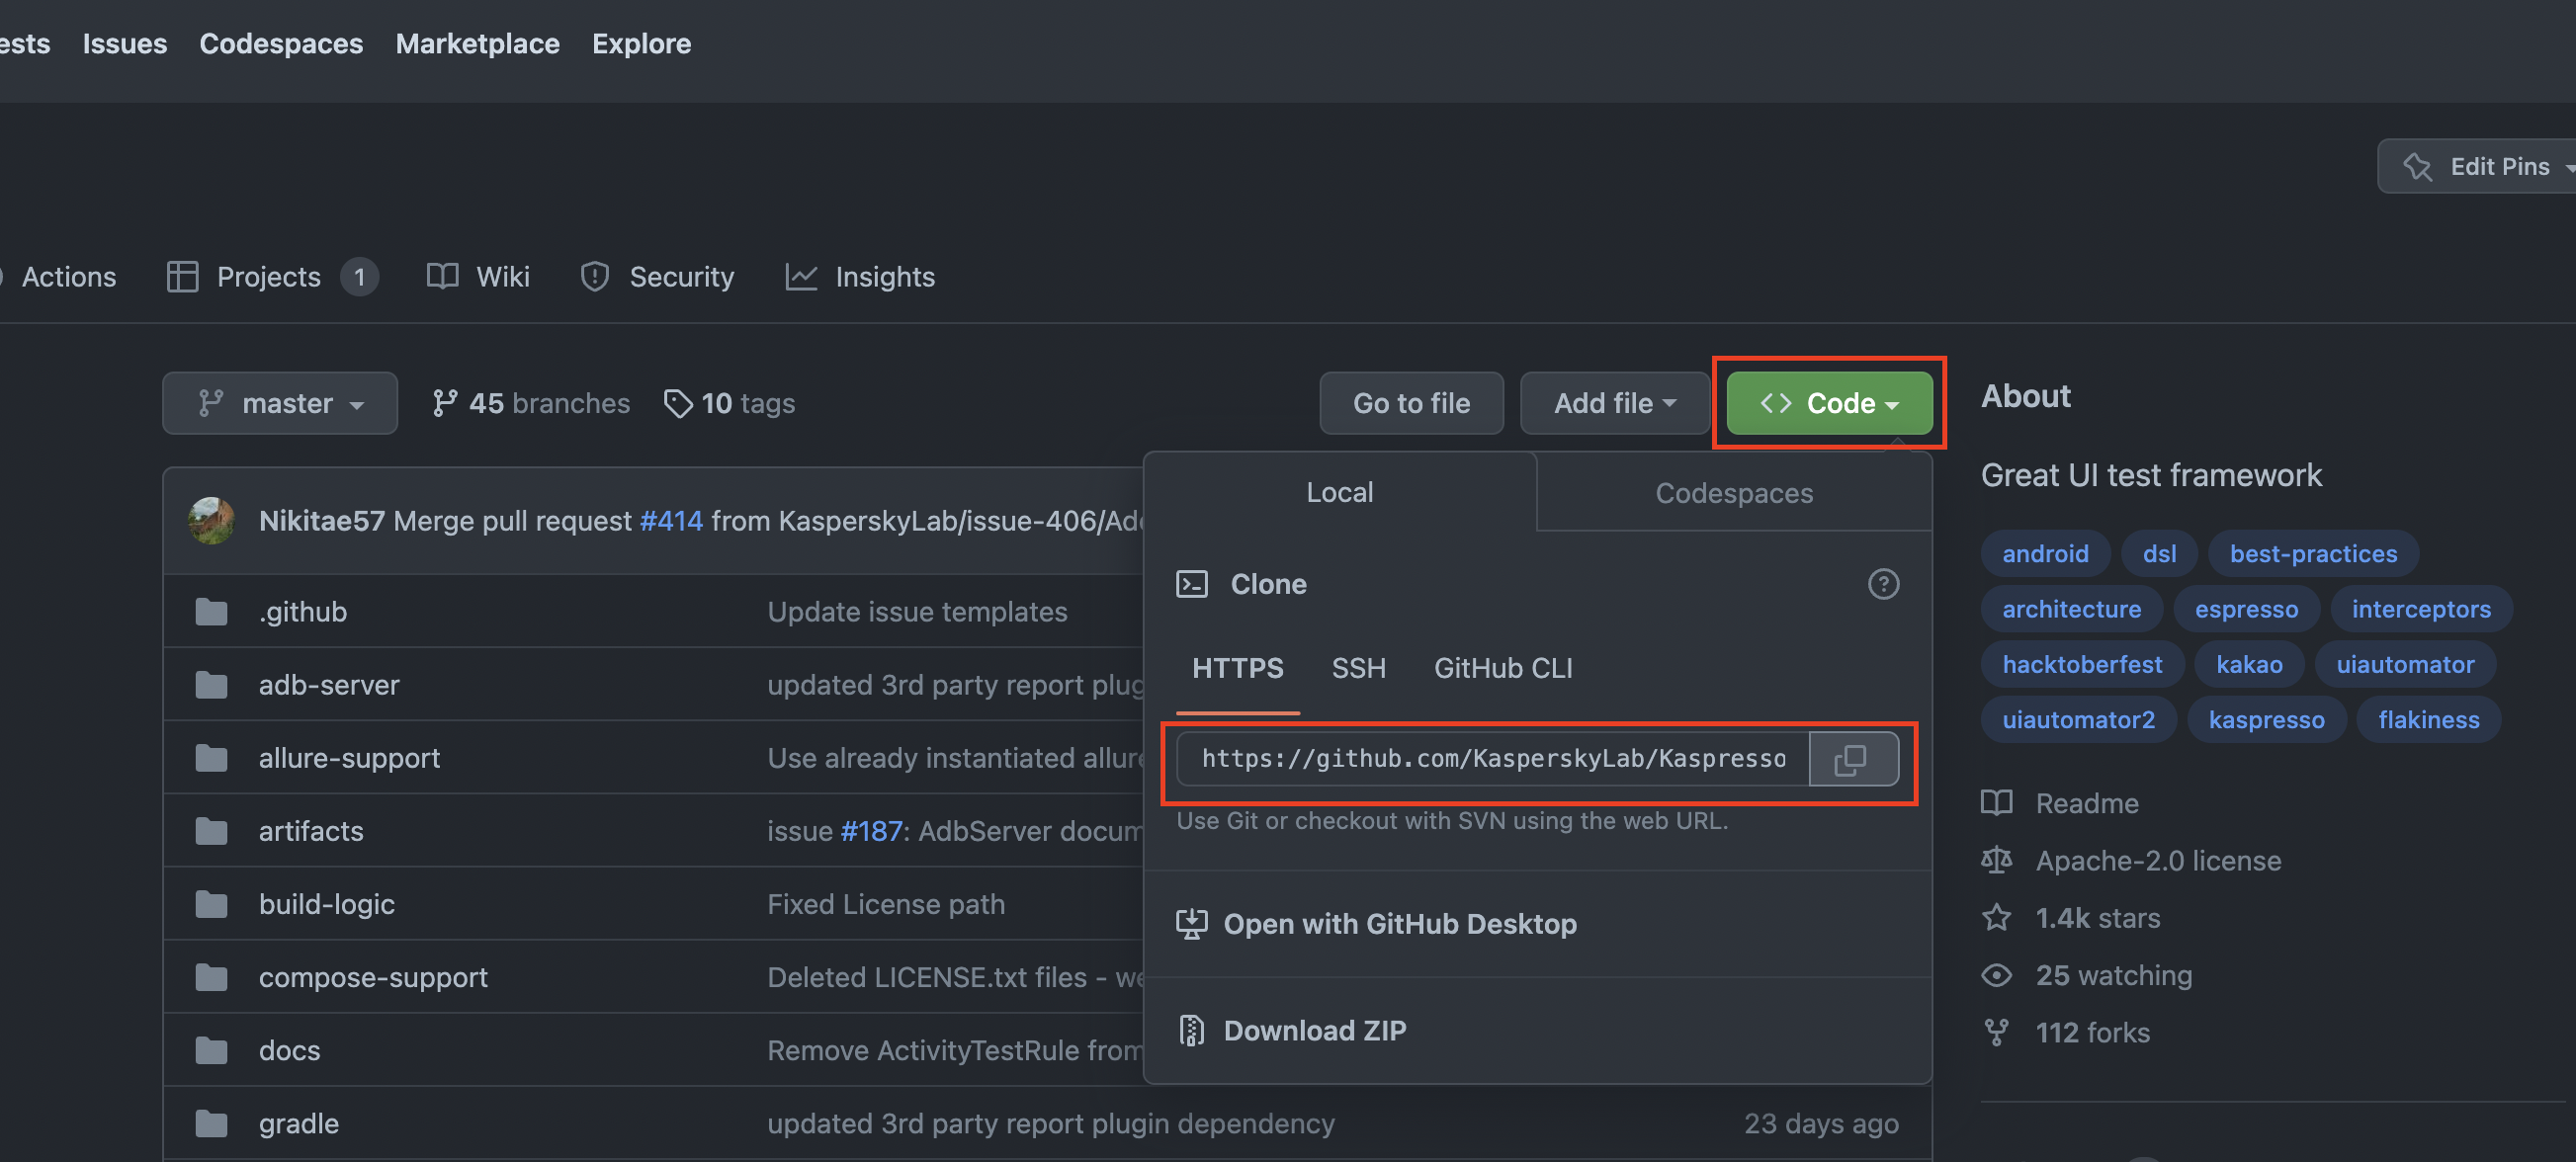
Click the Code button and copy the link to the repository
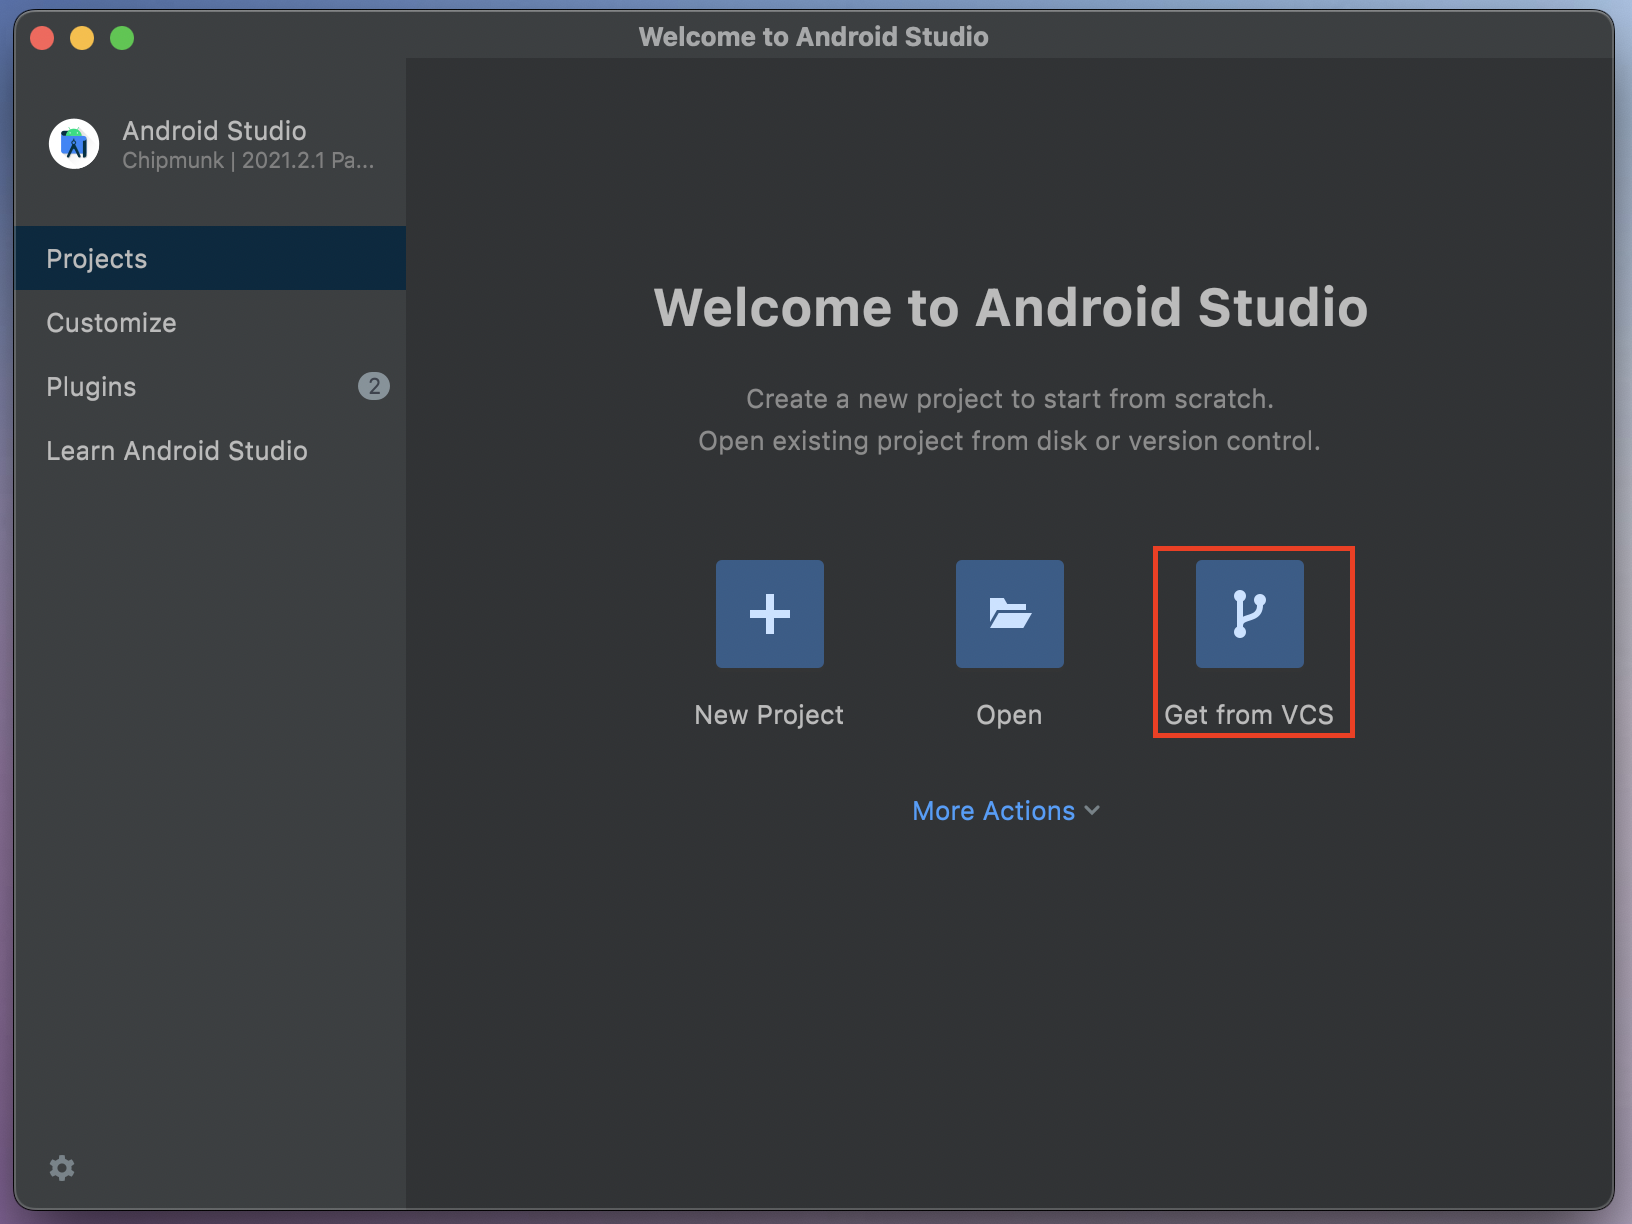
Open Android Studio.
If you have not previously opened any project in the studio, then you must select the Get From VCS item
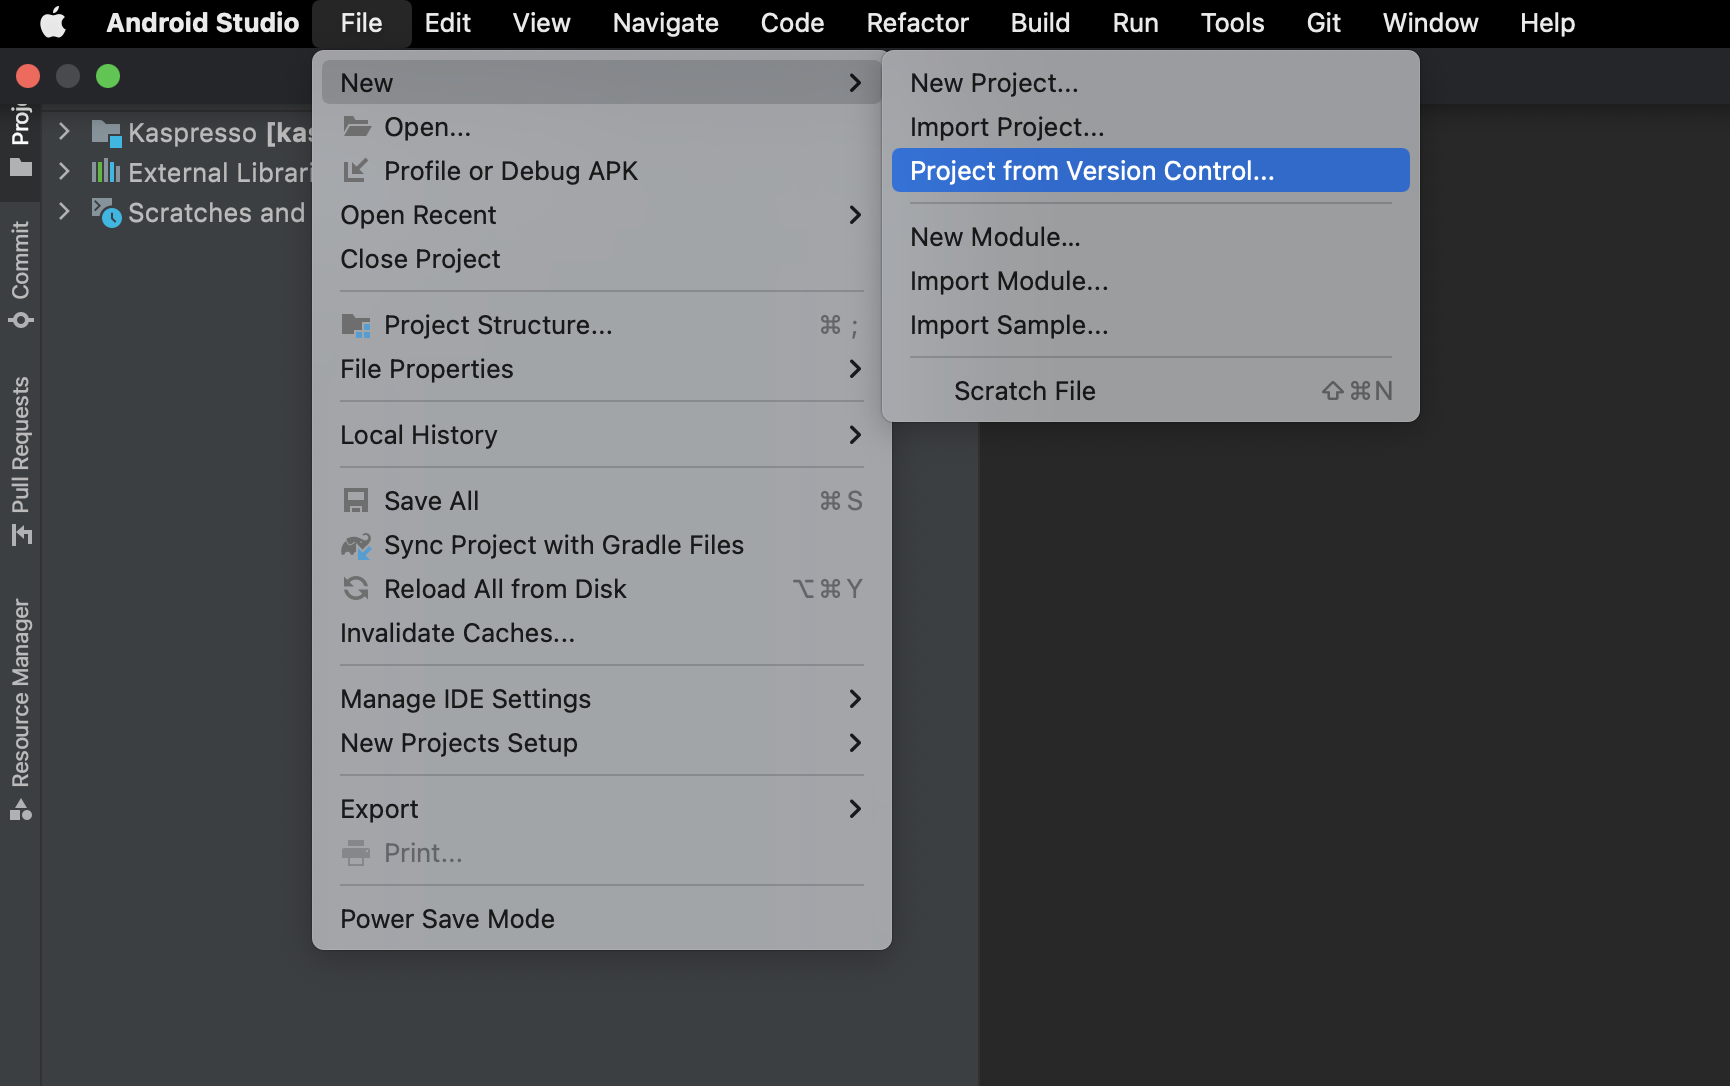
If a project has already been launched, then you can load a new one from GIT as follows: File -> New -> Project From Version Control
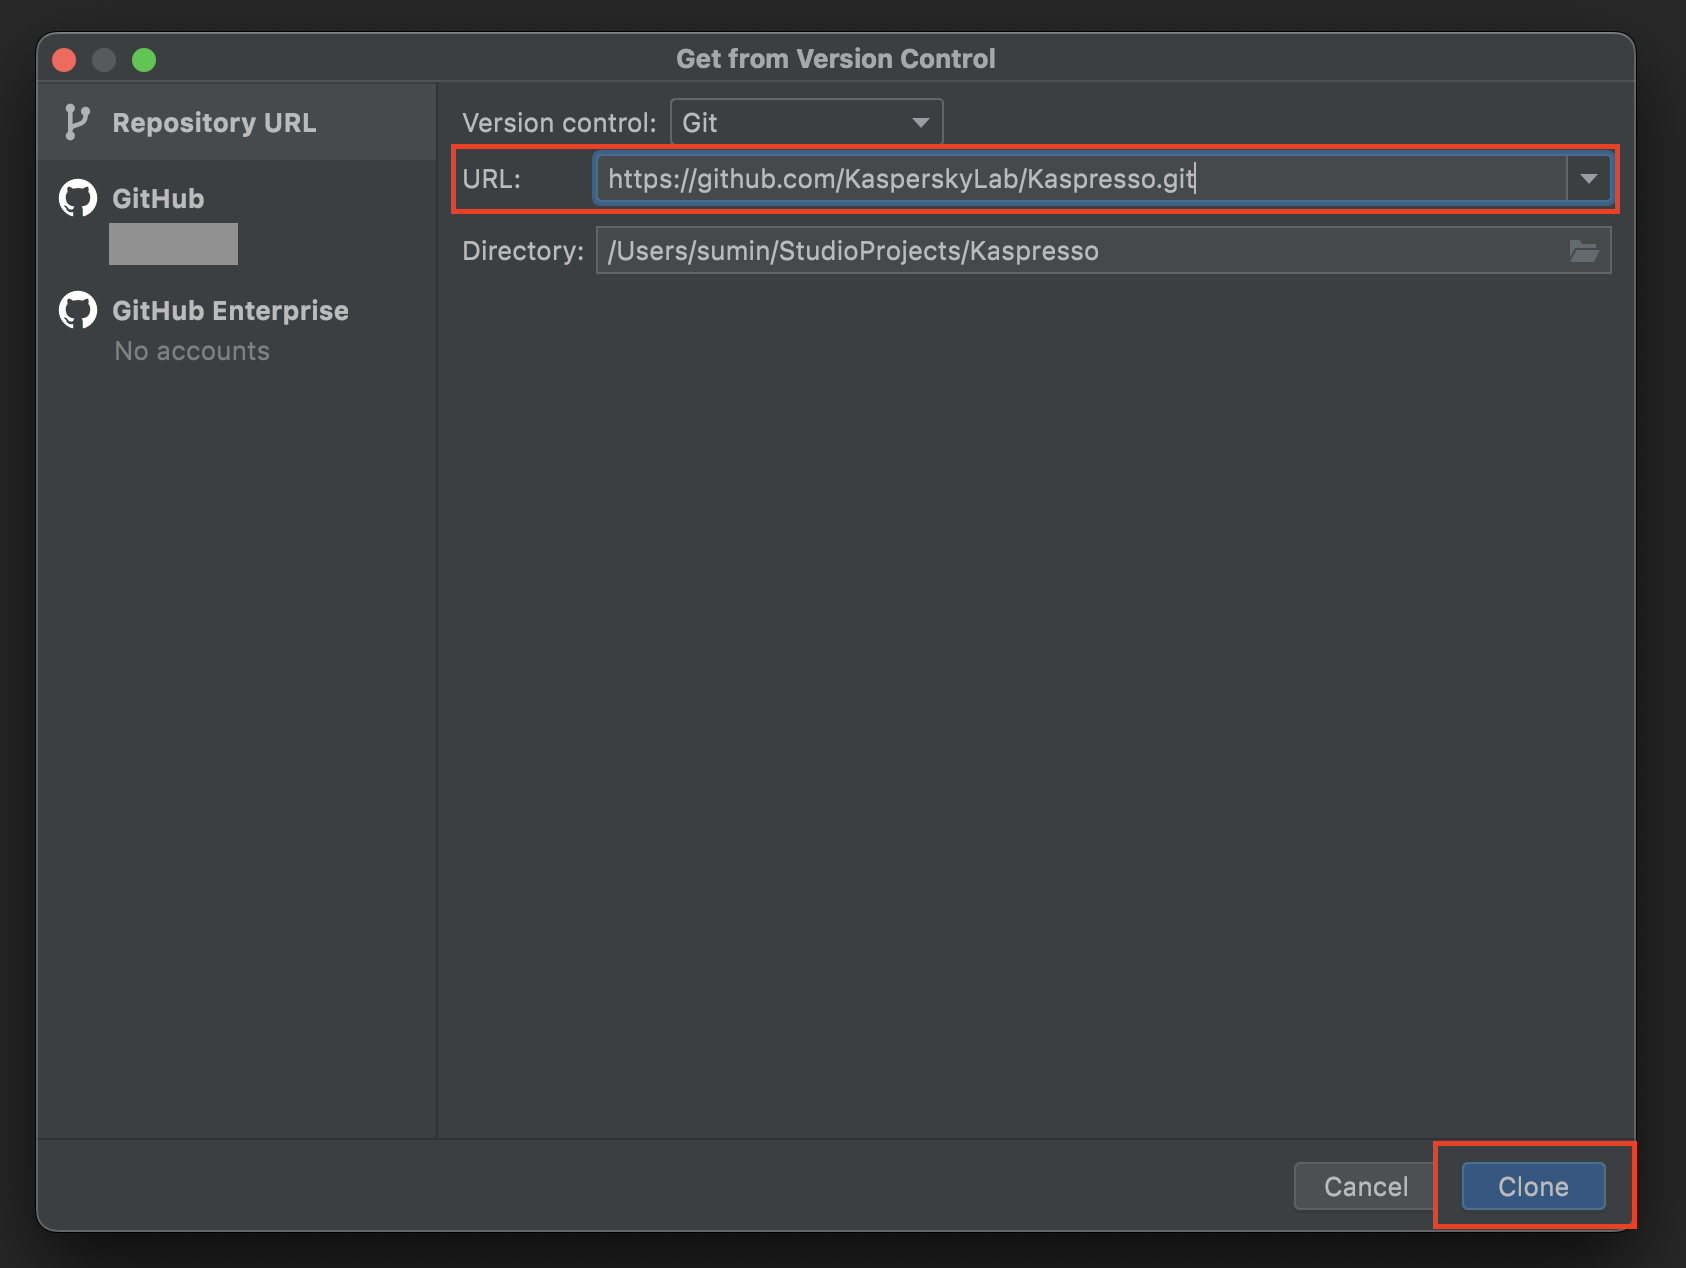
In the window that opens, enter the copied project URL, select the folder where Kaspresso will be placed and click clone.
Setting up the emulator.
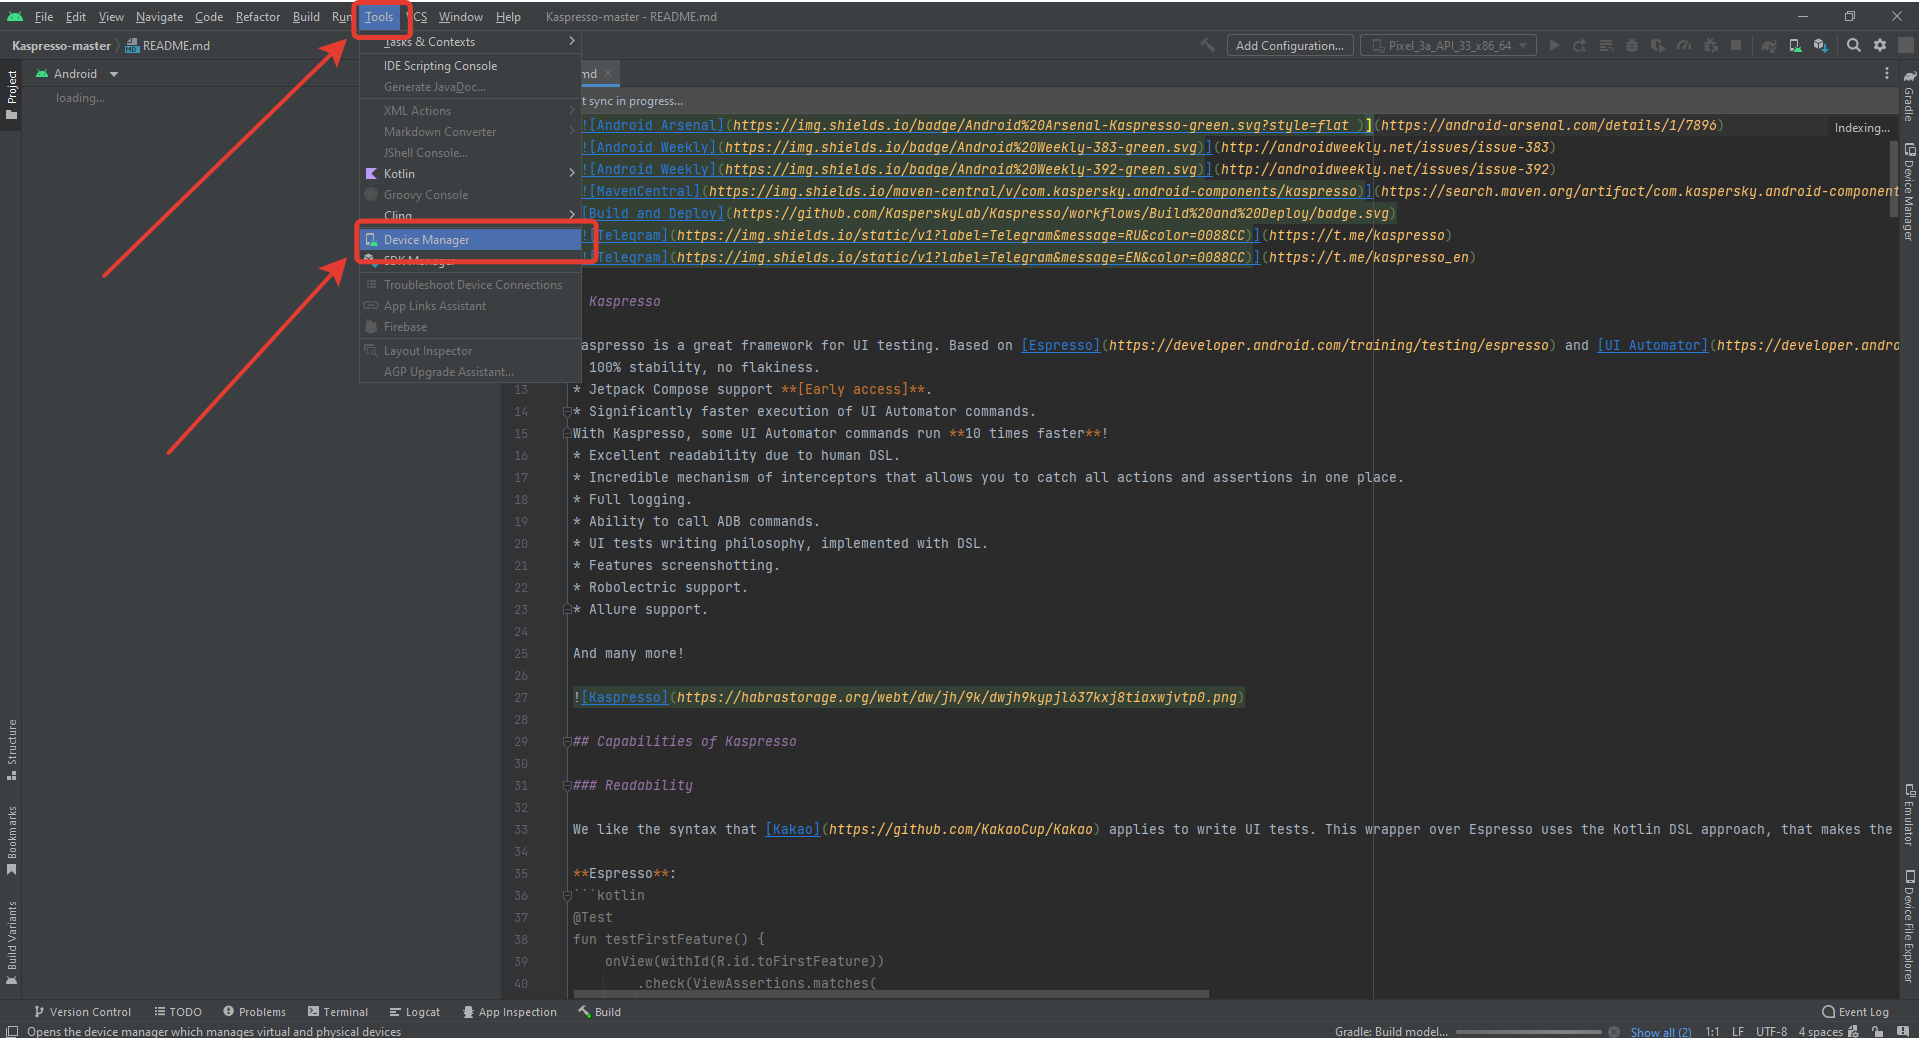
In the top menu of Android Studio, select 'Tools' -> 'Device Manager'
The tab for managing emulators and real devices will appear on the screen. Click on 'Create Device':
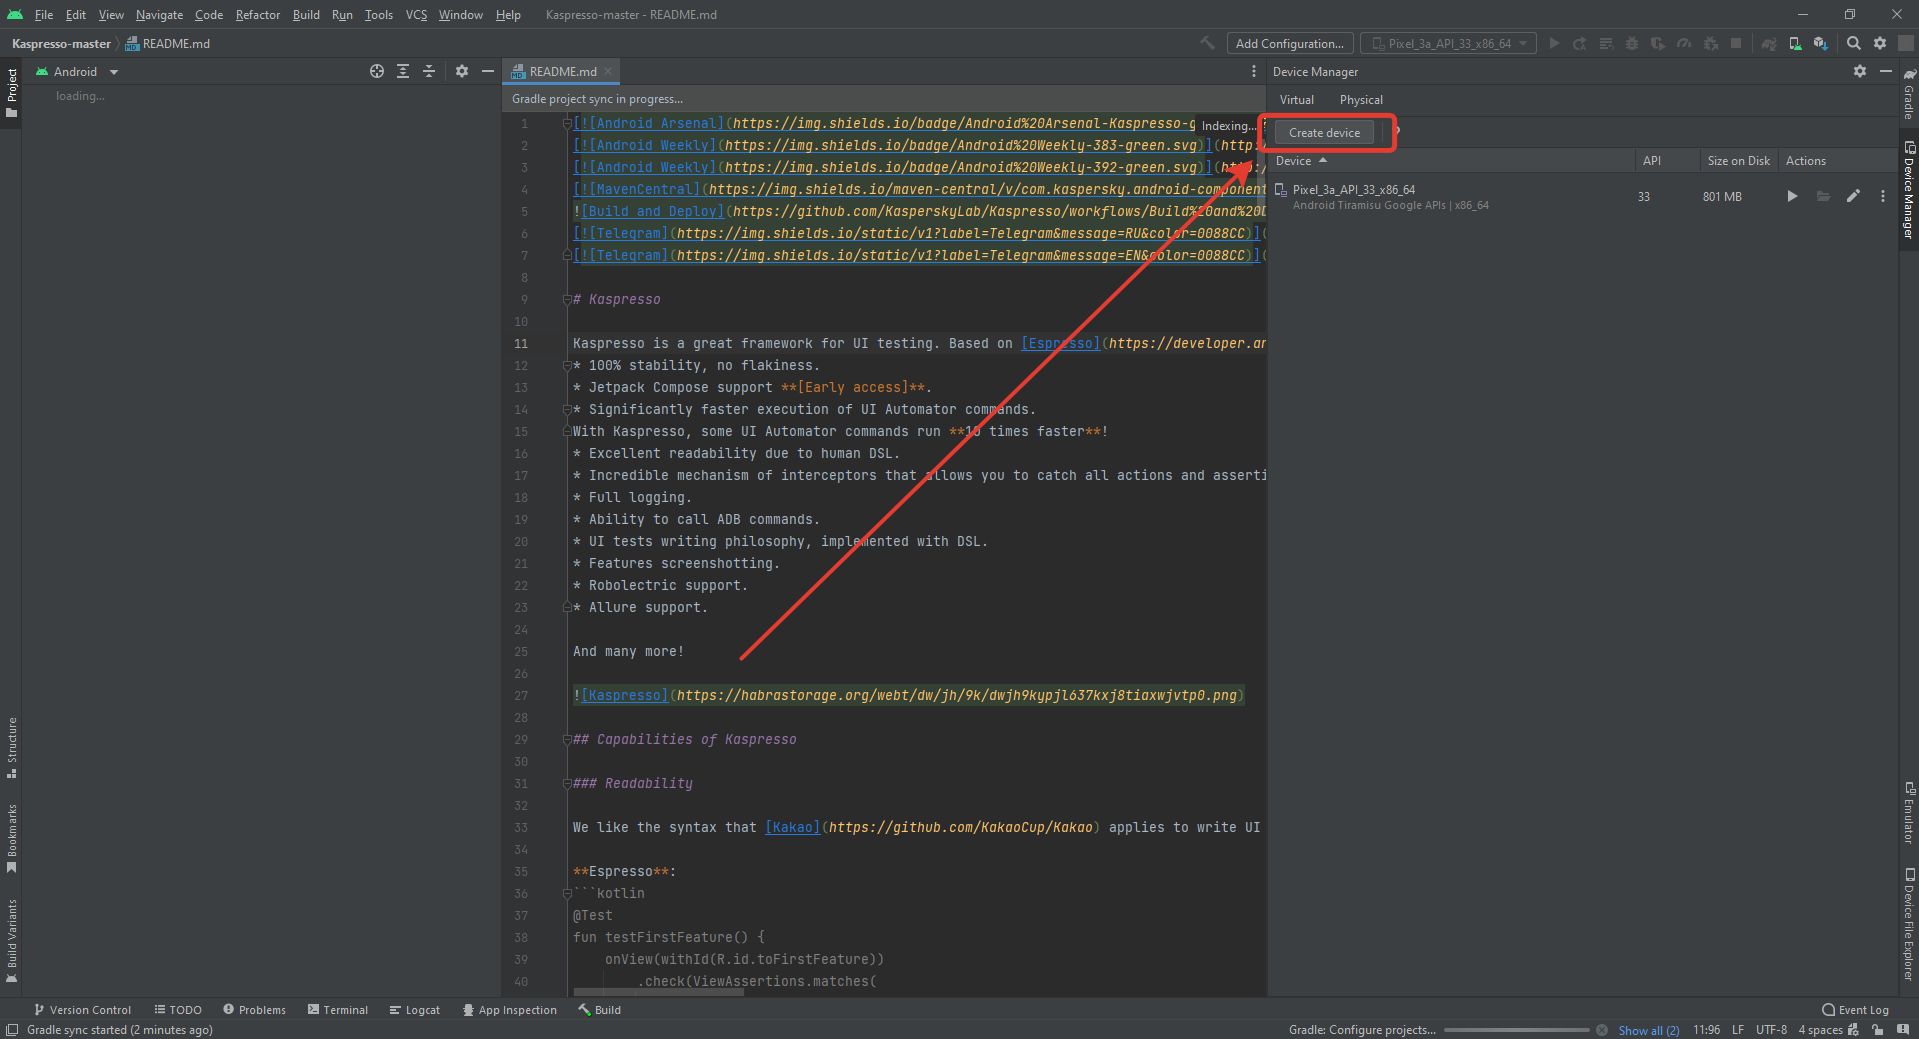
We will see the following screen:
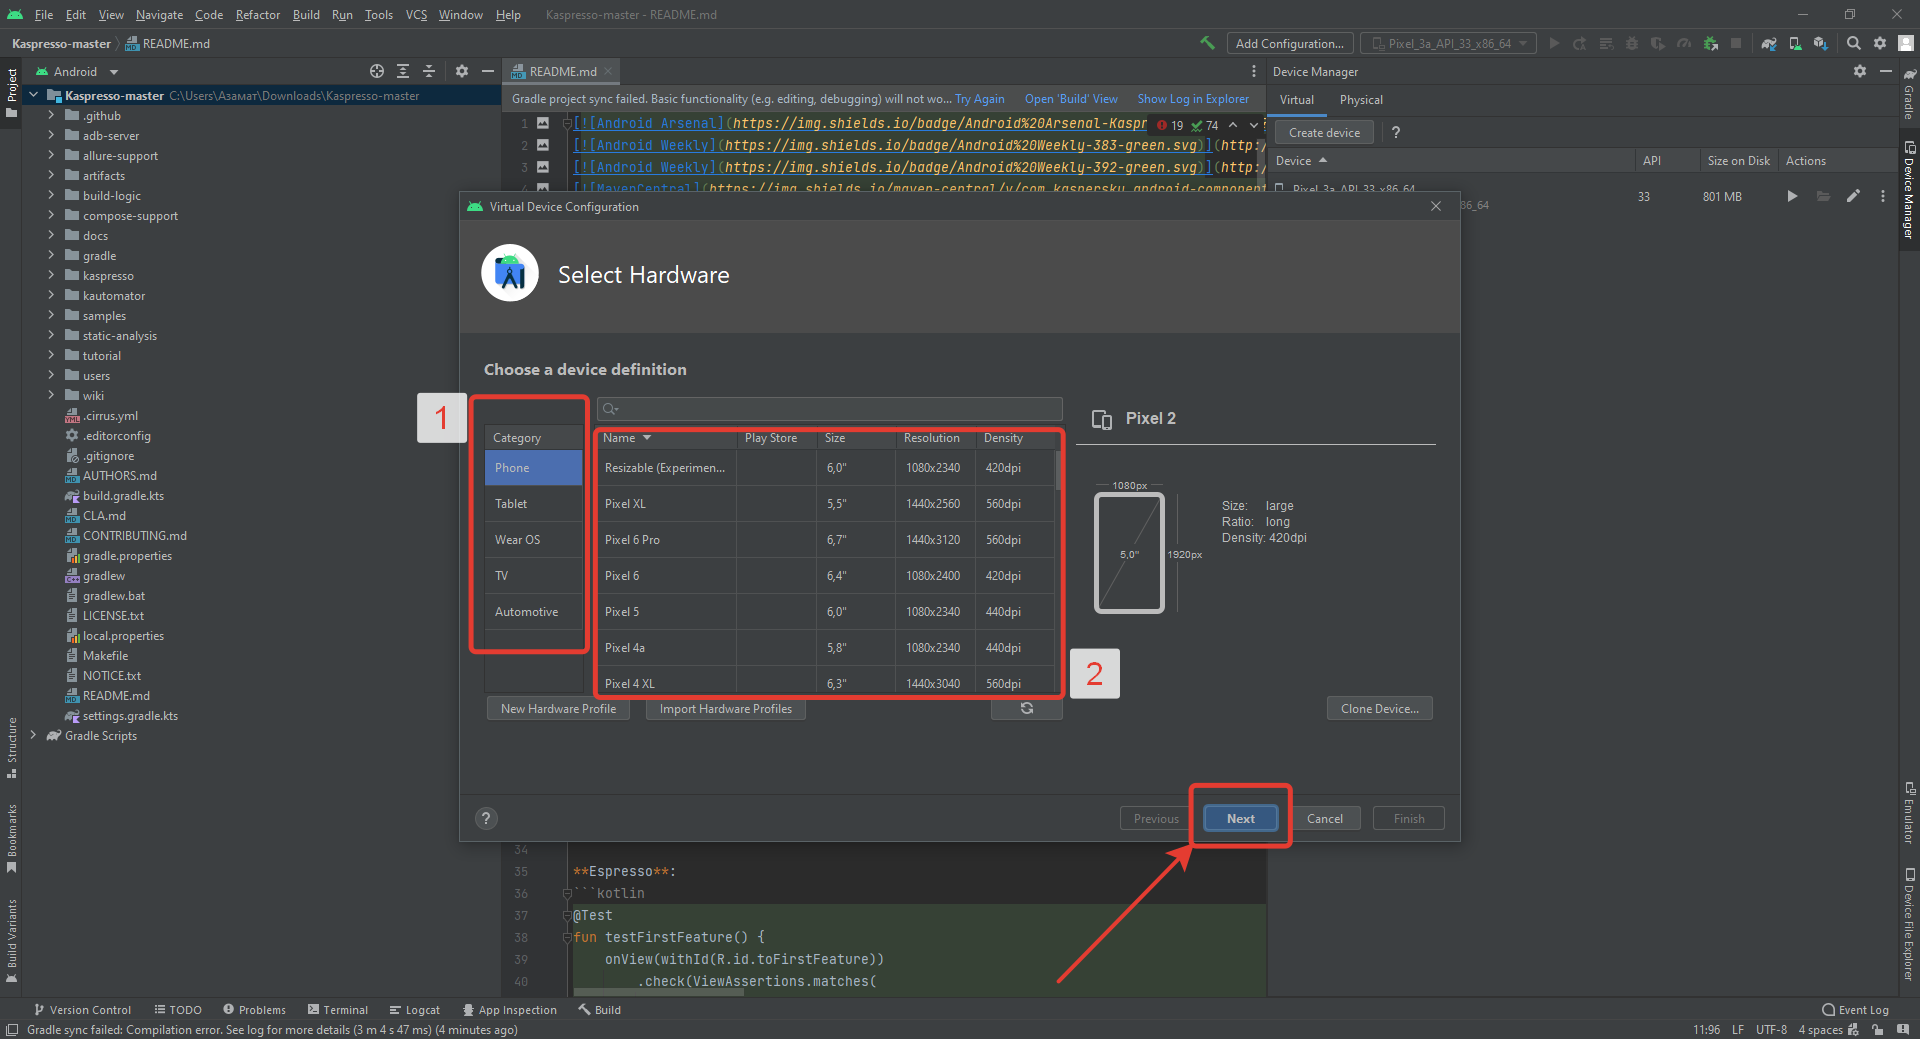
On this screen, you can set the characteristics of the hardware you want to emulate. In section "1" you can select phone, tablet, TV and so on. For the purposes of this tutorial we will be working with the "phone" type. In section "2" you can select a specific model. Within the scope of this guide, it makes no difference which one to choose. Choose 'Pixel 6'. Click 'Next' and get to the operating system image selection window:
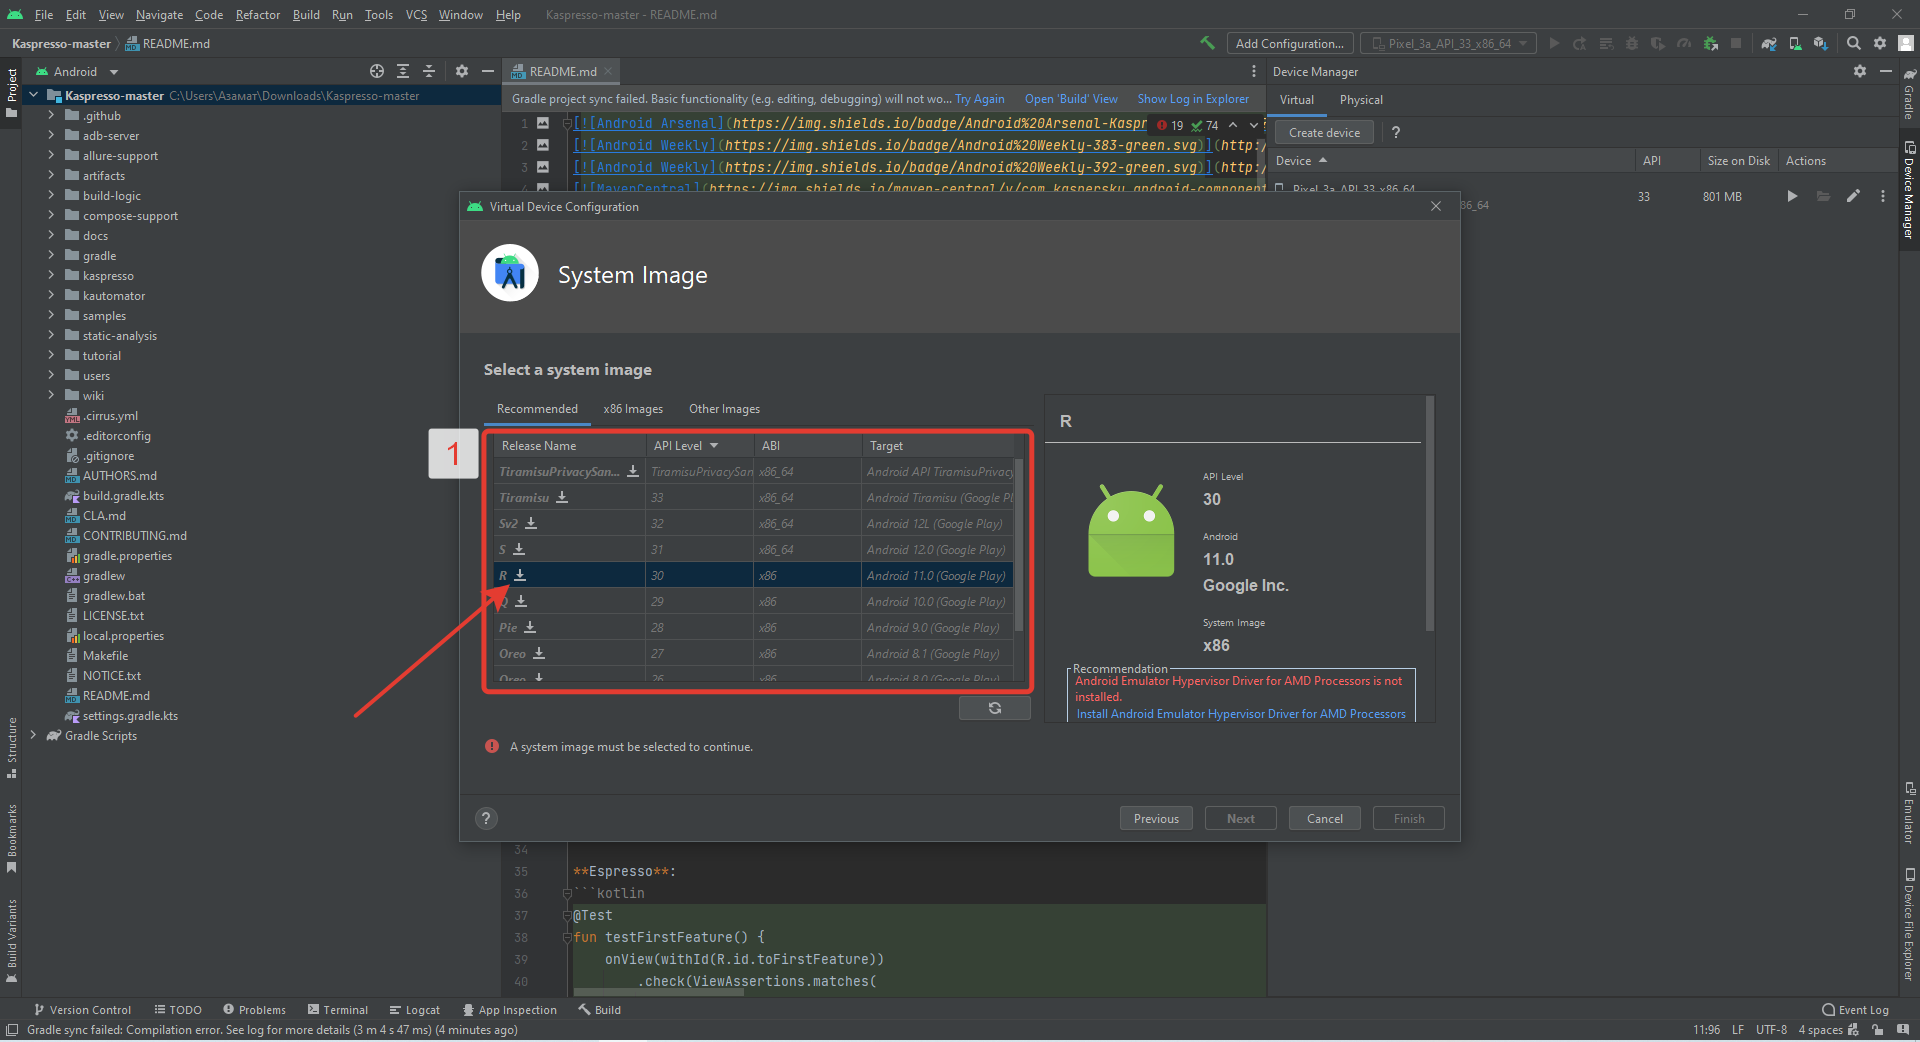
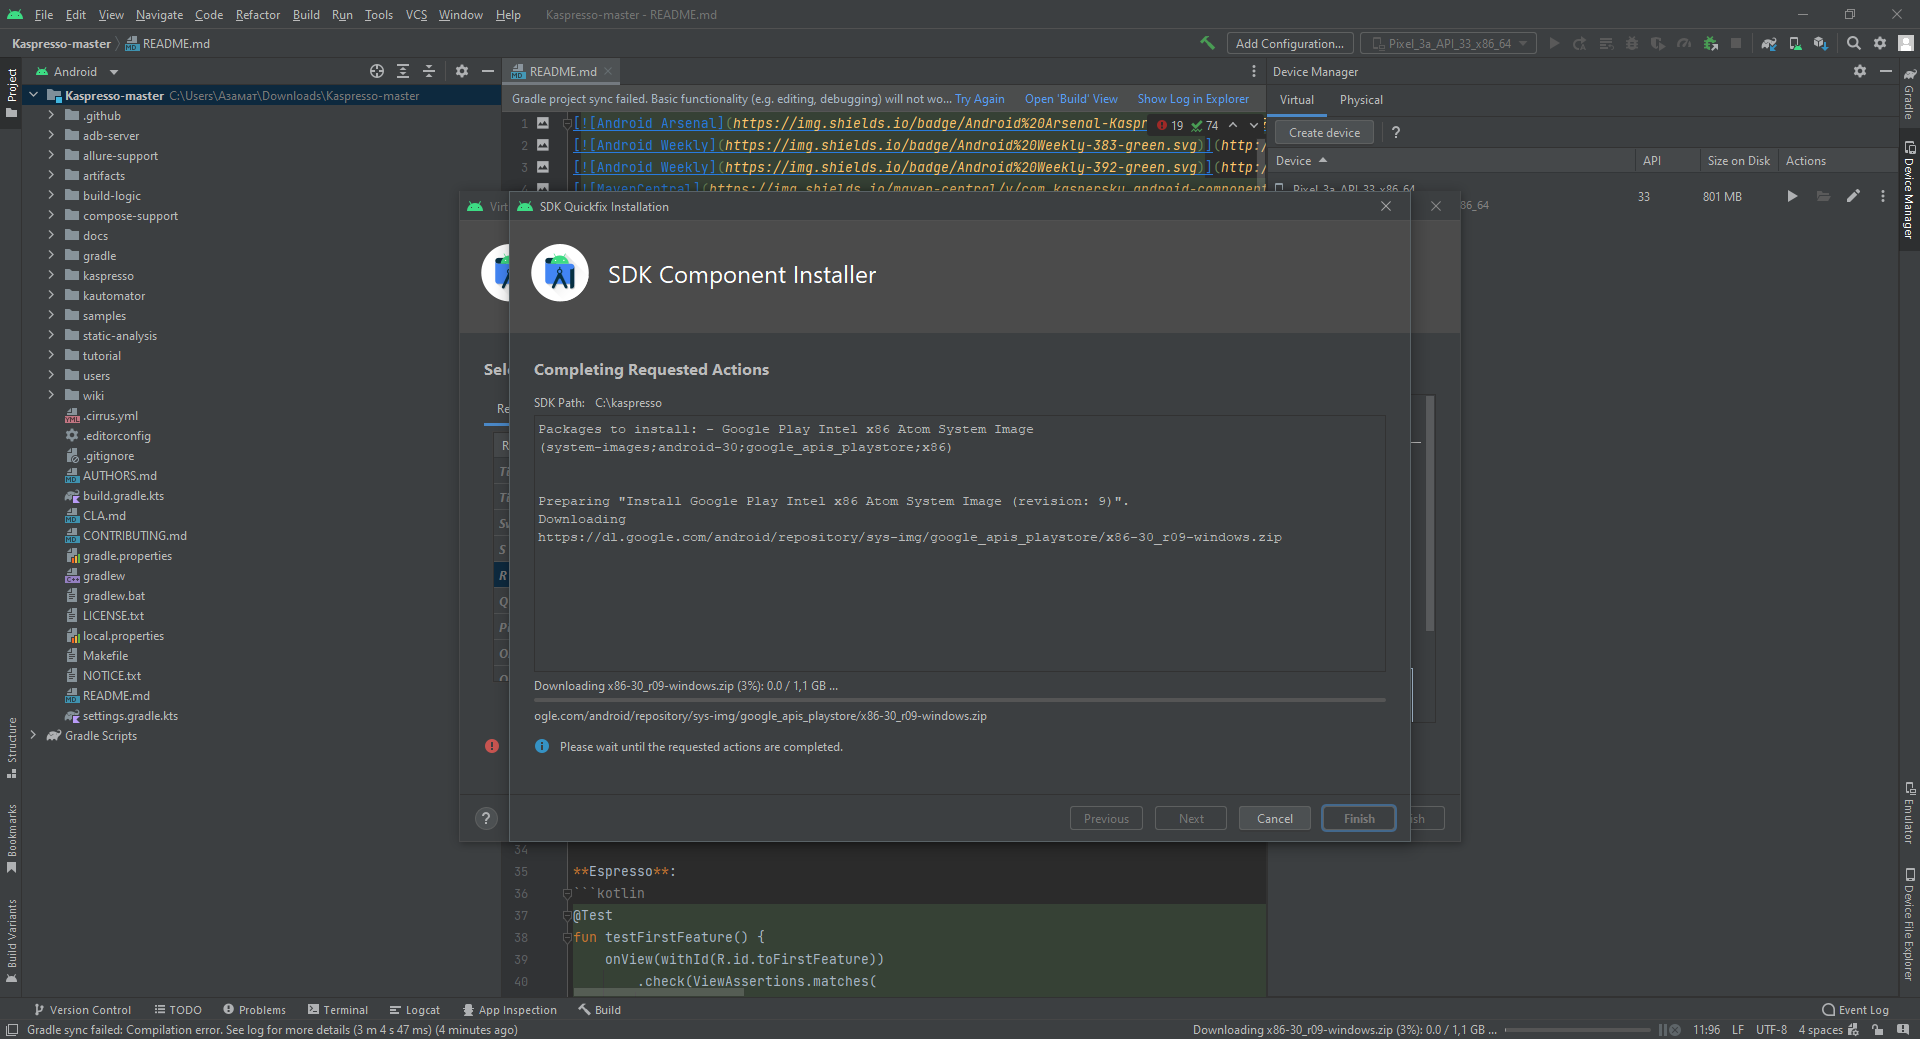
This screen is more important for regular work and lets you choose which version of Android to install on the emulator. Let's choose 'R'. Click on the download icon to the right of the letter 'R', go through the installation process and wait.
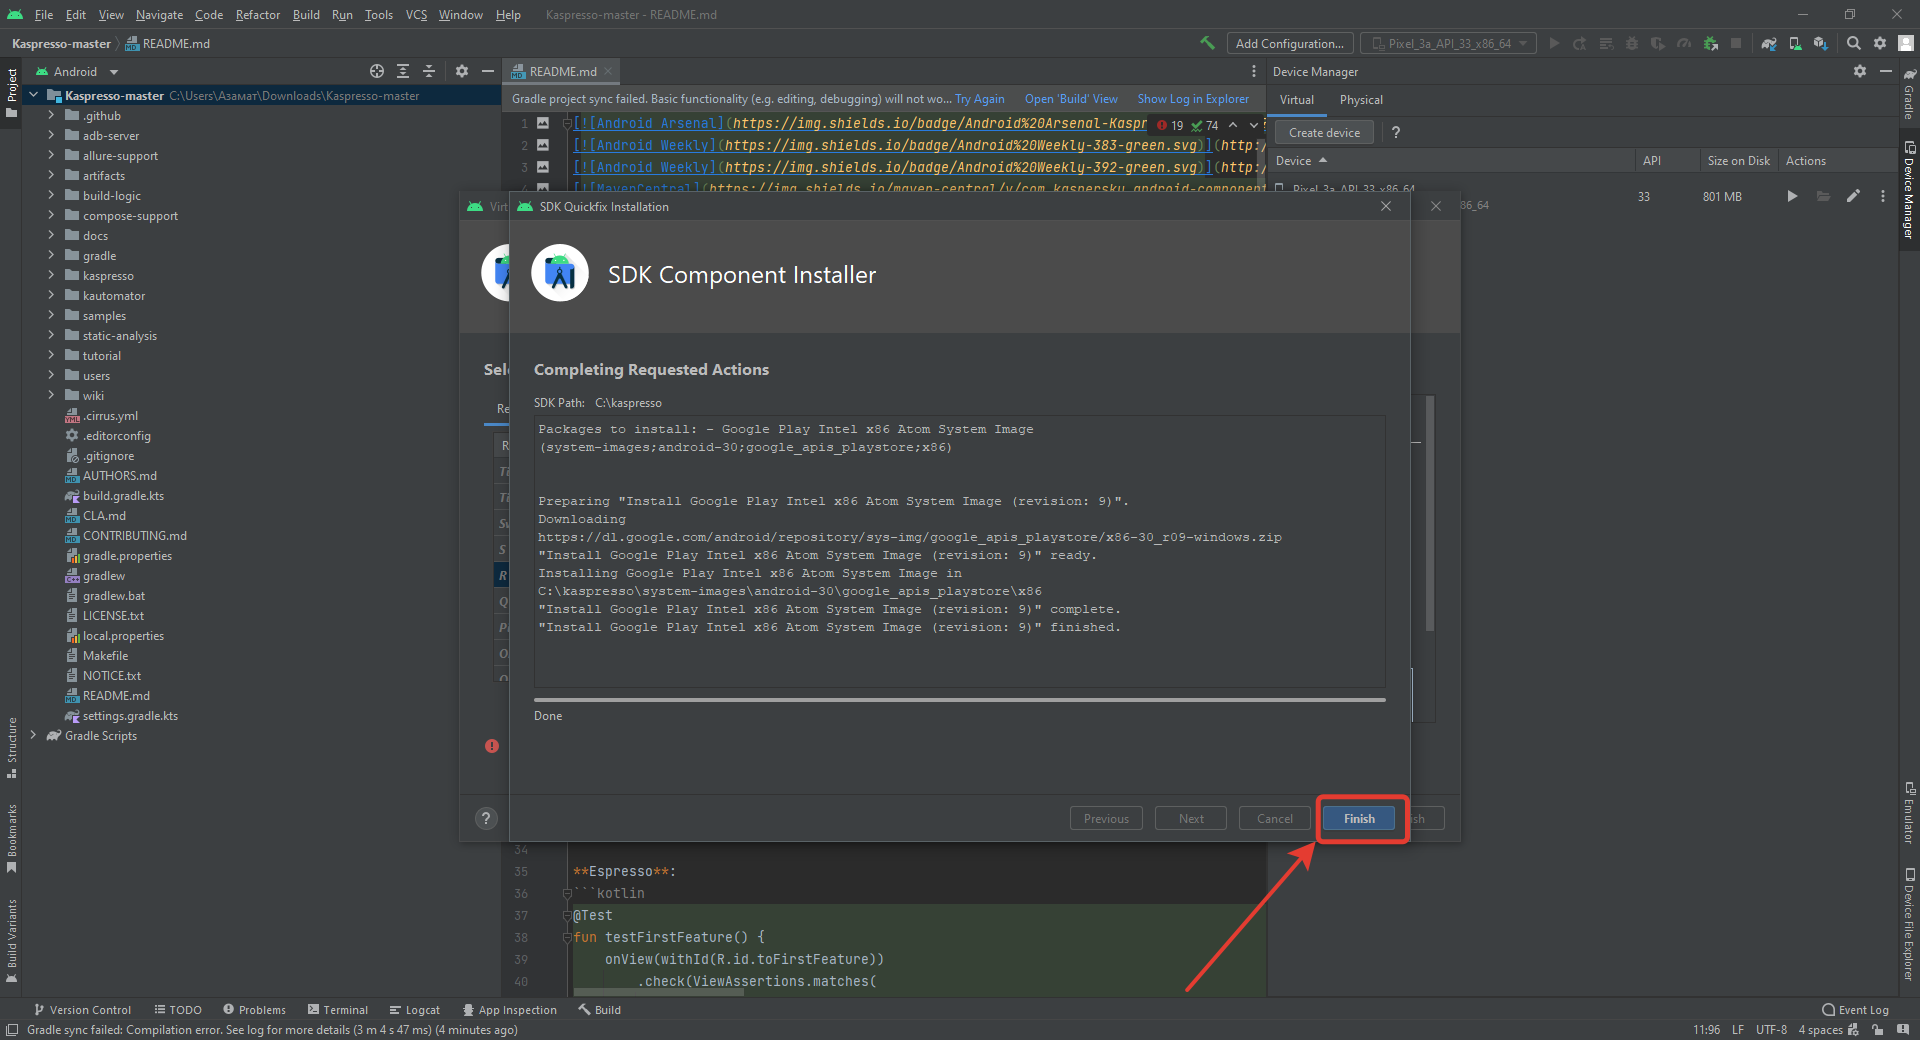
When the installation process is completed, click the Finish button:
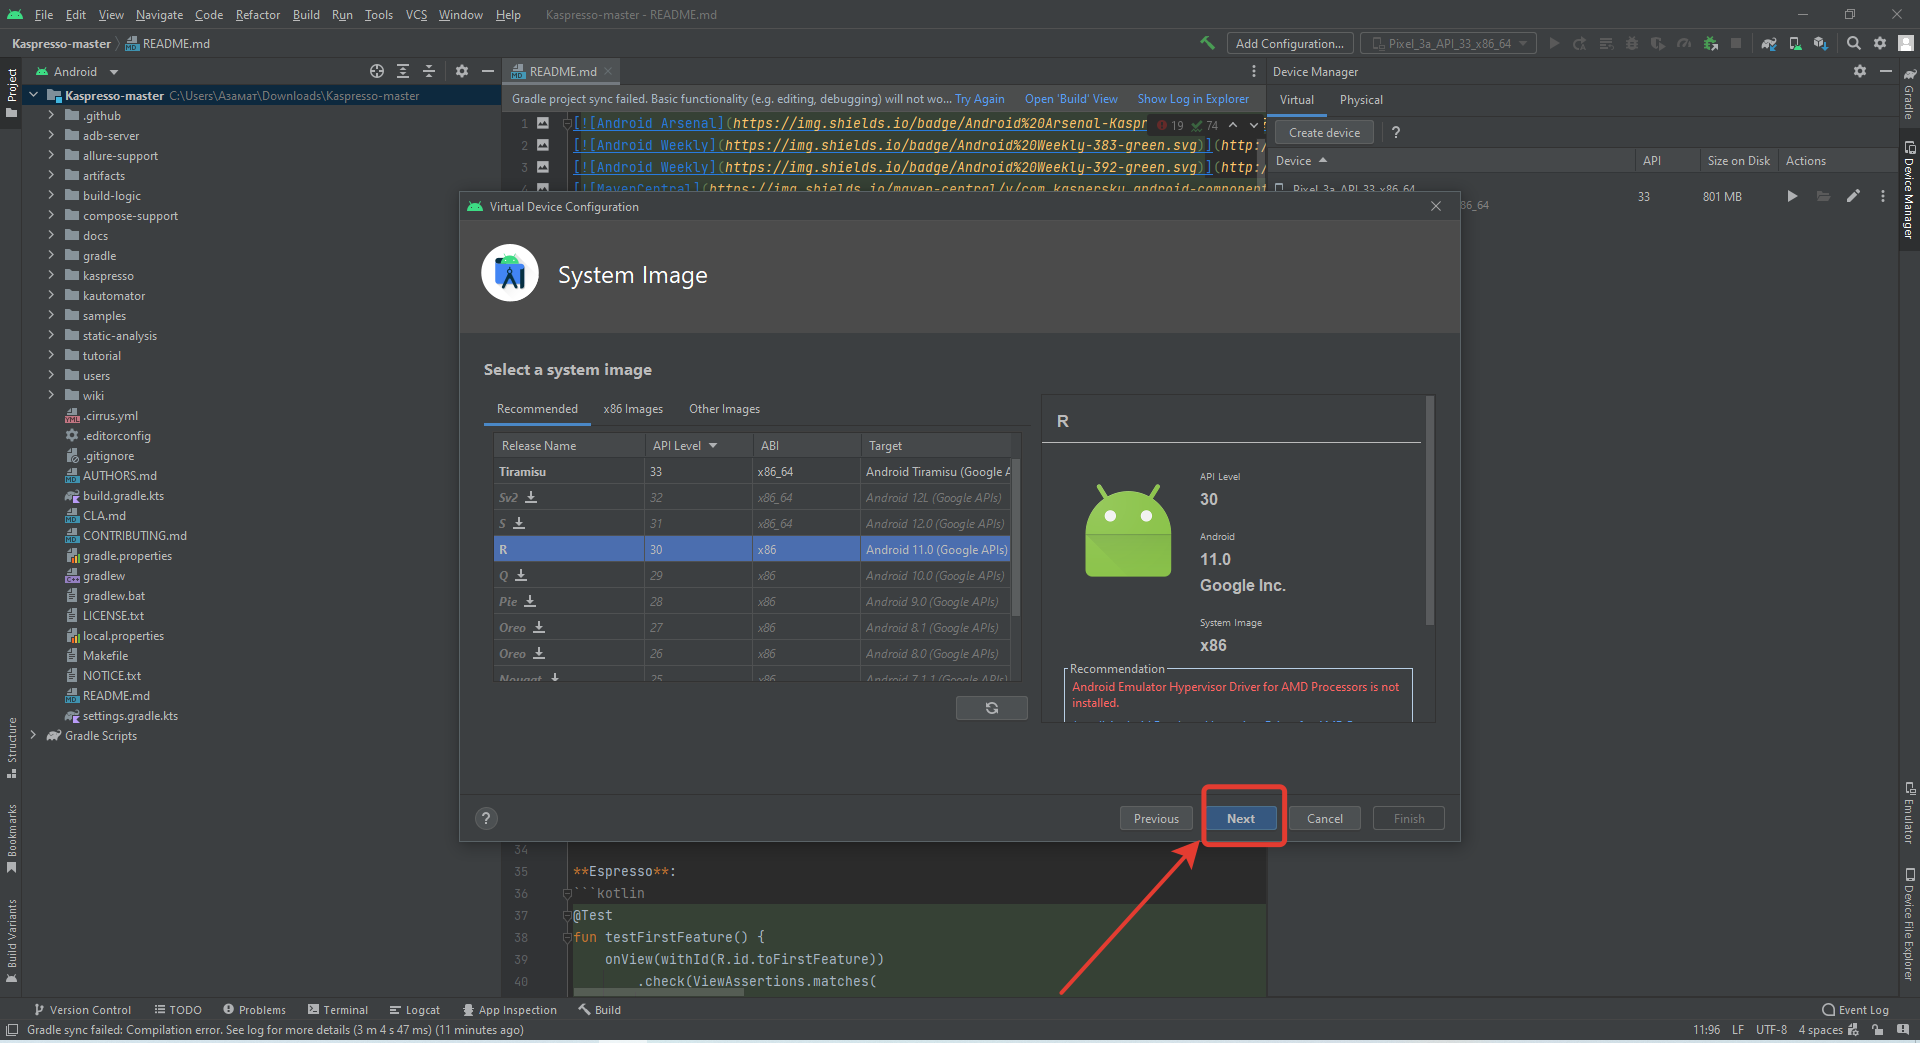
Select the installed version ('R') and click 'Next':
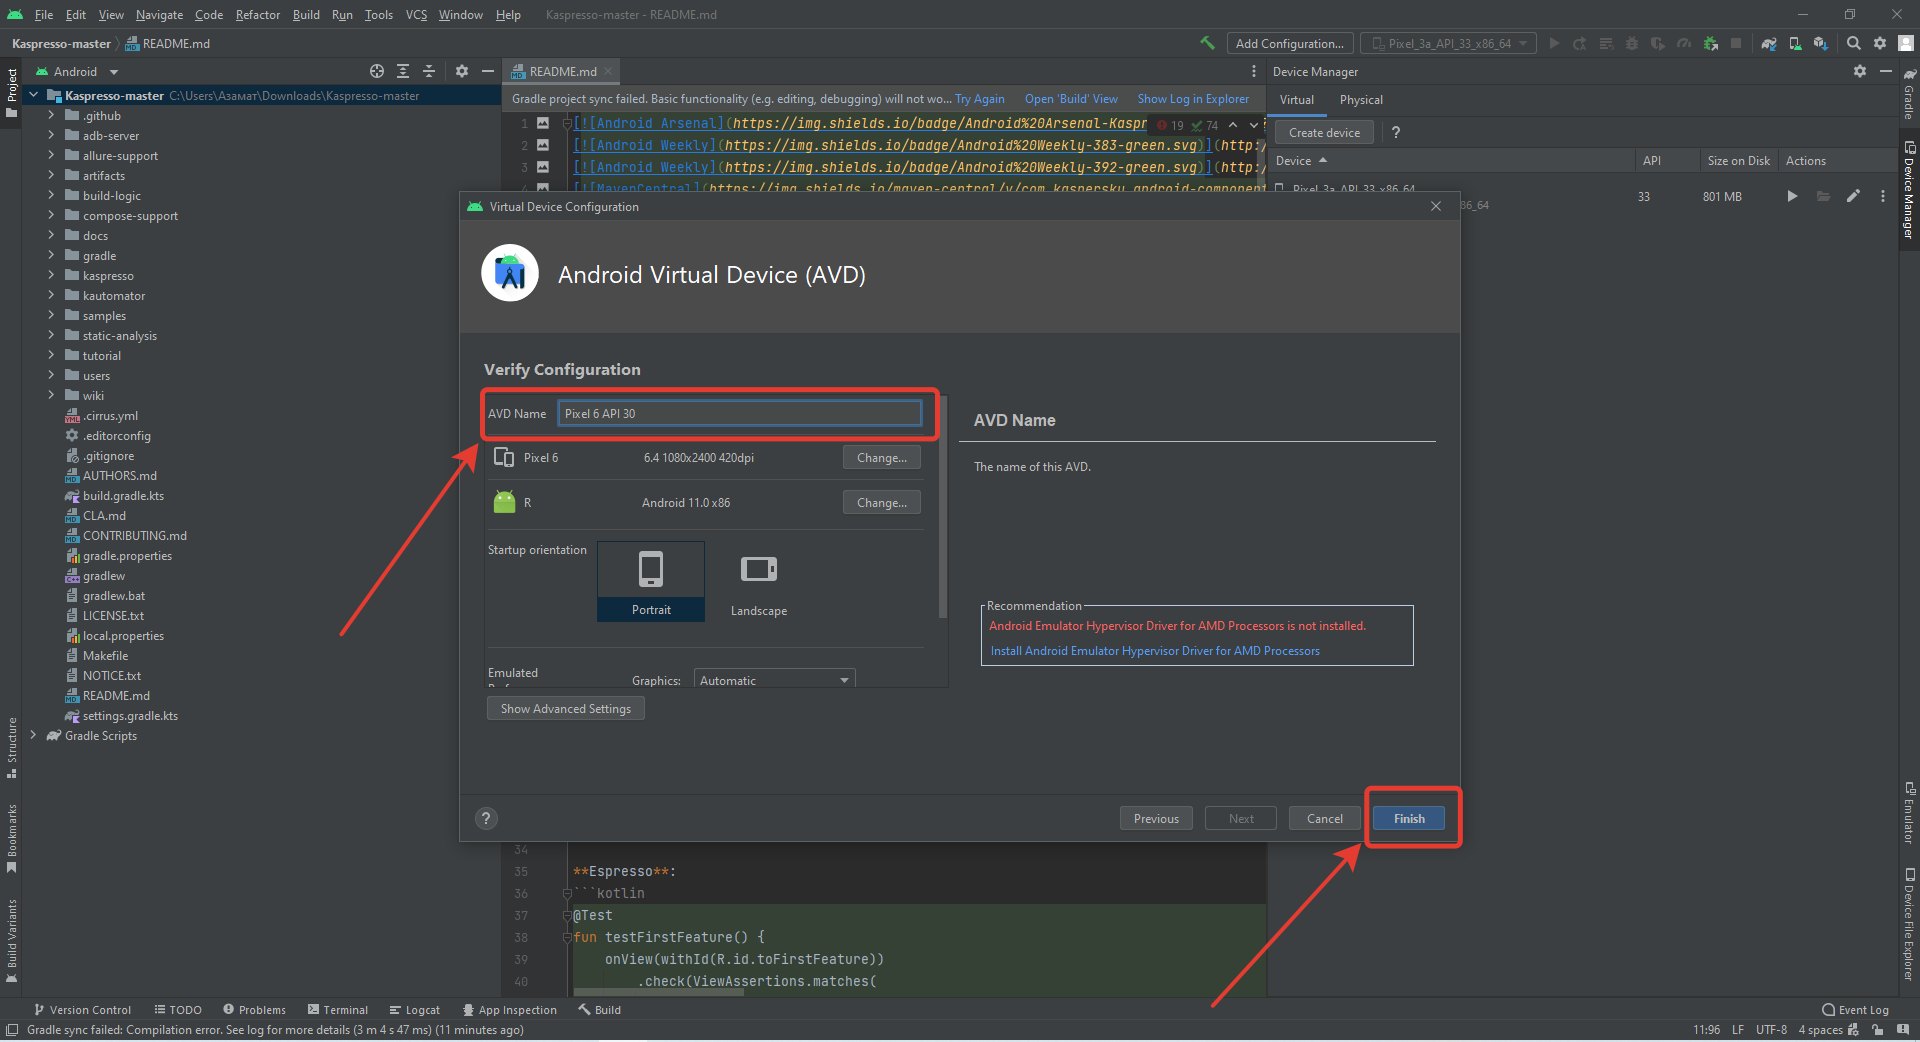
On the screen below, you can change the name of the created emulator so that it is easy to distinguish between them. The default value is fine for our purposes. Click 'Finish'.
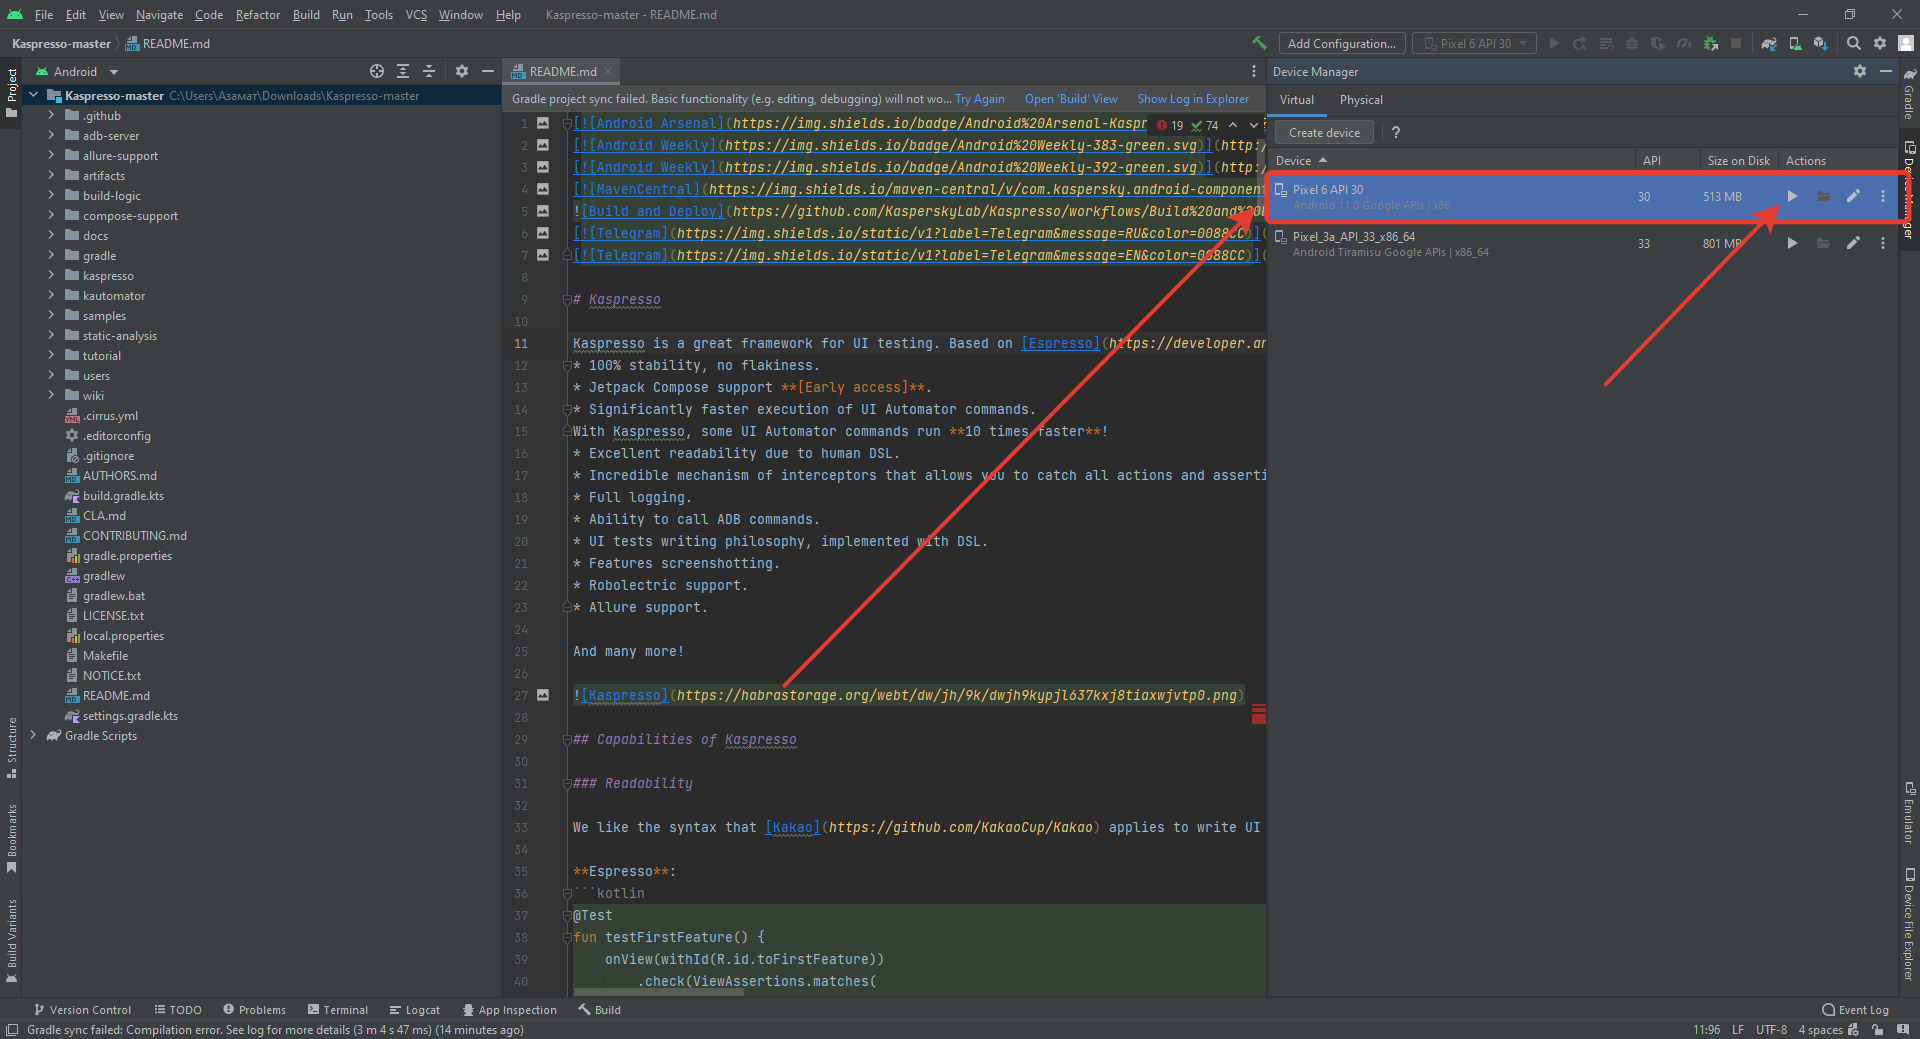
The device is set up and ready for work. We launch it by the 'Play' icon to the right of the device name:
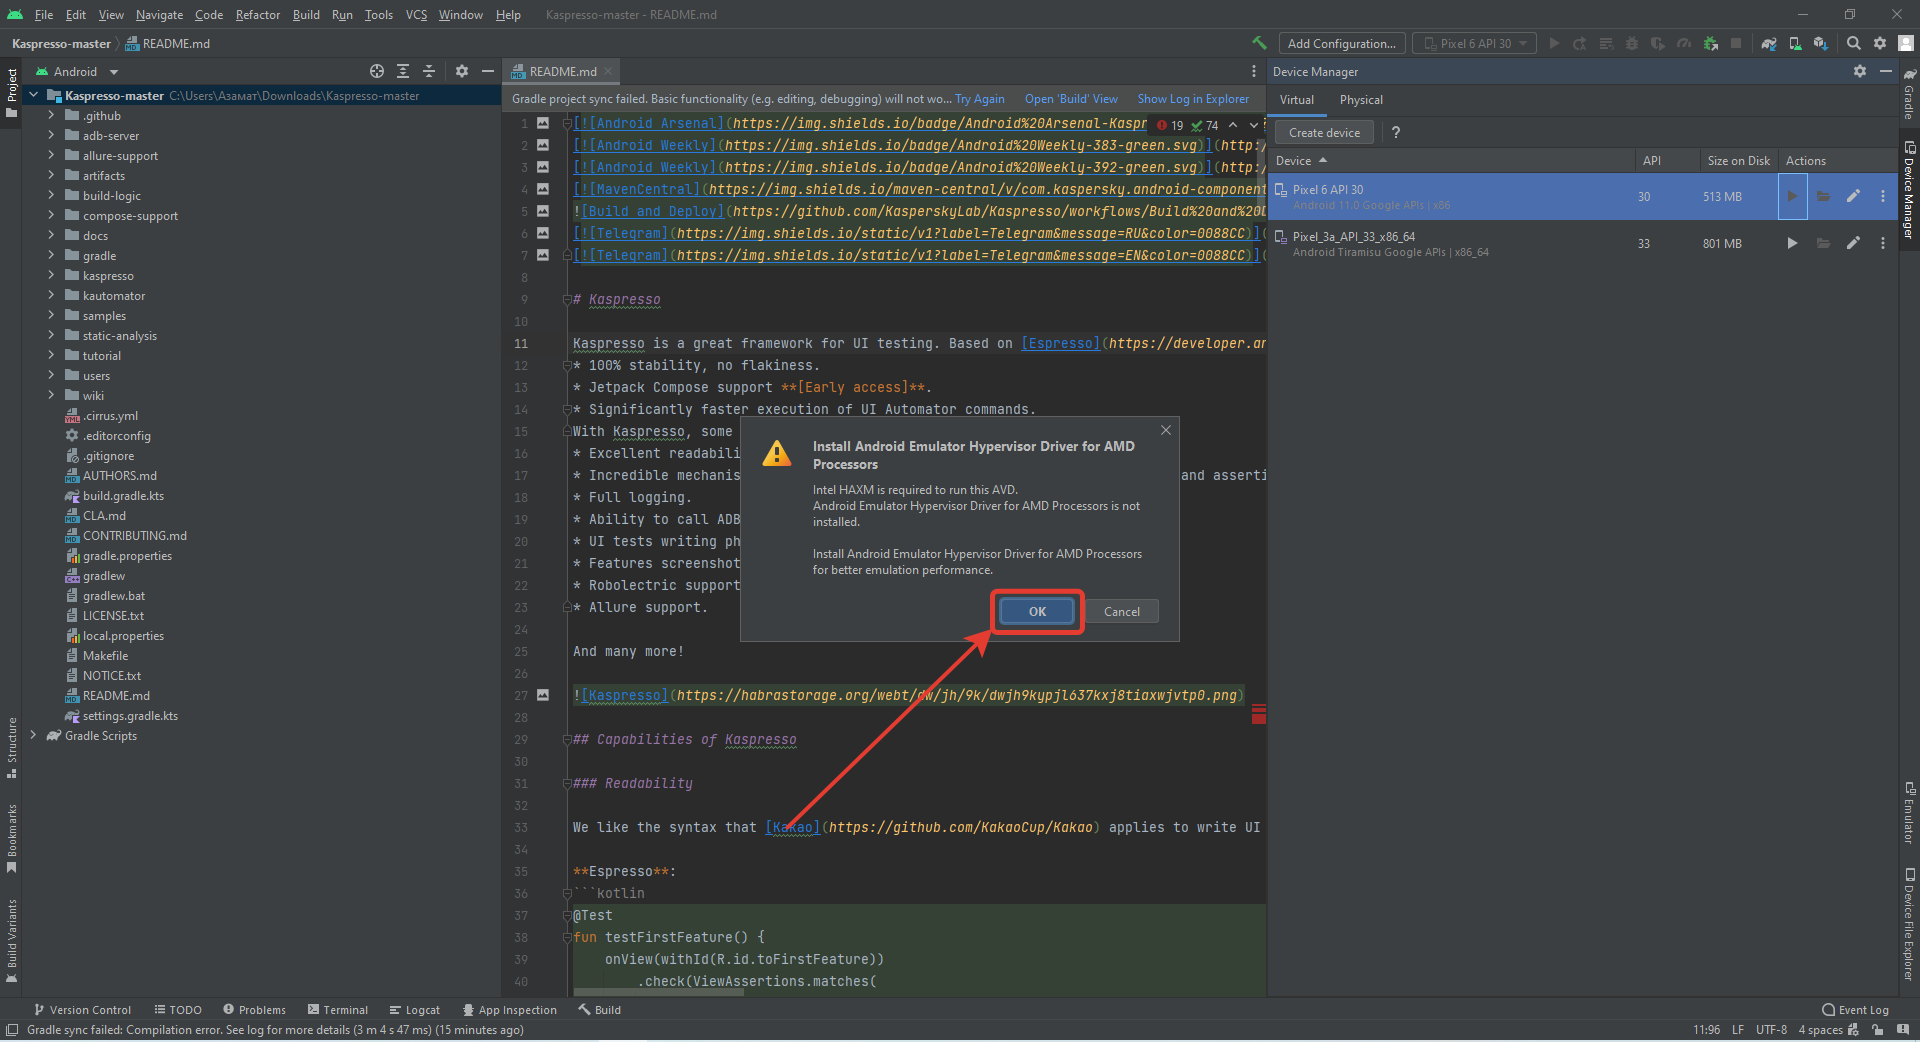
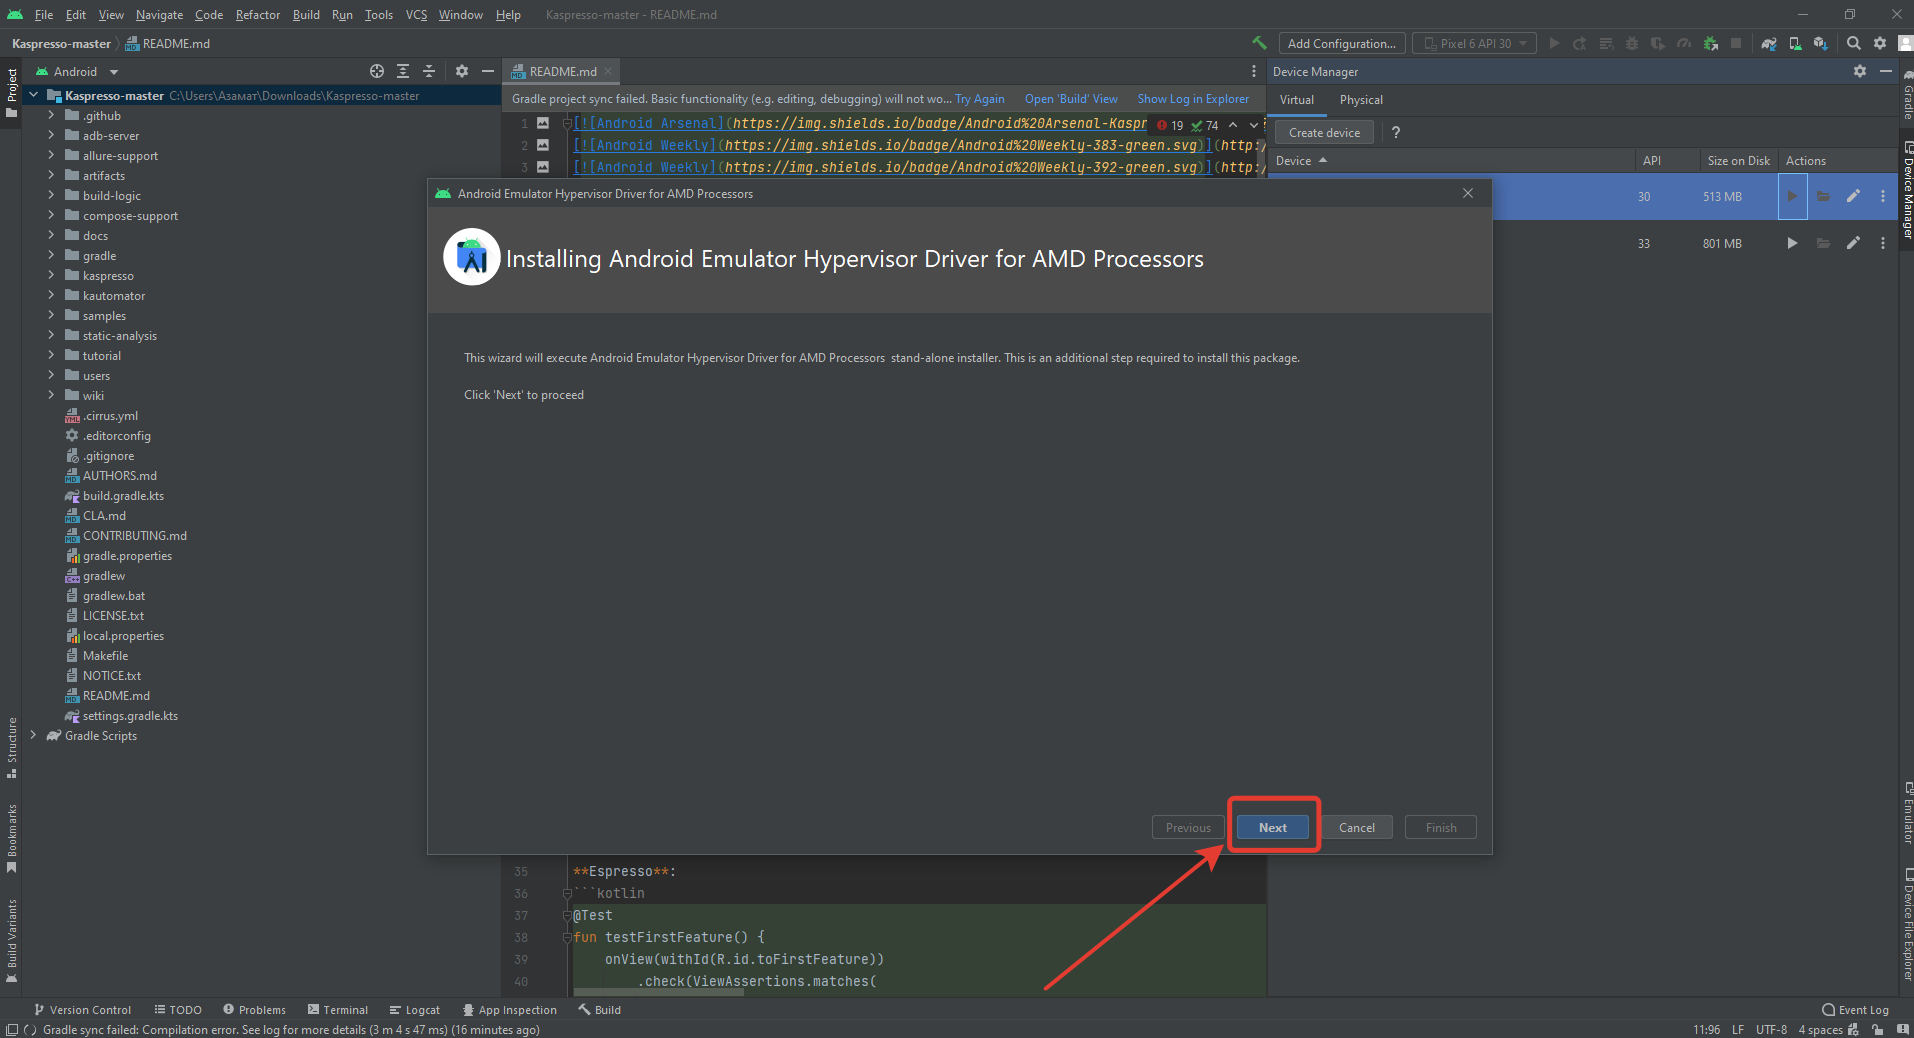
In some cases, Android Studio may recommend installing Hypervisor:
Summary
Android Studio is installed, emulator is configured, Kaspresso project is loaded. In the next lesson, we will run the first tests.