Flaky Safely. Testing with timeout
In this tutorial, we'll learn how to test screens that change state over time.
So far, in all tests, the screens immediately had a final look, all elements were displayed when they were opened, and we could conduct tests. To change the status, we ourselves performed some actions - clicked on the button, entered text in the input field, and so on.
But often there is a situation where the appearance of the screen changes over time. For example, at the start, data loading begins - a ProgressBar is displayed, after loading, a list of elements or an error dialog is displayed if something went wrong. In such cases, during the test, you need to check all intermediate states, while not changing them from the test method.
Consider an example. Open the tutorial application and click on the Flaky Activity button
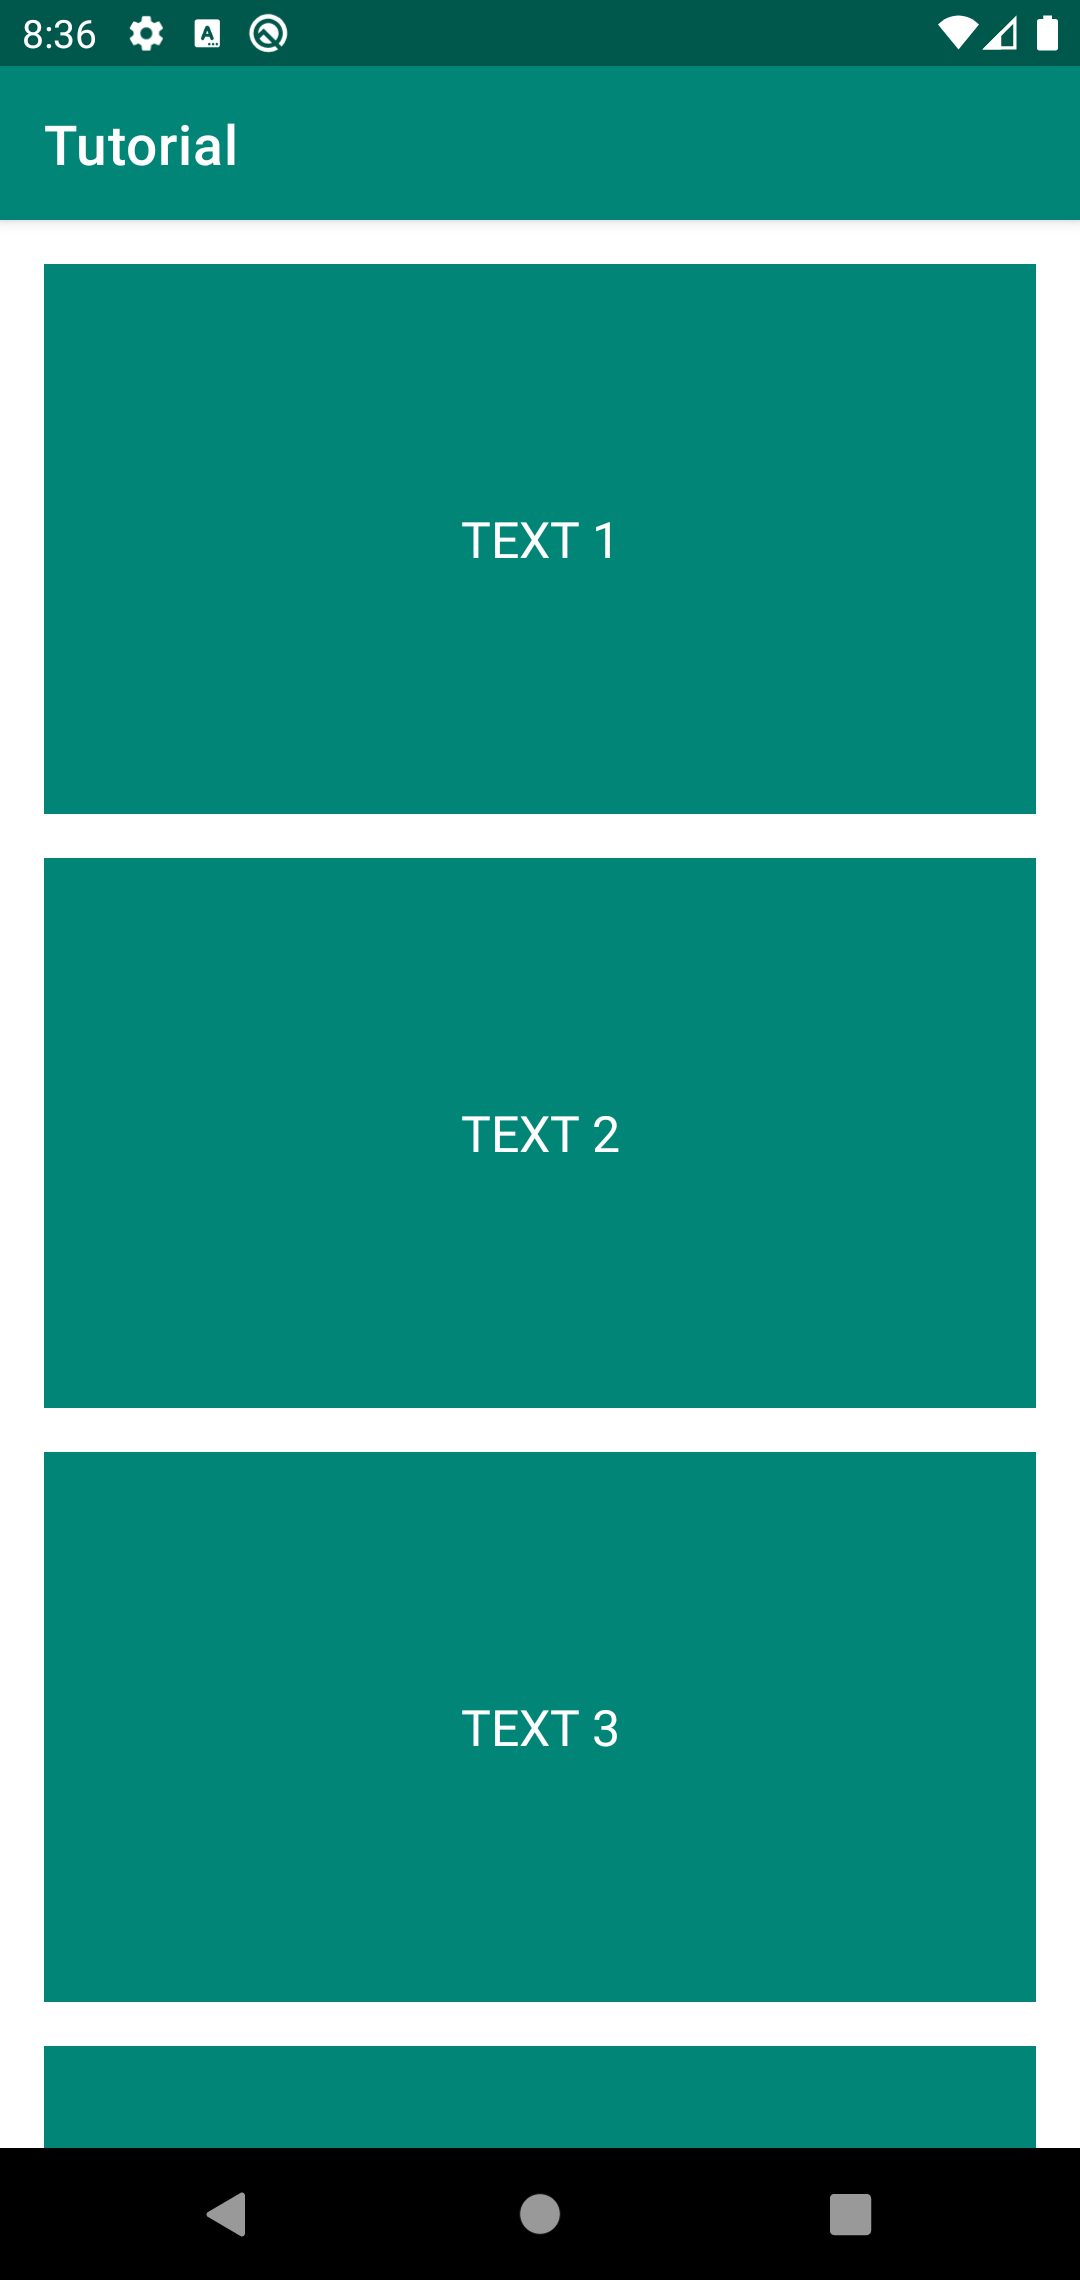
This screen displays several TextView for which some data is being loaded
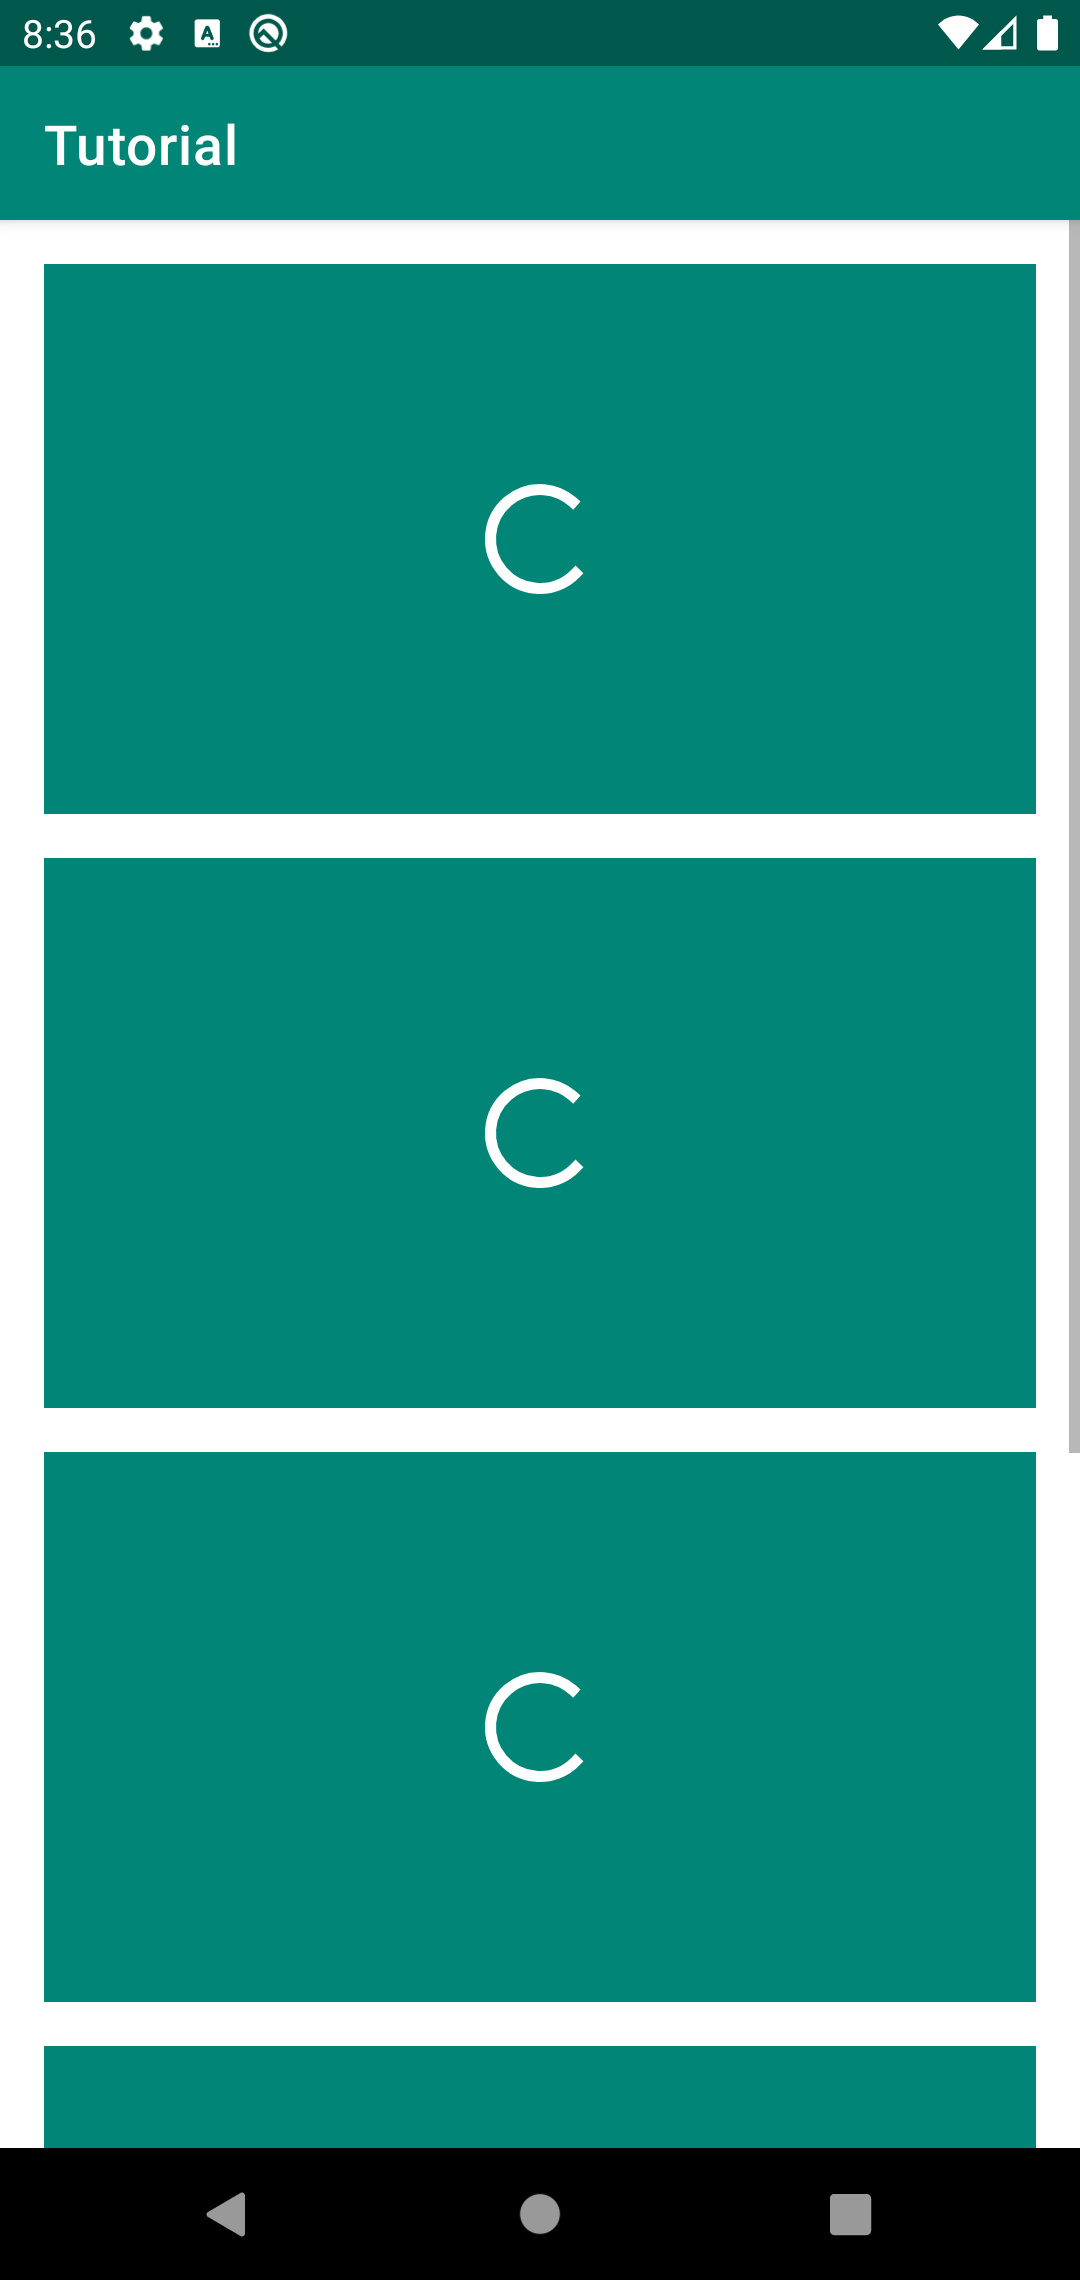
After one second, the text for the first element is loaded
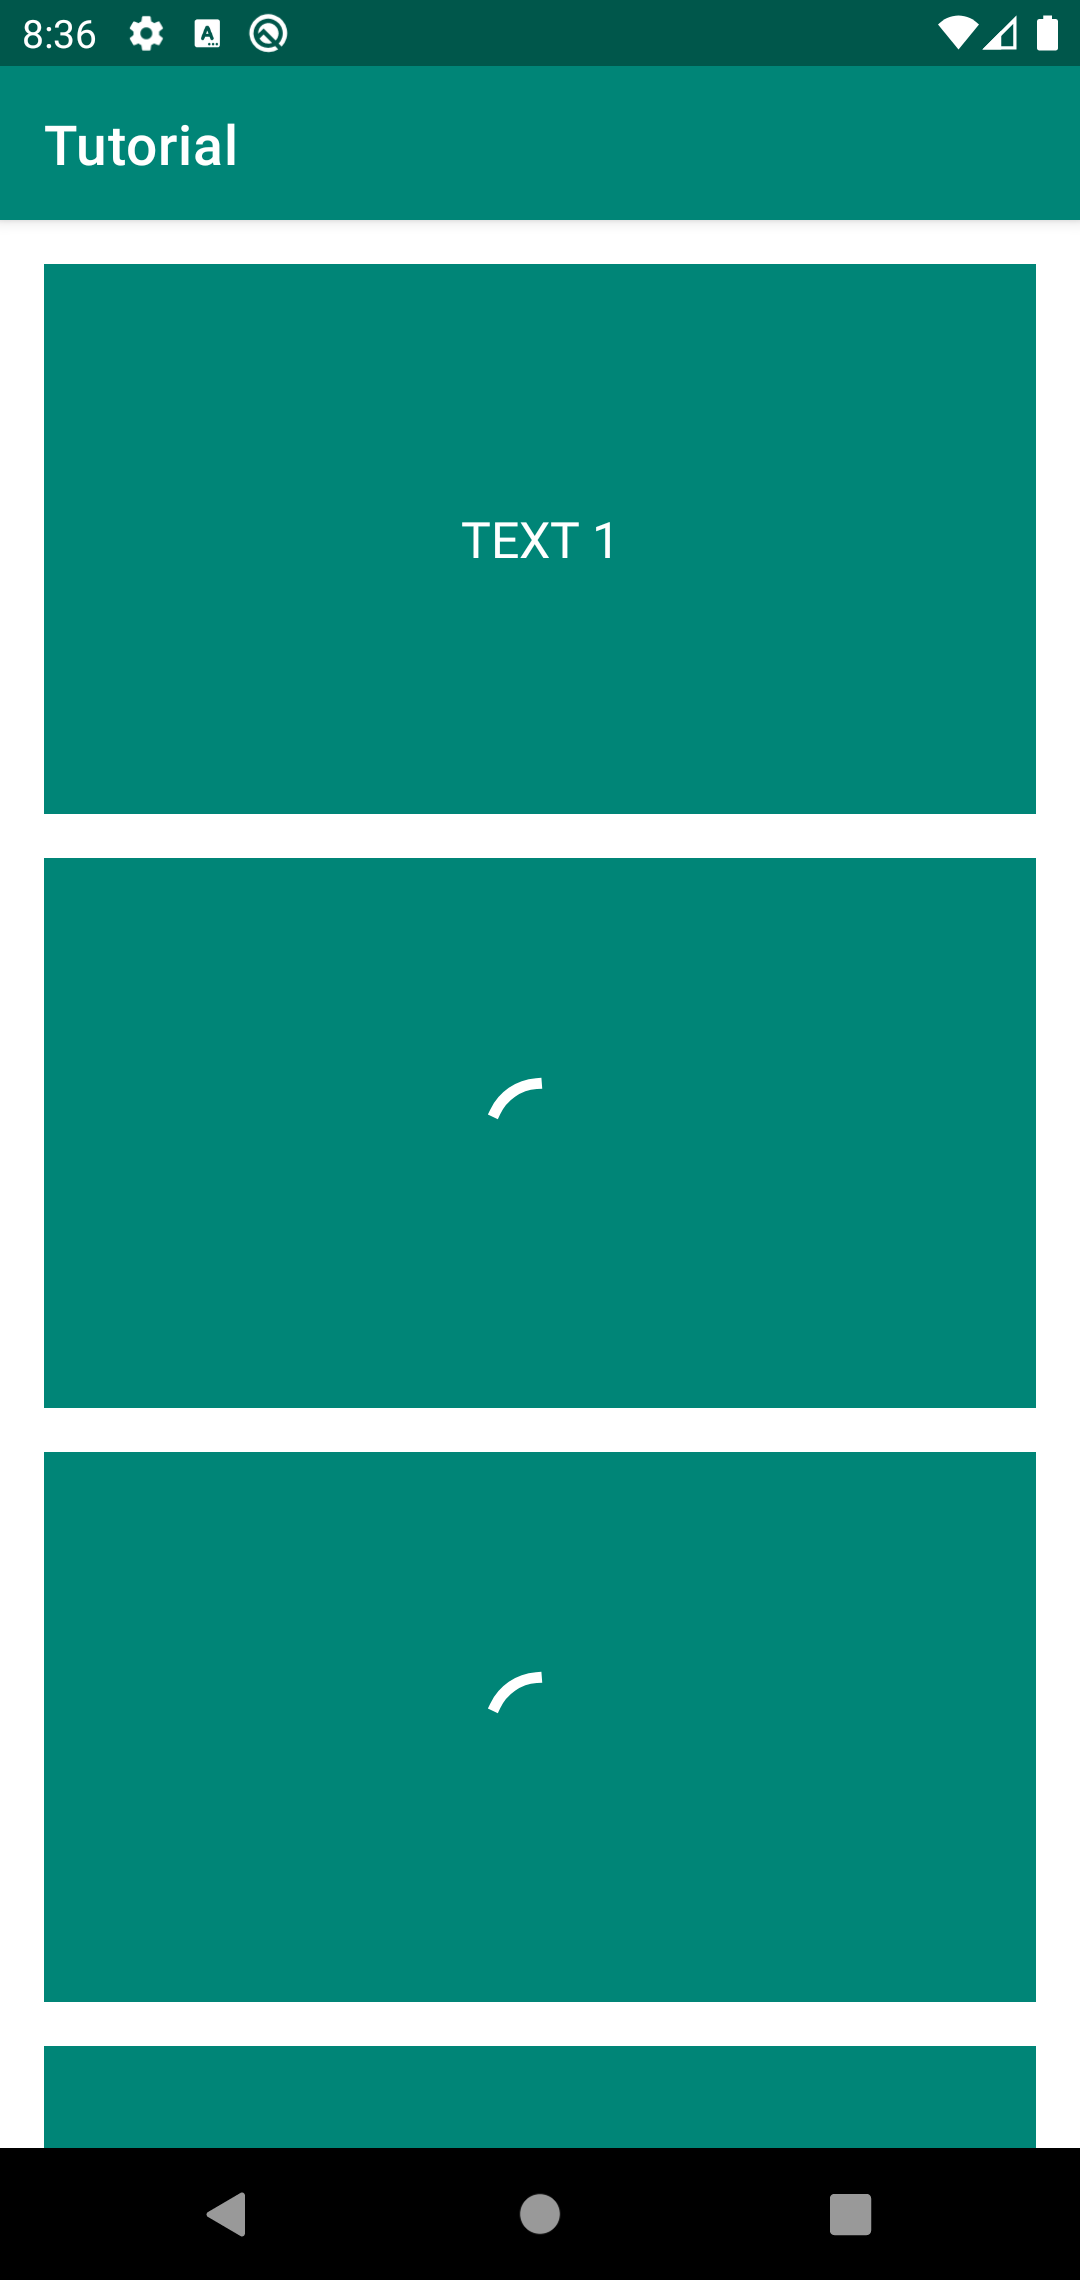
After another three seconds, text appears on the second element
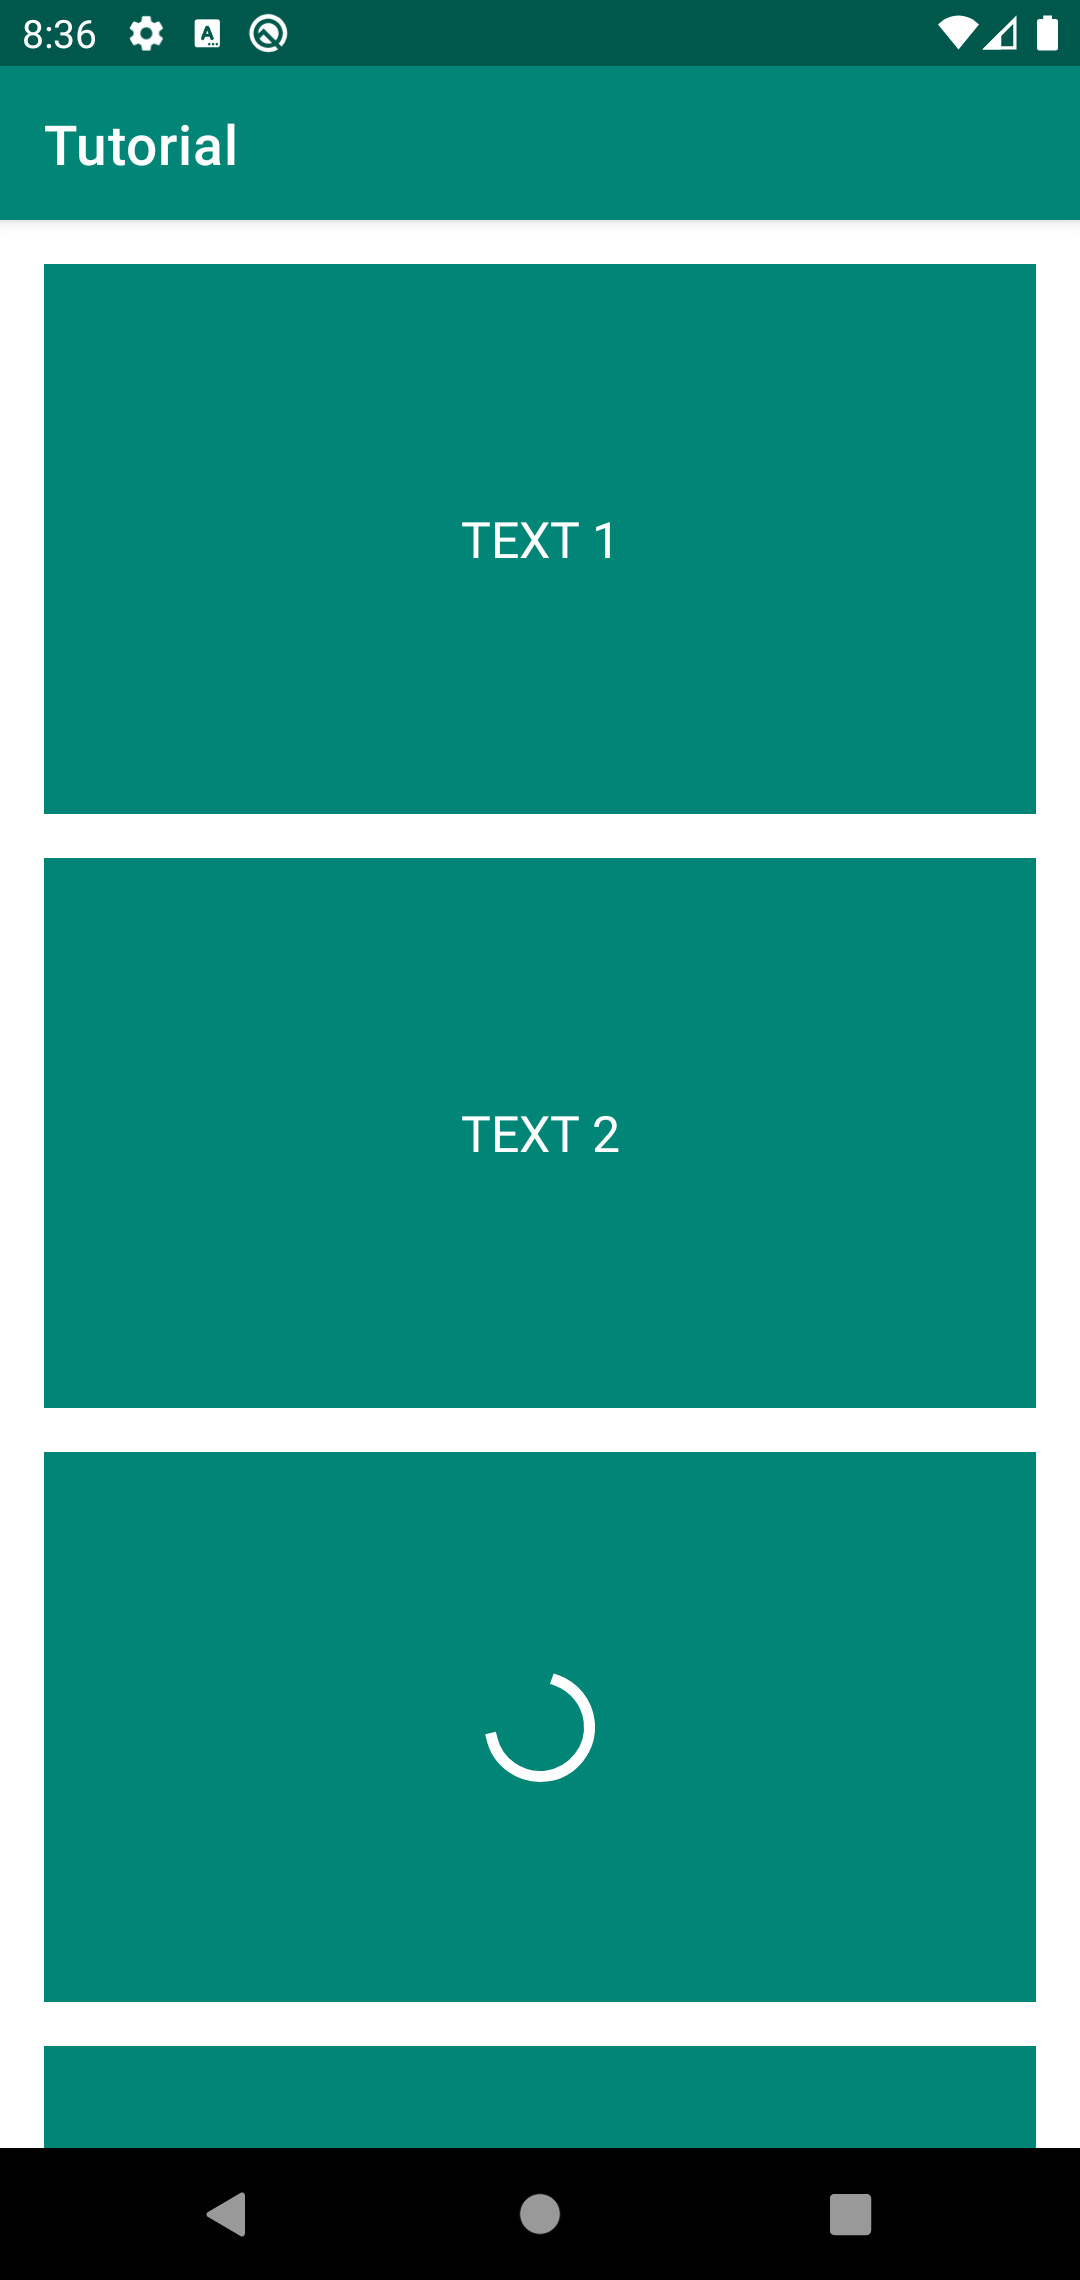
After 10 seconds, the rest of the data will be loaded and the texts will appear in all TextView
Testing FlakyScreen
Let's write a test for this screen. As usual, let's start by creating a Page Object
package com.kaspersky.kaspresso.tutorial.screen

import com.kaspersky.kaspresso.screens.KScreen
import com.kaspersky.kaspresso.tutorial.R
import io.github.kakaocup.kakao.progress.KProgressBar
import io.github.kakaocup.kakao.text.KButton

object FlakyScreen : KScreen<FlakyScreen>() {

    override val layoutId: Int? = null
    override val viewClass: Class<*>? = null

    val text1 = KButton { withId(R.id.text_1) }
    val text2 = KButton { withId(R.id.text_2) }
    val text3 = KButton { withId(R.id.text_3) }
    val text4 = KButton { withId(R.id.text_4) }
    val text5 = KButton { withId(R.id.text_5) }

    val progressBar1 = KProgressBar { withId(R.id.progress_bar_1) }
    val progressBar2 = KProgressBar { withId(R.id.progress_bar_2) }
    val progressBar3 = KProgressBar { withId(R.id.progress_bar_3) }
    val progressBar4 = KProgressBar { withId(R.id.progress_bar_4) }
    val progressBar5 = KProgressBar { withId(R.id.progress_bar_5) }
}
FlakyActivity you need to click the button on the main screen. Let's add it to PageObject MainScreen
package com.kaspersky.kaspresso.tutorial.screen

import com.kaspersky.kaspresso.screens.KScreen
import com.kaspersky.kaspresso.tutorial.R
import io.github.kakaocup.kakao.text.KButton

object MainScreen : KScreen<MainScreen>() {

    override val layoutId: Int? = null
    override val viewClass: Class<*>? = null

    val simpleActivityButton = KButton { withId(R.id.simple_activity_btn) }
    val wifiActivityButton = KButton { withId(R.id.wifi_activity_btn) }
    val loginActivityButton = KButton { withId(R.id.login_activity_btn) }
    val notificationActivityButton = KButton { withId(R.id.notification_activity_btn) }
    val makeCallActivityButton = KButton { withId(R.id.make_call_activity_btn) }
    val flakyActivityButton = KButton { withId(R.id.flaky_activity_btn) }
}
ProgressBar is displayed on them
package com.kaspersky.kaspresso.tutorial

import androidx.test.ext.junit.rules.activityScenarioRule
import com.kaspersky.kaspresso.testcases.api.testcase.TestCase
import com.kaspersky.kaspresso.tutorial.screen.FlakyScreen
import com.kaspersky.kaspresso.tutorial.screen.MainScreen
import org.junit.Rule
import org.junit.Test

class FlakyScreenTest : TestCase() {

    @get:Rule
    val activityRule = activityScenarioRule<MainActivity>()

    @Test
    fun checkFlakyScreen() = run {
        step("Open flaky screen") {
            MainScreen {
                flakyActivityButton {
                    isVisible()
                    isClickable()
                    click()
                }
            }
        }
        step("Check initial elements") {
            FlakyScreen {
                text1.isVisible()
                text2.isVisible()
                text3.isVisible()
                text4.isVisible()
                text5.isVisible()
                progressBar1.isVisible()
                progressBar2.isVisible()
                progressBar3.isVisible()
                progressBar4.isVisible()
                progressBar5.isVisible()
            }
        }
    }
}
The next action that happens on the screen is loading the text for the first element. We need to check that at this stage the first TextView contains the text "TEXT 1". This check must be done after the download is complete.
It turns out that the next step is to add the necessary checks, and if they fail, then we need to perform them again for some time. In this case, loading the first text takes about one second after opening the screen, so we can add a timeout of 1-3 seconds, during which the checks will be repeated. If during this time the methods return the correct value, then the test will complete successfully, but if after the timeout the condition is not met, then the test will fail.
In order to add a timeout, you must use the flakySafely method, where the time in milliseconds is indicated in parentheses during which attempts to pass the test will occur. Then the test code will look like this:
package com.kaspersky.kaspresso.tutorial

import androidx.test.ext.junit.rules.activityScenarioRule
import com.kaspersky.kaspresso.testcases.api.testcase.TestCase
import com.kaspersky.kaspresso.tutorial.screen.FlakyScreen
import com.kaspersky.kaspresso.tutorial.screen.MainScreen
import org.junit.Rule
import org.junit.Test

class FlakyScreenTest : TestCase() {

    @get:Rule
    val activityRule = activityScenarioRule<MainActivity>()

    @Test
    fun checkFlakyScreen() = run {
        step("Open flaky screen") {
            MainScreen {
                flakyActivityButton {
                    isVisible()
                    isClickable()
                    click()
                }
            }
        }
        step("Check initial elements") {
            FlakyScreen {
                text1.isVisible()
                text2.isVisible()
                text3.isVisible()
                text4.isVisible()
                text5.isVisible()
                progressBar1.isVisible()
                progressBar2.isVisible()
                progressBar3.isVisible()
                progressBar4.isVisible()
                progressBar5.isVisible()
            }
        }
        step("Check first element after loading") {
            FlakyScreen {
                flakySafely(3000) {
                    text1.hasText(R.string.text_1)
                    progressBar1.isGone() // Проверяем, что ProgressBar невидимый
                }
            }
        }
    }
}
Let's launch the test. It passed successfully.
When to use flakySafely
Our test completes successfully. Now let's check what happens if we remove the call to the flakySafely method
package com.kaspersky.kaspresso.tutorial

import androidx.test.ext.junit.rules.activityScenarioRule
import com.kaspersky.kaspresso.testcases.api.testcase.TestCase
import com.kaspersky.kaspresso.tutorial.screen.FlakyScreen
import com.kaspersky.kaspresso.tutorial.screen.MainScreen
import org.junit.Rule
import org.junit.Test

class FlakyScreenTest : TestCase() {

    @get:Rule
    val activityRule = activityScenarioRule<MainActivity>()

    @Test
    fun checkFlakyScreen() = run {
        step("Open flaky screen") {
            MainScreen {
                flakyActivityButton {
                    isVisible()
                    isClickable()
                    click()
                }
            }
        }
        step("Check initial elements") {
            FlakyScreen {
                text1.isVisible()
                text2.isVisible()
                text3.isVisible()
                text4.isVisible()
                text5.isVisible()
                progressBar1.isVisible()
                progressBar2.isVisible()
                progressBar3.isVisible()
                progressBar4.isVisible()
                progressBar5.isVisible()
            }
        }
        step("Check first element after loading") {
            FlakyScreen {
                text1.hasText(R.string.text_1)
                progressBar1.isGone() // Проверяем, что ProgressBar невидимый
            }
        }
    }
}
It would seem that we did not set any timeout, the check should have failed, but the test is green. The fact is that in Kaspresso all checks implicitly use the flakySafely method with some kind of timeout (in the current version of Kaspresso, the timeout is 10 seconds).
You may have noticed that if a test runs successfully, the application closes immediately and Android Studio displays a message that the tests ran successfully. But if some check fails, then the error message does not appear immediately, but after a few seconds - the reason lies in the use of flakySafely. The test fails and restarts several more times within 10 seconds.
Therefore, flakySafely should be added only if the default timeout does not suit you for some reason, and you need to change it to another one. A good use case for the extended timeout is when the screen is loading data from the network. The server may take a long time to return a response, while the test should not fall due to a slow backend.
In the next step, after 3 seconds, the second text is loaded. Three seconds is within the default timeout, so explicitly using flakeSafely with a different timeout doesn't make sense.
package com.kaspersky.kaspresso.tutorial

import androidx.test.ext.junit.rules.activityScenarioRule
import com.kaspersky.kaspresso.testcases.api.testcase.TestCase
import com.kaspersky.kaspresso.tutorial.screen.FlakyScreen
import com.kaspersky.kaspresso.tutorial.screen.MainScreen
import org.junit.Rule
import org.junit.Test

class FlakyScreenTest : TestCase() {

    @get:Rule
    val activityRule = activityScenarioRule<MainActivity>()

    @Test
    fun checkFlakyScreen() = run {
        step("Open flaky screen") {
            MainScreen {
                flakyActivityButton {
                    isVisible()
                    isClickable()
                    click()
                }
            }
        }
        step("Check initial elements") {
            FlakyScreen {
                text1.isVisible()
                text2.isVisible()
                text3.isVisible()
                text4.isVisible()
                text5.isVisible()
                progressBar1.isVisible()
                progressBar2.isVisible()
                progressBar3.isVisible()
                progressBar4.isVisible()
                progressBar5.isVisible()
            }
        }
        step("Check first element after loading") {
            FlakyScreen {
                text1.hasText(R.string.text_1)
                progressBar1.isGone()
            }
        }
        step("Check second element after loading") {
            FlakyScreen {
                text2.hasText(R.string.text_2)
                progressBar2.isGone()
            }
        }
    }
}
TextView. 10 seconds is an approximate data loading time, it can be more or less than this value, so the standard timeout will not work for us. In such cases, you need to explicitly call flakySafely passing an extended timeout, let's pass 15 seconds
package com.kaspersky.kaspresso.tutorial

import androidx.test.ext.junit.rules.activityScenarioRule
import com.kaspersky.kaspresso.testcases.api.testcase.TestCase
import com.kaspersky.kaspresso.tutorial.screen.FlakyScreen
import com.kaspersky.kaspresso.tutorial.screen.MainScreen
import org.junit.Rule
import org.junit.Test

class FlakyScreenTest : TestCase() {

    @get:Rule
    val activityRule = activityScenarioRule<MainActivity>()

    @Test
    fun checkFlakyScreen() = run {
        step("Open flaky screen") {
            MainScreen {
                flakyActivityButton {
                    isVisible()
                    isClickable()
                    click()
                }
            }
        }
        step("Check initial elements") {
            FlakyScreen {
                text1.isVisible()
                text2.isVisible()
                text3.isVisible()
                text4.isVisible()
                text5.isVisible()
                progressBar1.isVisible()
                progressBar2.isVisible()
                progressBar3.isVisible()
                progressBar4.isVisible()
                progressBar5.isVisible()
            }
        }
        step("Check first element after loading") {
            FlakyScreen {
                text1.hasText(R.string.text_1)
                progressBar1.isGone()
            }
        }
        step("Check second element after loading") {
            FlakyScreen {
                text2.hasText(R.string.text_2)
                progressBar2.isGone()
            }
        }
        step("Check left elements after loading") {
            FlakyScreen {
                flakySafely(15000) {
                    text3.hasText(R.string.text_3)
                    progressBar3.isGone()
                    text4.hasText(R.string.text_4)
                    progressBar4.isGone()
                    text5.hasText(R.string.text_5)
                    progressBar5.isGone()
                }
            }
        }
    }
}
Thread.sleep vs FlakySafely
In some tests, you may see code like Thread.sleep(delay_in_millis) used to solve timeout problems instead of flakySafely. This code stops the thread for the time that was passed as a parameter. That is, the test in this place will stop its execution and will wait for some time, after the timeout is completed, the test will continue to work.
At first glance, it may seem that there is no difference in these methods, and they do the same thing. But in fact, they have a significant difference. If you use flakySafely, then regardless of the timeout, the test will continue to run after a successful check. And when using Thread.sleep in any case, the test will wait until the timeout is completed.
Normally, all checks in Kaspresso use flakySafely with a timeout of 10 seconds, but despite this, the tests complete very quickly, because if the method returned the correct value, then there will be no waiting. If all these methods are replaced by Thread.sleep, then each such check will take at least 10 seconds and the tests will run for a very long time.
What timeout to specify?
Knowing the benefits of flakySafely that we just discussed, you may want to specify a very large timeout for all tests, just to be on the safe side. But this should not be done for several reasons.
Firstly, if the application really does not work correctly, and some tests will fail, then their passage will be much longer than with a standard timeout.
Secondly, there may be some bugs in the application that cause it to run much slower than expected. In this case, we could learn about the problem from autotests, but if the timeout is too long, it will go unnoticed.
Therefore, in most cases, the standard timeout will suit you, and you do not need to explicitly specify it. Otherwise, specify a timeout that is acceptable to the user.
Features of working with ScrollView
You may have noticed that all the elements on the screen do not fit, because they take up quite a lot of space in height, so all the content was added to the ScrollView, so that the screen can be scrolled.
We can add a check that when the screen is opened, the first element is displayed, but the last one is not. It would be wrong to use the isVisible method in this case, because even if the object does not fit on the screen, but it is visible, the check will return true. Instead, you can use the isDisplayed and isNotDisplayed methods, which are needed just in such cases - when you need to know that the element is actually visible on the screen.
Then the test code will look like this:
package com.kaspersky.kaspresso.tutorial

import androidx.test.ext.junit.rules.activityScenarioRule
import com.kaspersky.kaspresso.testcases.api.testcase.TestCase
import com.kaspersky.kaspresso.tutorial.screen.FlakyScreen
import com.kaspersky.kaspresso.tutorial.screen.MainScreen
import org.junit.Rule
import org.junit.Test

class FlakyScreenTest : TestCase() {

    @get:Rule
    val activityRule = activityScenarioRule<MainActivity>()

    @Test
    fun checkFlakyScreen() = run {
        step("Open flaky screen") {
            MainScreen {
                flakyActivityButton {
                    isVisible()
                    isClickable()
                    click()
                }
            }
        }
        step("Check display of elements") {
            FlakyScreen {
                text1.isDisplayed()
                text5.isNotDisplayed()
            }
        }
        step("Check initial elements") {
            FlakyScreen {
                text1.isVisible()
                text2.isVisible()
                text3.isVisible()
                text4.isVisible()
                text5.isVisible()
                progressBar1.isVisible()
                progressBar2.isVisible()
                progressBar3.isVisible()
                progressBar4.isVisible()
                progressBar5.isVisible()
            }
        }
        step("Check first element after loading") {
            FlakyScreen {
                text1.hasText(R.string.text_1)
                progressBar1.isGone()
            }
        }
        step("Check second element after loading") {
            FlakyScreen {
                text2.hasText(R.string.text_2)
                progressBar2.isGone()
            }
        }
        step("Check left elements after loading") {
            FlakyScreen {
                flakySafely(15000) {
                    text3.hasText(R.string.text_3)
                    progressBar3.isGone()
                    text4.hasText(R.string.text_4)
                    progressBar4.isGone()
                    text5.hasText(R.string.text_5)
                    progressBar5.isGone()
                }
            }
        }
    }
}
isNotDisplayed method, we use isDisplayed.
package com.kaspersky.kaspresso.tutorial

import androidx.test.ext.junit.rules.activityScenarioRule
import com.kaspersky.kaspresso.testcases.api.testcase.TestCase
import com.kaspersky.kaspresso.tutorial.screen.FlakyScreen
import com.kaspersky.kaspresso.tutorial.screen.MainScreen
import org.junit.Rule
import org.junit.Test

class FlakyScreenTest : TestCase() {

    @get:Rule
    val activityRule = activityScenarioRule<MainActivity>()

    @Test
    fun checkFlakyScreen() = run {
        step("Open flaky screen") {
            MainScreen {
                flakyActivityButton {
                    isVisible()
                    isClickable()
                    click()
                }
            }
        }
        step("Check display of elements") {
            FlakyScreen {
                text1.isDisplayed()
                text5.isDisplayed()
            }
        }
        step("Check initial elements") {
            FlakyScreen {
                text1.isVisible()
                text2.isVisible()
                text3.isVisible()
                text4.isVisible()
                text5.isVisible()
                progressBar1.isVisible()
                progressBar2.isVisible()
                progressBar3.isVisible()
                progressBar4.isVisible()
                progressBar5.isVisible()
            }
        }
        step("Check first element after loading") {
            FlakyScreen {
                text1.hasText(R.string.text_1)
                progressBar1.isGone()
            }
        }
        step("Check second element after loading") {
            FlakyScreen {
                text2.hasText(R.string.text_2)
                progressBar2.isGone()
            }
        }
        step("Check left elements after loading") {
            FlakyScreen {
                flakySafely(15000) {
                    text3.hasText(R.string.text_3)
                    progressBar3.isGone()
                    text4.hasText(R.string.text_4)
                    progressBar4.isGone()
                    text5.hasText(R.string.text_5)
                    progressBar5.isGone()
                }
            }
        }
    }
}
It seems that the test should fail, since initially the fifth element is not visible on the screen. We launch. Test passed successfully.
The reason for this behavior is the implementation of checks in the Kaspresso library. If we test an element that is inside ScrollView and this test fails, then the test will automatically scroll to that element, and the test will will be executed again. Thus, the problem was solved when, during the normal behavior of the application, the tests crashed only because they could not check an element that is not currently visible on the screen.
It turns out that the text5.isDisplayed check was performed, it failed and the screen was scrolled down and the check started again. Now the element was actually visible on the screen, so the test succeeded.
When writing tests for screens that can be scrolled, consider the peculiarities of working with them in Kaspresso.
Summary
In this tutorial, we covered the following points:
- The `flakySafely` method for testing a stateful screen
- Set different timeouts for different operations
- Features of Kaspresso on scrollable screens
- Difference between Thread.sleep and flakySafely