Testing the Internet connection and working with the Device class
In this tutorial we'll create a test that tests the Internet Availability (WifiActivity) screen.
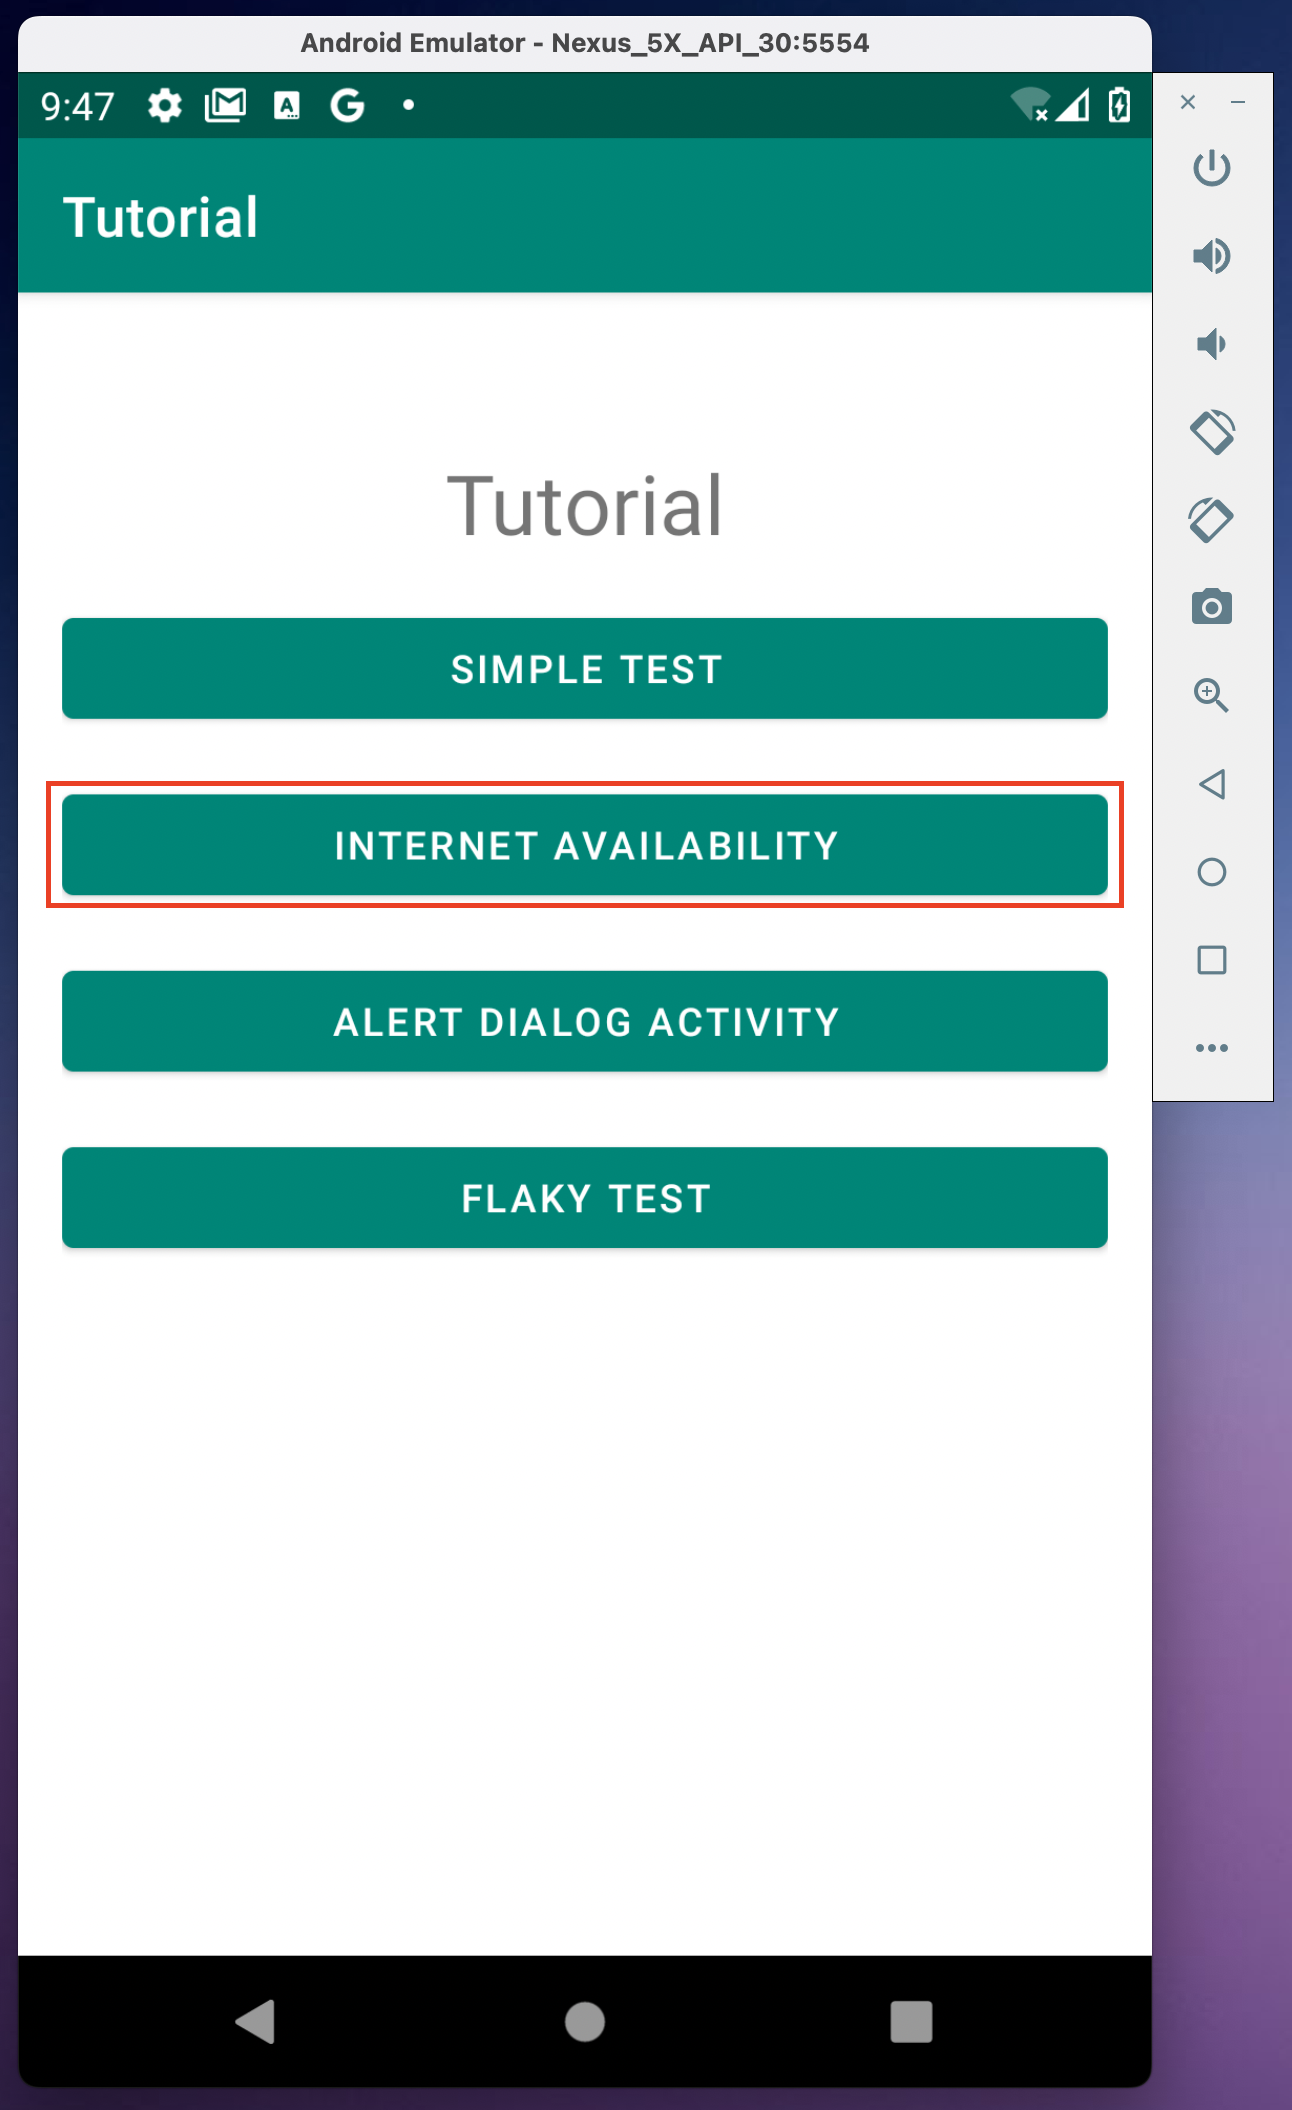
Run our tutorial application and click on the Internet Availability button
Manual testing
Let's manually test this screen first.
Initially, we have a CHECK WIFI STATUS button, there is no more text on the screen. Wifi is currently enabled on the device.
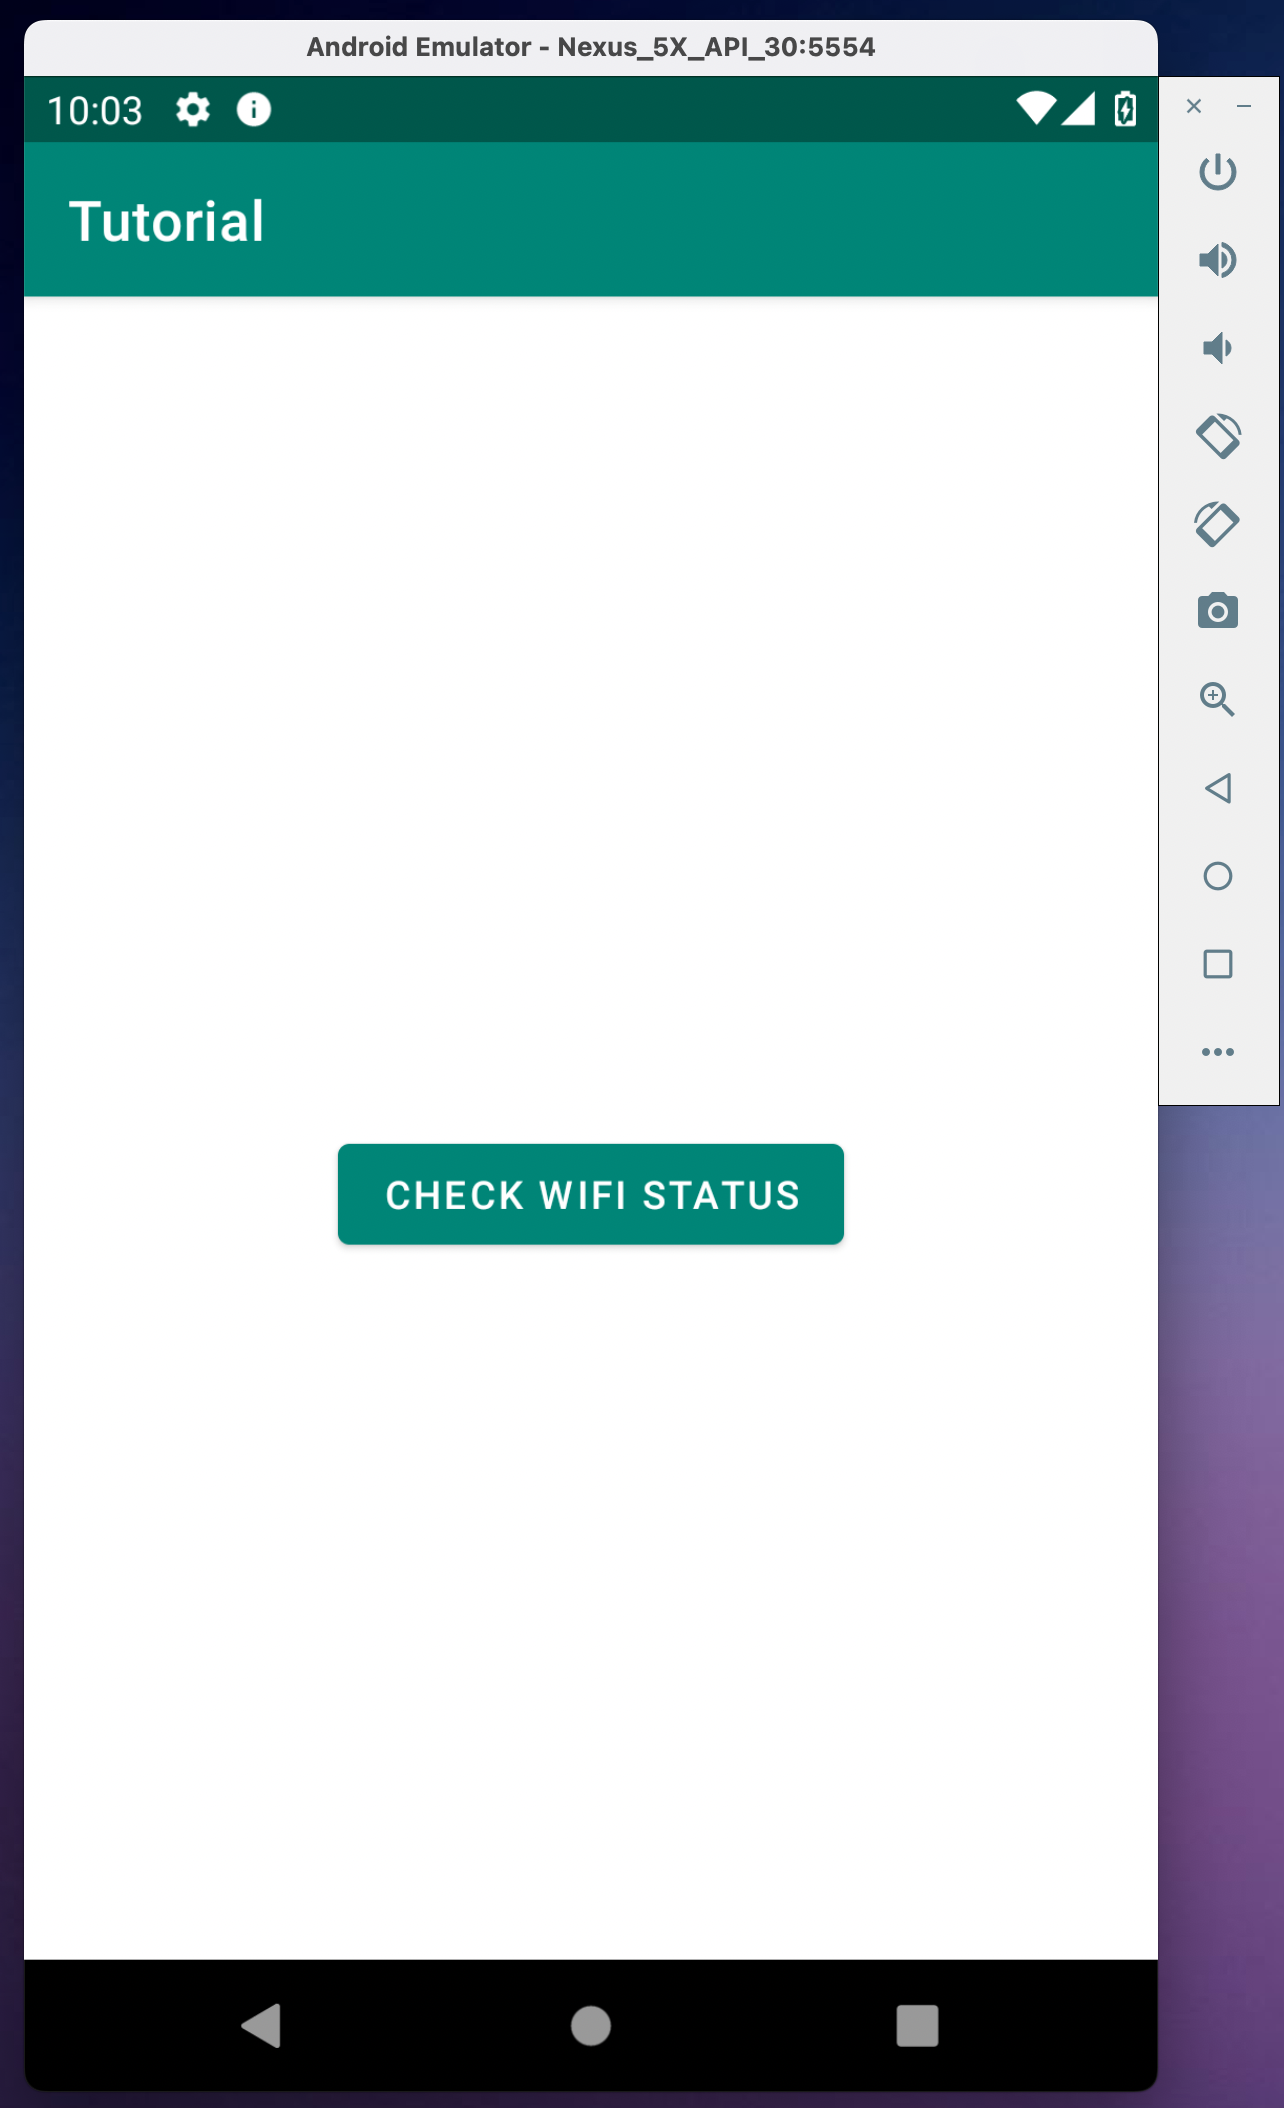
Let's click on the button.

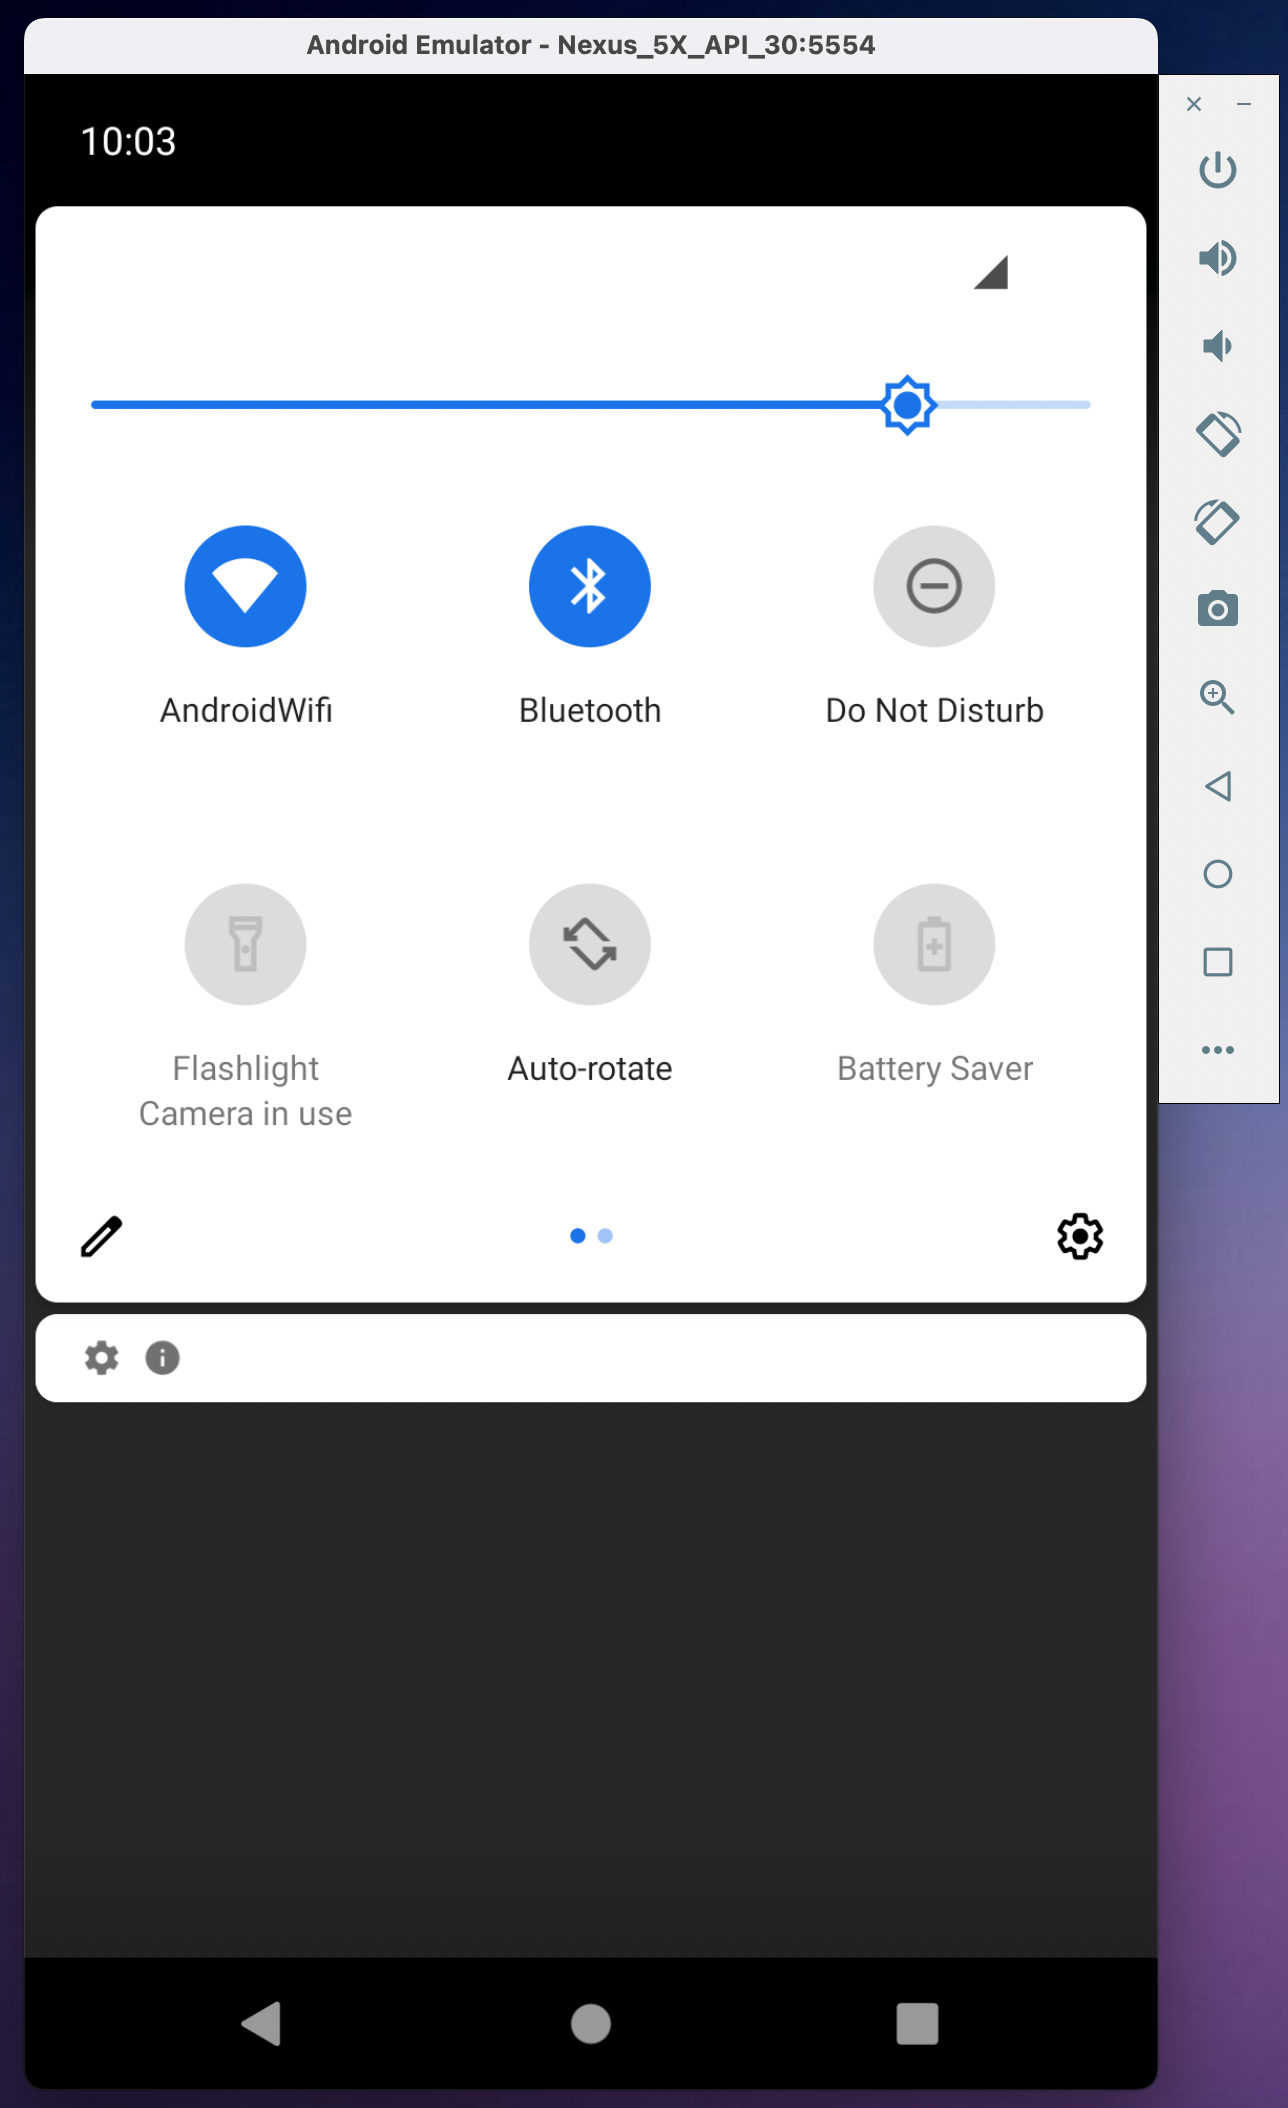
This button is clickable, after clicking, the correct Wifi state status is displayed - enabled. Disable WiFi.
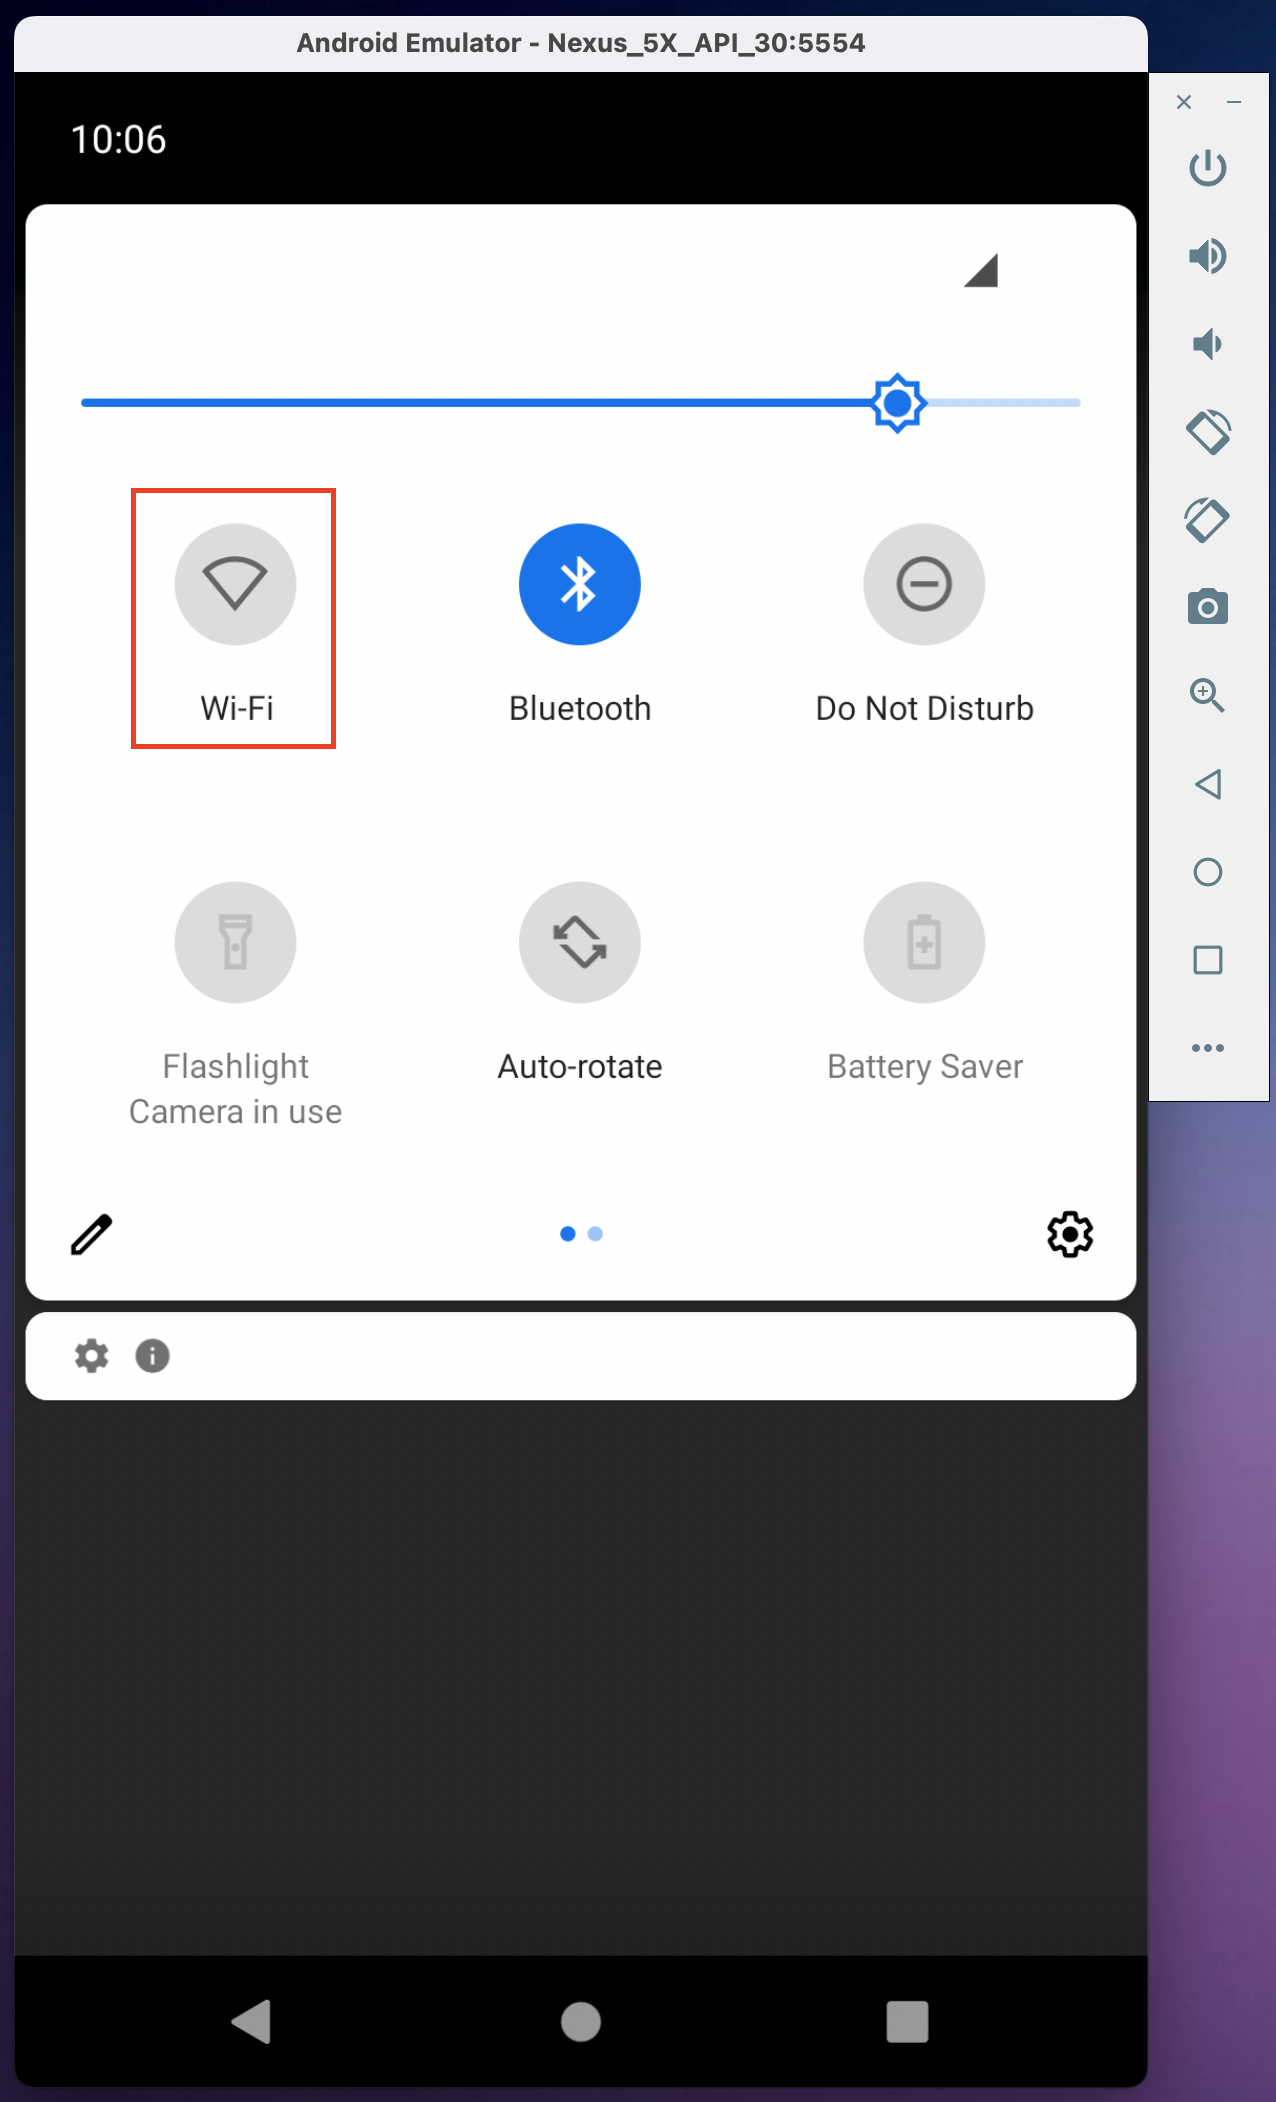
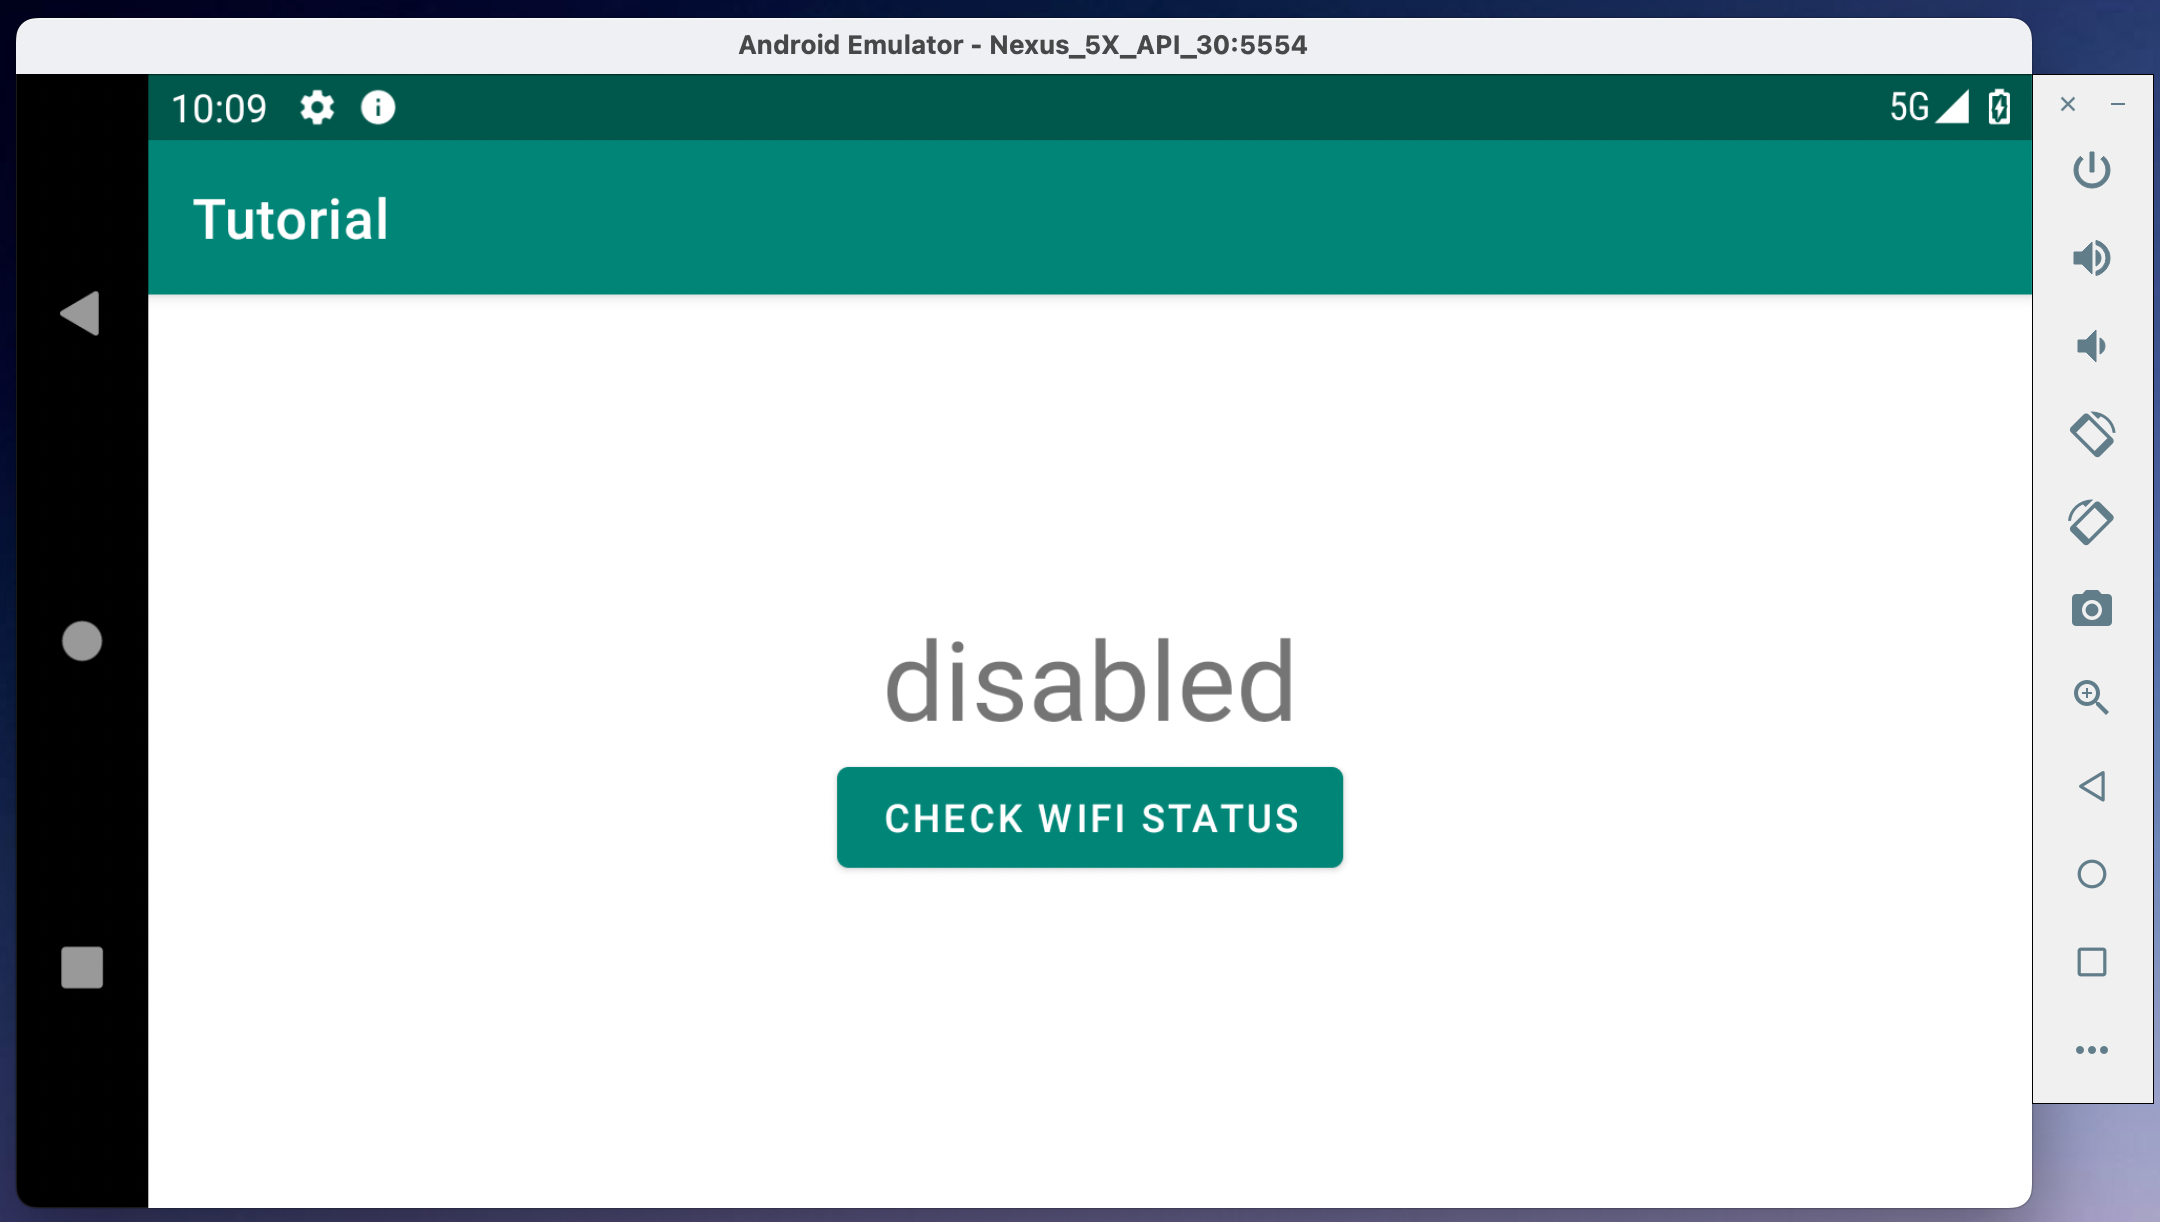
Click on the button again and check the Wifi status now:

The state is determined correctly. One last check - let's flip the device over and make sure the text on the screen is preserved.
The text is saved successfully, all tests passed. Now we need to achieve the same result with all the checks performed automatically.
Writing autotests
During the test, you will need to automatically turn the Internet on and off, as well as change the orientation of the device to landscape. This is beyond the responsibility of our application, which means that we will have to use adb commands for tests. This requires the ADB server to be running. We discussed this point in the previous lesson. If you forgot how to do it, you can review it again.
Now in our test, you will need to click on the Internet Availability button on the main screen. This means that it is necessary to modify the Page Object of the main screen by adding one more button there:
package com.kaspersky.kaspresso.tutorial.screen

import com.kaspersky.kaspresso.screens.KScreen
import com.kaspersky.kaspresso.tutorial.R
import io.github.kakaocup.kakao.text.KButton

object MainScreen : KScreen<MainScreen>() {

    override val layoutId: Int? = null
    override val viewClass: Class<*>? = null

    val simpleActivityButton = KButton { withId(R.id.simple_activity_btn) }
    val wifiActivityButton = KButton { withId(R.id.wifi_activity_btn) }
}
Now we can add a new test class. In the same package where we have other tests, we add WifiSampleTest:
package com.kaspersky.kaspresso.tutorial

import com.kaspersky.kaspresso.testcases.api.testcase.TestCase

class WifiSampleTest: TestCase() {

}
To check the Internet availability screen, you need to go to it. To do this, we will follow the same steps as in tutorial, in which we wrote our first autotest:
- Add an activityRule so that when the test starts, we open MainActivity
- Check that the button to go to the Internet check screen is visible and clickable
- Click on the "Internet Availability" button
package com.kaspersky.kaspresso.tutorial

import androidx.test.ext.junit.rules.activityScenarioRule
import com.kaspersky.kaspresso.testcases.api.testcase.TestCase
import com.kaspersky.kaspresso.tutorial.screen.MainScreen
import org.junit.Rule
import org.junit.Test

class WifiSampleTest : TestCase() {

    @get:Rule
    val activityRule = activityScenarioRule<MainActivity>()

    @Test
    fun test() {
        MainScreen {
            wifiActivityButton {
                isVisible()
                isClickable()
                click()
            }
        }
    }
}
Let's launch the test. It passed successfully. The Wifi test screen starts. Now we can test it.
To fully test this screen, we will need to change the Wifi connection state, as well as change the orientation of the device. To do this, in the BaseTestCase class (from which our WifiSampleTest class is inherited) there is an instance of the Device class, which is called device. We already encountered it in the previous lesson when we got the packageName of our application.
This object has many useful methods, which you can read about in detail here.
First of all, we are interested in a method that enables / disables the Internet. The network object, which is in the Device class, is responsible for working with the network.
If we want to change the Wifi state, we can do it like this:
/**
* As a parameter, we pass the boolean type, false if we want to turn Wifi off, true if we want to turn it on
*/
device.network.toggleWiFi(false)
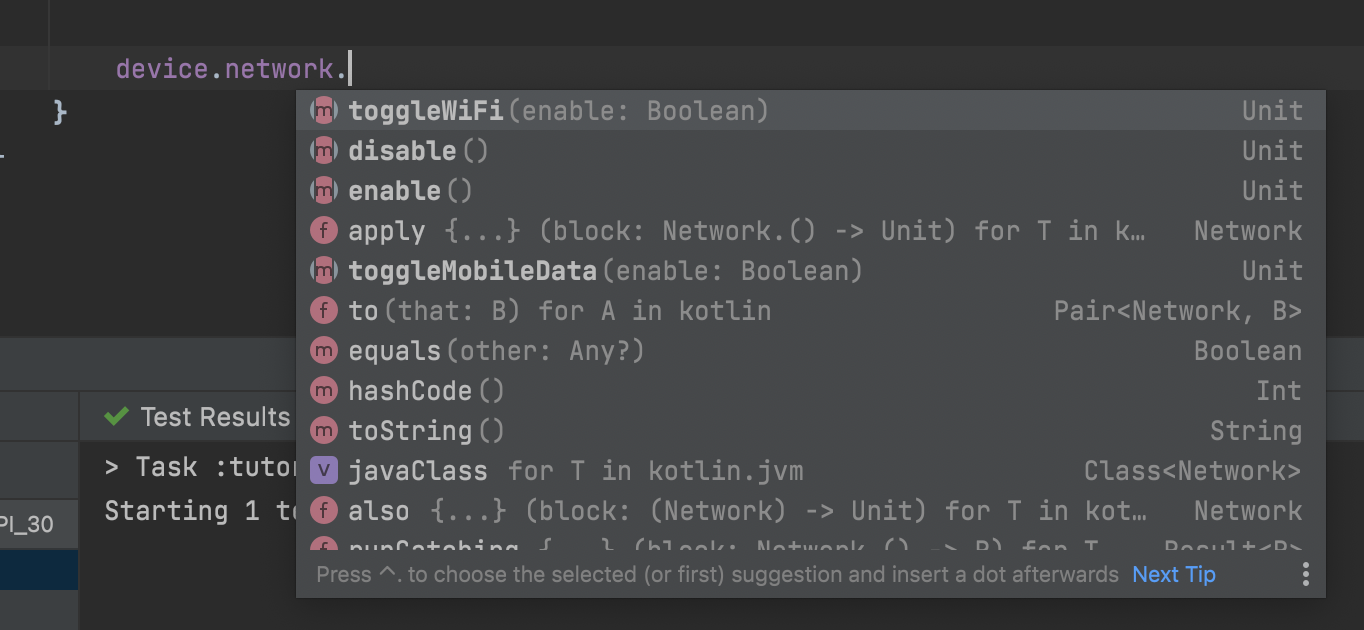
In addition to Wifi, we can also manage the mobile network, as well as the Internet connection on the device as a whole (Wifi + mobile network). In order to see all the available methods, you can go to the documentation above, but there is an easier way - put a dot after the name of the object and see which methods can be called on this object. It is usually clear what they do from their names.
Let's write a test that performs all the necessary checks, except for flipping the device - we'll deal with flipping a bit later. The first step is to create a Page Object for the internet connection test screen WifiScreen. Add it to the com.kaspersky.kaspresso.tutorial.screen package
package com.kaspersky.kaspresso.tutorial.screen

import com.kaspersky.kaspresso.screens.KScreen
import com.kaspersky.kaspresso.tutorial.R
import io.github.kakaocup.kakao.text.KButton
import io.github.kakaocup.kakao.text.KTextView

object WifiScreen : KScreen<WifiScreen>() {

    override val layoutId: Int? = null
    override val viewClass: Class<*>? = null

    val checkWifiButton = KButton { withId(R.id.check_wifi_btn) }
    val wifiStatus = KTextView { withId(R.id.wifi_status) }
}
Now add steps:
- Check if the button is visible and clickable
- Check that the title contains no text
- Click on the button
- Checking that the title text is "enabled"
- Disable Wifi
- Click on the button
- Checking that the title text is "disabled"
package com.kaspersky.kaspresso.tutorial

import androidx.test.ext.junit.rules.activityScenarioRule
import com.kaspersky.kaspresso.testcases.api.testcase.TestCase
import com.kaspersky.kaspresso.tutorial.screen.MainScreen
import com.kaspersky.kaspresso.tutorial.screen.WifiScreen
import org.junit.Rule
import org.junit.Test

class WifiSampleTest : TestCase() {

    @get:Rule
    val activityRule = activityScenarioRule<MainActivity>()

    @Test
    fun test() {
        MainScreen {
            wifiActivityButton {
                isVisible()
                isClickable()
                click()
            }
        }
        WifiScreen {
            checkWifiButton.isVisible()
            checkWifiButton.isClickable()
            wifiStatus.hasEmptyText()
            device.network.toggleWiFi(true)
            checkWifiButton.click()
            wifiStatus.hasText("enabled")
            device.network.toggleWiFi(false)
            checkWifiButton.click()
            wifiStatus.hasText("disabled")
        }
    }
}
We remember that it is not recommended to use hardcoded strings, it is better to use string resources instead.
package com.kaspersky.kaspresso.tutorial

import androidx.test.ext.junit.rules.activityScenarioRule
import com.kaspersky.kaspresso.testcases.api.testcase.TestCase
import com.kaspersky.kaspresso.tutorial.screen.MainScreen
import com.kaspersky.kaspresso.tutorial.screen.WifiScreen
import org.junit.Rule
import org.junit.Test

class WifiSampleTest : TestCase() {

    @get:Rule
    val activityRule = activityScenarioRule<MainActivity>()

    @Test
    fun test() {
        MainScreen {
            wifiActivityButton {
                isVisible()
                isClickable()
                click()
            }
        }
        WifiScreen {
            checkWifiButton.isVisible()
            checkWifiButton.isClickable()
            wifiStatus.hasEmptyText()
            checkWifiButton.click()
            wifiStatus.hasText(R.string.enabled_status)
            device.network.toggleWiFi(false)
            checkWifiButton.click()
            wifiStatus.hasText(R.string.disabled_status)
        }
    }
}
Info
Do not forget to enable Wifi on the device before starting the test, because after each launch it will be turned off for you and the test will fail on the second run.
Now we need to learn how to flip the device in order to perform the rest of the checks. The exploit object from the Device class is responsible for flipping the device, which you can also read more about in documentation.
The whole test process will now look like this:
- Set device to portrait orientation
- Check that the button is visible and clickable
- Check that the title does not contain text
- Click on the button
- Check that the title text is "enabled"
- Disable Wifi
- Click on the button
- Check that the title text is "disabled"
- Flip the device
- Check that the title text is still "disabled"
package com.kaspersky.kaspresso.tutorial

import androidx.test.ext.junit.rules.activityScenarioRule
import com.kaspersky.kaspresso.device.exploit.Exploit
import com.kaspersky.kaspresso.testcases.api.testcase.TestCase
import com.kaspersky.kaspresso.tutorial.screen.MainScreen
import com.kaspersky.kaspresso.tutorial.screen.WifiScreen
import org.junit.Rule
import org.junit.Test

class WifiSampleTest : TestCase() {

    @get:Rule
    val activityRule = activityScenarioRule<MainActivity>()

    @Test
    fun test() {
        MainScreen {
            wifiActivityButton {
                isVisible()
                isClickable()
                click()
            }
        }
        WifiScreen {
            device.exploit.setOrientation(Exploit.DeviceOrientation.Portrait)
            checkWifiButton.isVisible()
            checkWifiButton.isClickable()
            wifiStatus.hasEmptyText()
            checkWifiButton.click()
            wifiStatus.hasText(R.string.enabled_status)
            device.network.toggleWiFi(false)
            checkWifiButton.click()
            wifiStatus.hasText(R.string.disabled_status)
            device.exploit.rotate()
            wifiStatus.hasText(R.string.disabled_status)
        }
    }
}
Summary
In this lesson we practiced with the device object, learned how to change the status of the Internet connection and the screen orientation from the test code. Test passed and all checks completed successfully, but there are several serious problems in our code:
- The test is not broken into steps. As a result, we have a large canvas of code, which is quite difficult to understand
- The test only succeeds if we have previously enabled internet on the device. At the same time, at each next start, the test will fall due to the fact that Wifi is turned off inside it
In the following lessons, we will learn how we can improve this code and solve the problems that have arisen.