Reduce duplicate steps with Scenario
In this lesson, we will learn what scenarios are (the Scenario class from the Kaspresso library), find out what their purpose is, when they should be used, and when it is better to avoid them.
Open the tutorial application and click on the Login Activity button.
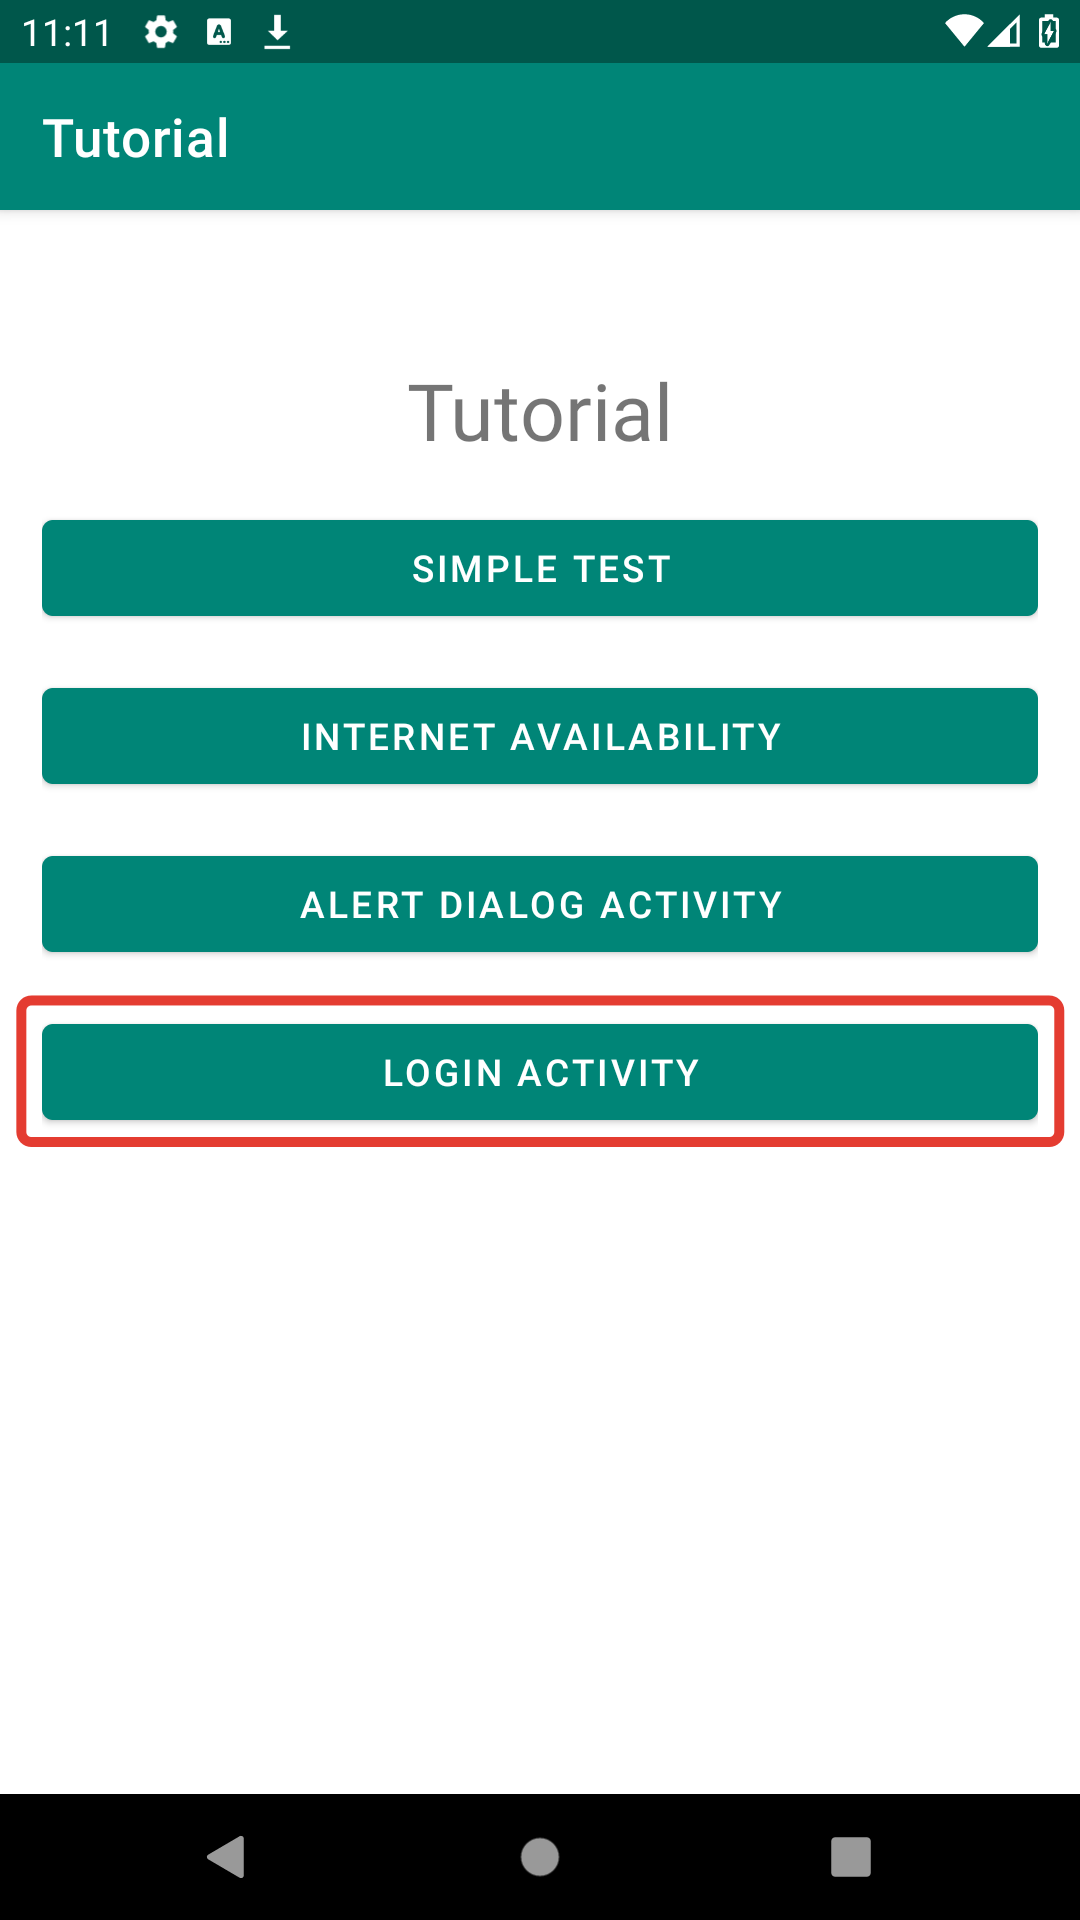
We have an authorization screen where the user can enter a login and password and click on the Login button
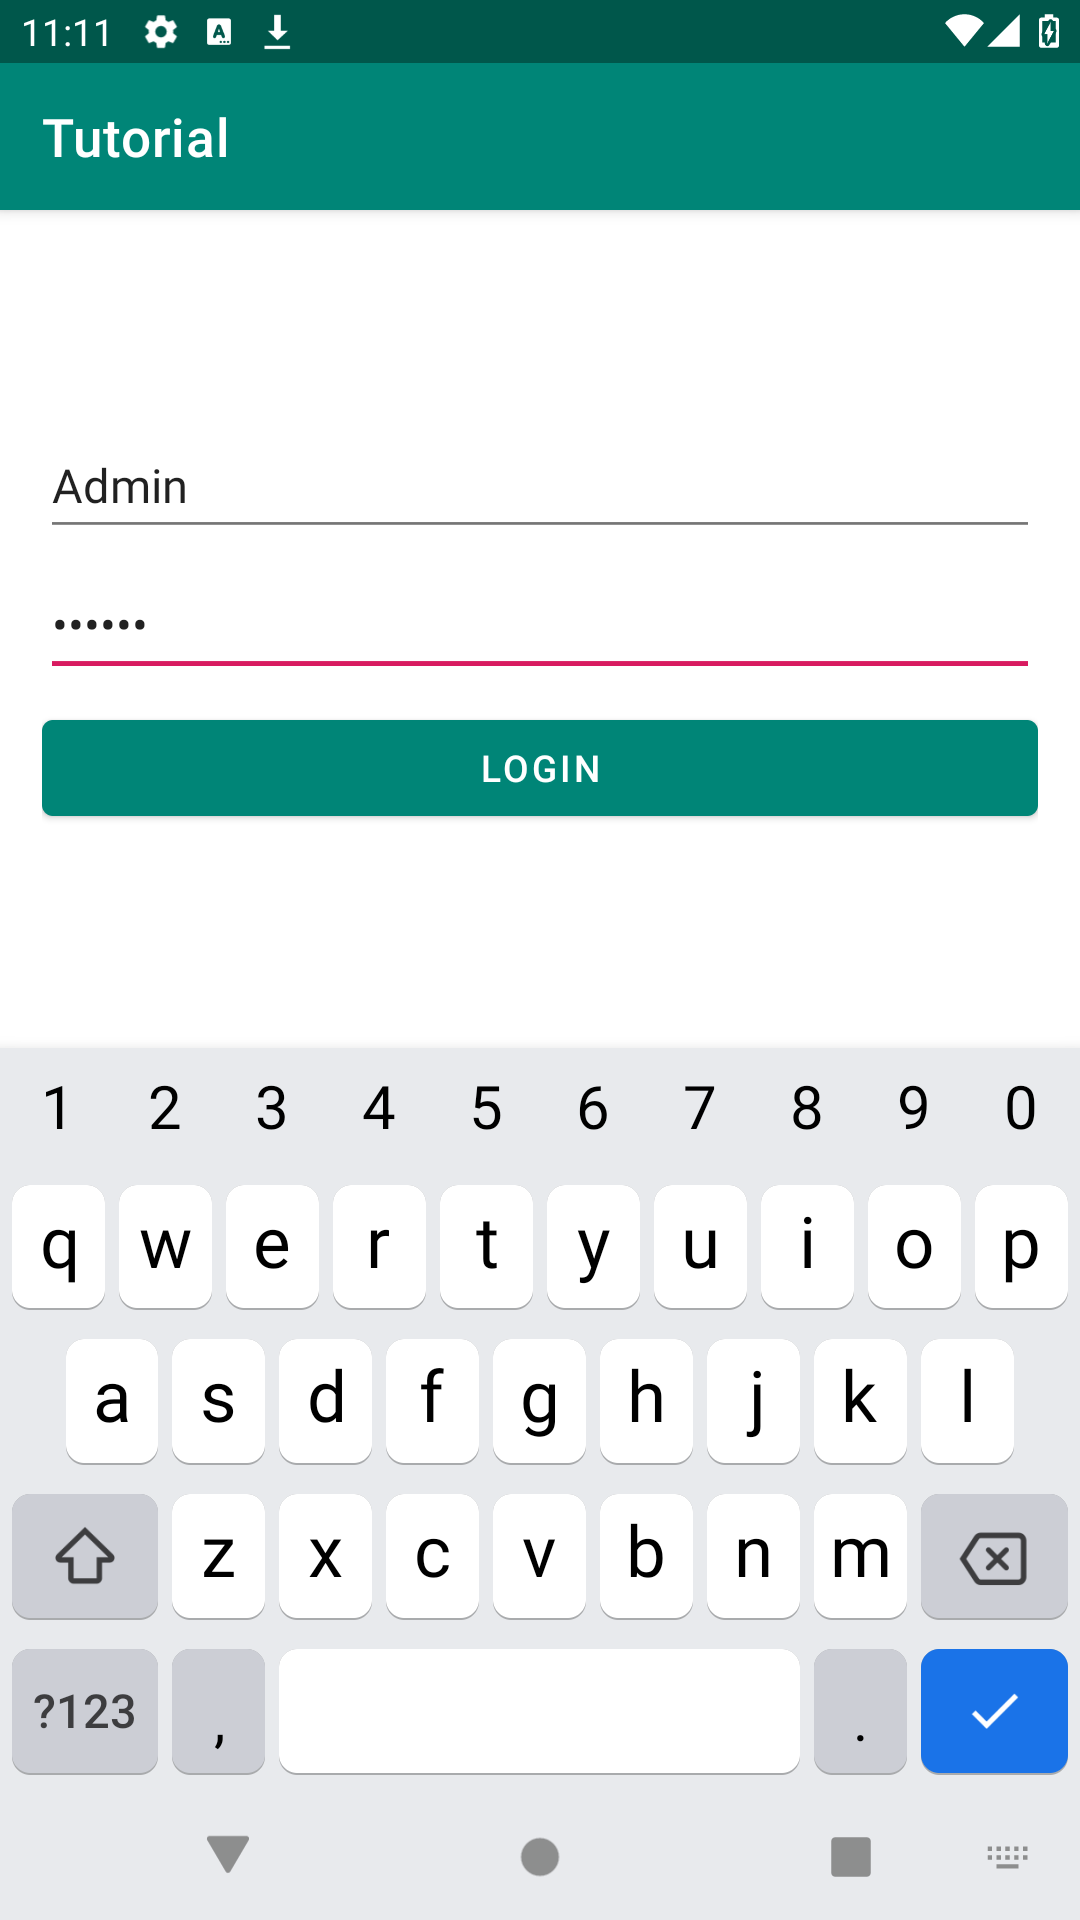
If the username field contains less than three characters or the password field contains less than six characters, then nothing will happen when the LOGIN button is clicked.
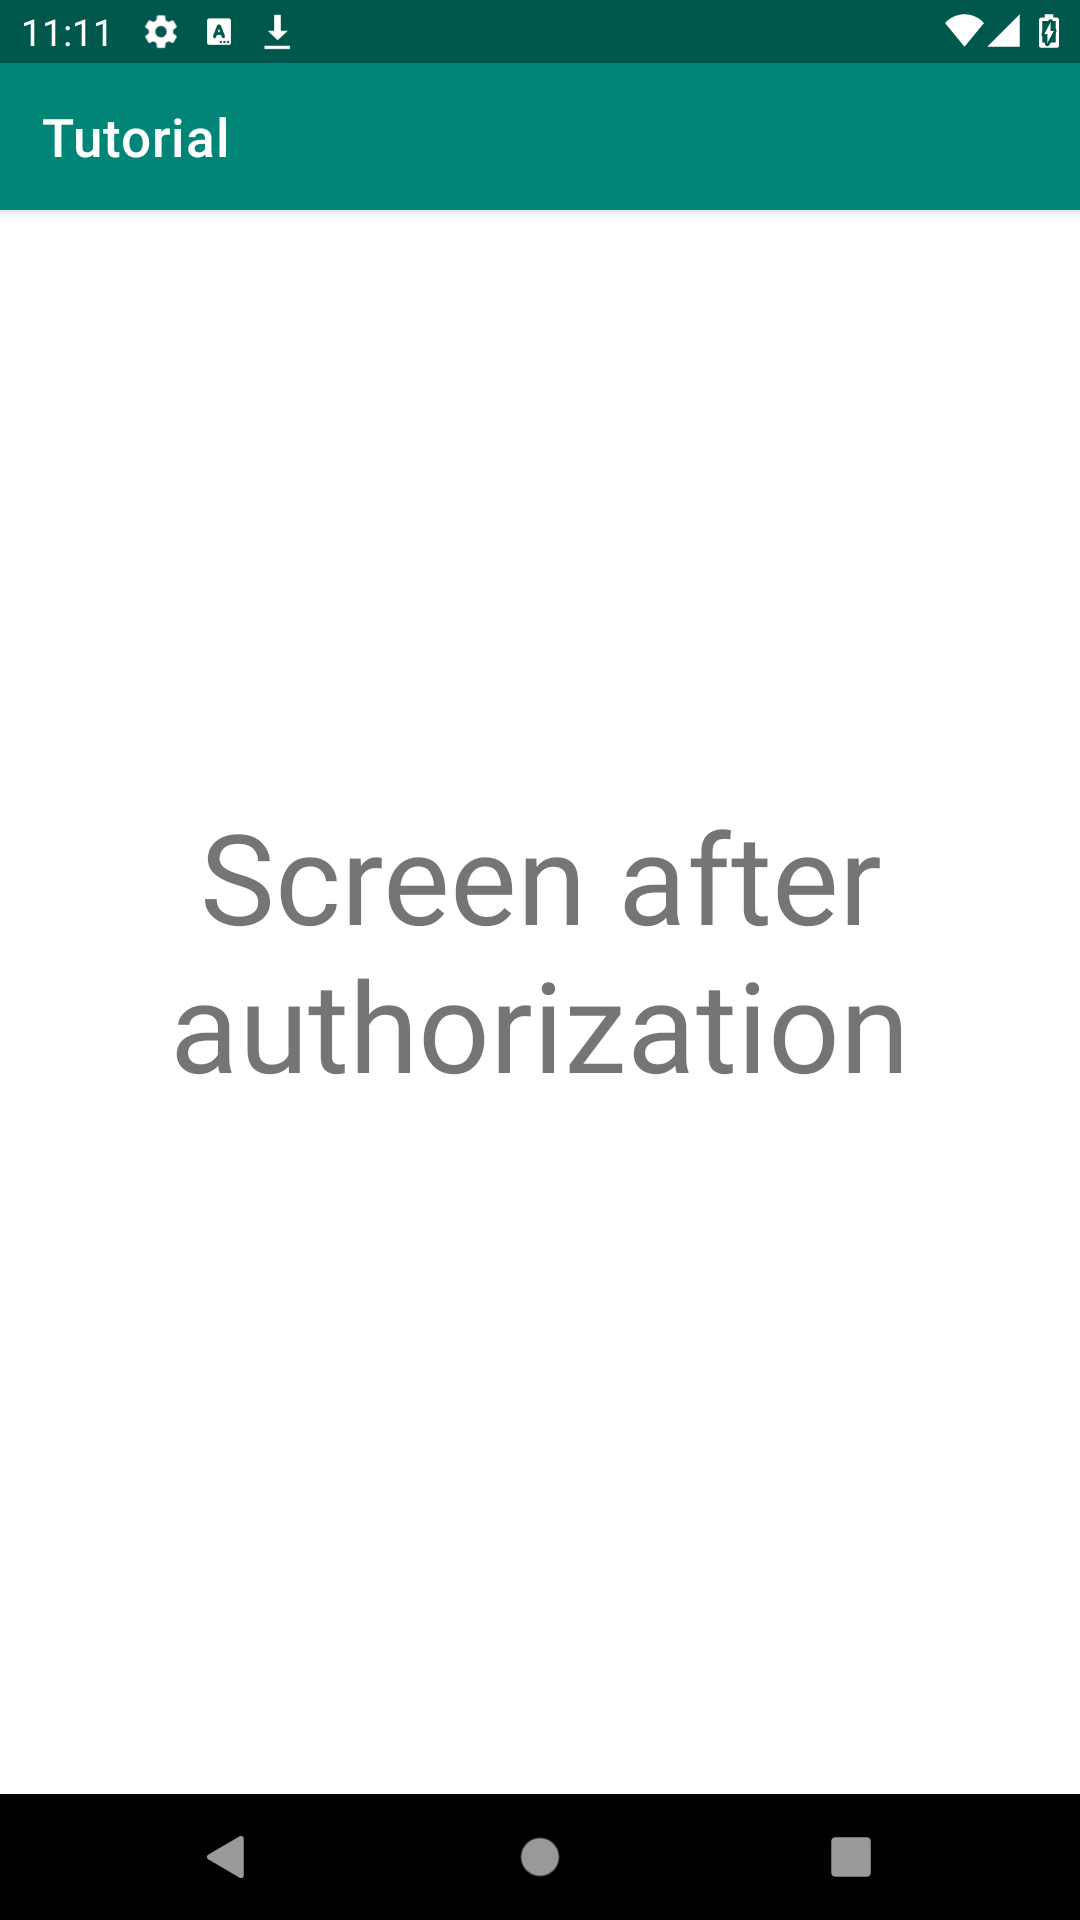
If the data is filled in correctly, then the authorization is successful and the AfterLoginActivity screen opens.
It turns out that in order to check the AfterLoginActivity screen, the user must be authorized in the application. Therefore, let's first test the authorization screen LoginActivity.
Test LoginActivity
To check LoginActivity it is necessary to declare one more button inside the PageObject of the main screen - a button to go to the authorization screen.
package com.kaspersky.kaspresso.tutorial.screen

import com.kaspersky.kaspresso.screens.KScreen
import com.kaspersky.kaspresso.tutorial.R
import io.github.kakaocup.kakao.text.KButton

object MainScreen : KScreen<MainScreen>() {

    override val layoutId: Int? = null
    override val viewClass: Class<*>? = null

    val simpleActivityButton = KButton { withId(R.id.simple_activity_btn) }
    val wifiActivityButton = KButton { withId(R.id.wifi_activity_btn) }
    val loginActivityButton = KButton { withId(R.id.login_activity_btn) }
}
Now create a PageObject for LoginActivity, let's call it LoginScreen:
package com.kaspersky.kaspresso.tutorial.screen

import com.kaspersky.kaspresso.screens.KScreen
import com.kaspersky.kaspresso.tutorial.R
import io.github.kakaocup.kakao.edit.KEditText
import io.github.kakaocup.kakao.text.KButton

object LoginScreen : KScreen<LoginScreen>() {

    override val layoutId: Int? = null
    override val viewClass: Class<*>? = null

    val inputUsername = KEditText { withId(R.id.input_username) }
    val inputPassword = KEditText { withId(R.id.input_password) }
    val loginButton = KButton { withId(R.id.login_btn) }
}
We can create a LoginActivityTest test. Let's add a step: opening the target screen LoginActivity.
package com.kaspersky.kaspresso.tutorial

import com.kaspersky.kaspresso.testcases.api.testcase.TestCase
import com.kaspersky.kaspresso.tutorial.screen.MainScreen
import org.junit.Test

class LoginActivityTest : TestCase() {

    @Test
    fun test() {
        run {
            step("Open login screen") {
                MainScreen {
                    loginActivityButton {
                        isVisible()
                        isClickable()
                        click()
                    }
                }
            }
        }
    }
}
When the target screen is open, we can test it. At the current stage, we will only add a check for a positive scenario when the user has successfully entered a login and password:
- All elements are visible and the button is clickable
- Input fields contain appropriate hints
- If the input fields contain valid data, then transition to the next screen is performed
In order to check which activity is currently open, you can use the method: device.activities.isCurrent(LoginActivity::class.java).
Then the general code of the test class will look like this:
package com.kaspersky.kaspresso.tutorial

import androidx.test.ext.junit.rules.activityScenarioRule
import com.kaspersky.kaspresso.testcases.api.testcase.TestCase
import com.kaspersky.kaspresso.tutorial.afterlogin.AfterLoginActivity
import com.kaspersky.kaspresso.tutorial.login.LoginActivity
import com.kaspersky.kaspresso.tutorial.screen.LoginScreen
import com.kaspersky.kaspresso.tutorial.screen.MainScreen
import org.junit.Rule
import org.junit.Test

class LoginActivityTest : TestCase() {

    @get:Rule
    val activityRule = activityScenarioRule<MainActivity>()

    @Test
    fun test() {
        run {
            val username = "123456"
            val password = "123456"

            step("Open login screen") {
                MainScreen {
                    loginActivityButton {
                        isVisible()
                        isClickable()
                        click()
                    }
                }
            }
            step("Check elements visibility") {
                LoginScreen {
                    inputUsername {
                        isVisible()
                        hasHint(R.string.login_activity_hint_username)
                    }
                    inputPassword {
                        isVisible()
                        hasHint(R.string.login_activity_hint_password)
                    }
                    loginButton {
                        isVisible()
                        isClickable()
                    }
                }
            }
            step("Try to login") {
                LoginScreen {
                    inputUsername {
                        replaceText(username)
                    }
                    inputPassword {
                        replaceText(password)
                    }
                    loginButton {
                        click()
                    }
                }
            }
            step("Check current screen") {
                device.activities.isCurrent(AfterLoginActivity::class.java)
            }
        }
    }
}
Let's start the test. Test passed successfully.
Now let's add checks for a negative scenario when the user entered a login or password that is less than the allowed minimum length.
Here you need to follow the rule: each test-case has its own test method. That is, we will not test entering both an incorrect login and incorrect password in the same method, but we will create separate ones in the same LoginActivityTest class.
@Test
fun loginUnsuccessfulIfUsernameIncorrect() {
    run {
        val username = "12"
        val password = "123456"

        step("Open login screen") {
            MainScreen {
                loginActivityButton {
                    isVisible()
                    isClickable()
                    click()
                }
            }
        }
        step("Check elements visibility") {
            LoginScreen {
                inputUsername {
                    isVisible()
                    hasHint(R.string.login_activity_hint_username)
                }
                inputPassword {
                    isVisible()
                    hasHint(R.string.login_activity_hint_password)
                }
                loginButton {
                    isVisible()
                    isClickable()
                }
            }
        }
        step("Try to login") {
            LoginScreen {
                inputUsername {
                    replaceText(username)
                }
                inputPassword {
                    replaceText(password)
                }
                loginButton {
                    click()
                }
            }
        }
        step("Check current screen") {
            device.activities.isCurrent(LoginActivity::class.java)
        }
    }
}
Then we add a test for the case when the login is correct and the password is not.
@Test
fun loginUnsuccessfulIfPasswordIncorrect() {
    run {
        val username = "123456"
        val password = "12345"

        step("Open login screen") {
            MainScreen {
                loginActivityButton {
                    isVisible()
                    isClickable()
                    click()
                }
            }
        }
        step("Check elements visibility") {
            LoginScreen {
                inputUsername {
                    isVisible()
                    hasHint(R.string.login_activity_hint_username)
                }
                inputPassword {
                    isVisible()
                    hasHint(R.string.login_activity_hint_password)
                }
                loginButton {
                    isVisible()
                    isClickable()
                }
            }
        }
        step("Try to login") {
            LoginScreen {
                inputUsername {
                    replaceText(username)
                }
                inputPassword {
                    replaceText(password)
                }
                loginButton {
                    click()
                }
            }
        }
        step("Check current screen") {
            device.activities.isCurrent(LoginActivity::class.java)
        }
    }
}
Let's rename the first test so that it is clear by its name that we are checking for successful authorization.
@Test
fun test()
Change to:
@Test
fun loginSuccessfulIfUsernameAndPasswordCorrect()
We run the tests. They all passed successfully.
Take a look at the code we're using in these tests. For each test we do the following:
- Declare the variables `username` and `password`, assigning different values to them depending on the check we will perform
- Open the login screen
- Check the visibility of elements
- Enter the login and password created in step (1) in the appropriate fields and click on the "Login" button
- Check that we have the desired screen
Depending on what we check in each specific test, we have different first and last steps. In the first step we assign different values to the username and password variables, in the last step we make different checks to see if the screen is LoginActivity or AfterLoginActivity.
At the same time, steps from the second to the fourth are exactly the same for all tests. This is one of the cases where we can use the Scenario class.
Create a Scenario
Scenarios are classes that allow you to combine several steps into one. For example, in this case, we can create an authorization script that will go through the entire process from starting the main screen to clicking on the Login button after entering the login and password.
In the package with all tests com.kaspersky.kaspresso.tutorial create a new class LoginScenario and inherit from the class Scenario from the package com.kaspersky.kaspresso.testcases.api.scenario
package com.kaspersky.kaspresso.tutorial

import com.kaspersky.kaspresso.testcases.api.scenario.Scenario

class LoginScenario : Scenario() {

}
There is an error here, because the Scenario class is abstract, and its child needs to override the steps property, in which we must list all the steps of this scenario.
Press the key combination ctrl + i, select the property you want to override and press OK.
package com.kaspersky.kaspresso.tutorial

import com.kaspersky.kaspresso.testcases.api.scenario.Scenario
import com.kaspersky.kaspresso.testcases.core.testcontext.TestContext

class LoginScenario : Scenario() {
    override val steps: TestContext<Unit>.() -> Unit
        get() = TODO("Not yet implemented")
}
Now, after specifying the type TestContext<Unit>.() -> Unit, delete the line get() = TODO("Not yet implemented"), put the = sign and open curly brackets, in which we list all the necessary steps.
Info
The return type of steps is a lambda expression, which is an extension function of the TestContext class. You can read more about lambda expressions and extension functions in the official Kotlin documentation .
Let's copy the steps that are repeated in each test.
package com.kaspersky.kaspresso.tutorial

import com.kaspersky.kaspresso.testcases.api.scenario.Scenario
import com.kaspersky.kaspresso.testcases.core.testcontext.TestContext
import com.kaspersky.kaspresso.tutorial.screen.LoginScreen
import com.kaspersky.kaspresso.tutorial.screen.MainScreen

class LoginScenario : Scenario() {

    override val steps: TestContext<Unit>.() -> Unit = {
        step("Open login screen") {
            MainScreen {
                loginActivityButton {
                    isVisible()
                    isClickable()
                    click()
                }
            }
        }
        step("Check elements visibility") {
            LoginScreen {
                inputUsername {
                    isVisible()
                    hasHint(R.string.login_activity_hint_username)
                }
                inputPassword {
                    isVisible()
                    hasHint(R.string.login_activity_hint_password)
                }
                loginButton {
                    isVisible()
                    isClickable()
                }
            }
        }
        step("Try to login") {
            LoginScreen {
                inputUsername {
                    replaceText(username)
                }
                inputPassword {
                    replaceText(password)
                }
                loginButton {
                    click()
                }
            }
        }
    }
}
Now we have an authorization script in which we open the login screen, check the visibility of all elements, enter the login and password values and click on the Login button.
But there is one problem: in this class there are no username and password variables that need to be entered in the input fields. We could declare them right here inside the test, as we did in the LoginActivityTest class,
override val steps: TestContext<Unit>.() -> Unit = {
    val username = "123456" // You can declare variables here
    val password = "123456"

    step("Open login screen") {
    ...
but depending on the test being run, these values should be different, so we cannot assign a value inside the test.
Therefore, instead of specifying the login and password directly inside the script, we can specify them as a parameter in the Scenario class inside the constructor. Then this piece of code:
class LoginScenario : Scenario()
changes to:
class LoginScenario(
    private val username: String,
    private val password: String
) : Scenario()
Now, inside the test, we do not create a login and password, but use those that were passed to us as a constructor parameter:
step("Try to login") {
    LoginScreen {
        inputUsername {
            replaceText(username)
        }
        inputPassword {
            replaceText(password)
        }
        loginButton {
            click()
        }
    }
}
Then the general Scenario code will look like this:
package com.kaspersky.kaspresso.tutorial

import com.kaspersky.kaspresso.testcases.api.scenario.Scenario
import com.kaspersky.kaspresso.testcases.core.testcontext.TestContext
import com.kaspersky.kaspresso.tutorial.screen.LoginScreen
import com.kaspersky.kaspresso.tutorial.screen.MainScreen

class LoginScenario(
    private val username: String,
    private val password: String
) : Scenario() {

    override val steps: TestContext<Unit>.() -> Unit = {
        step("Open login screen") {
            MainScreen {
                loginActivityButton {
                    isVisible()
                    isClickable()
                    click()
                }
            }
        }
        step("Check elements visibility") {
            LoginScreen {
                inputUsername {
                    isVisible()
                    hasHint(R.string.login_activity_hint_username)
                }
                inputPassword {
                    isVisible()
                    hasHint(R.string.login_activity_hint_password)
                }
                loginButton {
                    isVisible()
                    isClickable()
                }
            }
        }
        step("Try to login") {
            LoginScreen {
                inputUsername {
                    replaceText(username)
                }
                inputPassword {
                    replaceText(password)
                }
                loginButton {
                    click()
                }
            }
        }
    }
}
Using Scenario
The Scenario is ready, we can use it in tests. Let's first use the Scenario in the first test method, and then we will do it in the rest the same way:
- Create a step in which we try to log in with the correct data
- Call the `scenario` function
- Pass the LoginScenario object as a parameter to this function
- Pass the correct login and password to the LoginScenario constructor
- Add a step in which we check that the `AfterLoginActivity` screen opens after login
@Test
fun loginSuccessfulIfUsernameAndPasswordCorrect() {
    run {
        step("Try to login with correct username and password") {
            scenario(
                LoginScenario(
                    username = "123456",
                    password = "123456",
                )
            )
        }
        step("Check current screen") {
            device.activities.isCurrent(AfterLoginActivity::class.java)
        }
    }
}
For the rest of the tests, we modify them the same way:
package com.kaspersky.kaspresso.tutorial

import androidx.test.ext.junit.rules.activityScenarioRule
import com.kaspersky.kaspresso.testcases.api.testcase.TestCase
import com.kaspersky.kaspresso.tutorial.afterlogin.AfterLoginActivity
import com.kaspersky.kaspresso.tutorial.login.LoginActivity
import org.junit.Rule
import org.junit.Test

class LoginActivityTest : TestCase() {

    @get:Rule
    val activityRule = activityScenarioRule<MainActivity>()

    @Test
    fun loginSuccessfulIfUsernameAndPasswordCorrect() {
        run {
            step("Try to login with correct username and password") {
                scenario(
                    LoginScenario(
                        username = "123456",
                        password = "123456",
                    )
                )
            }
            step("Check current screen") {
                device.activities.isCurrent(AfterLoginActivity::class.java)
            }
        }
    }

    @Test
    fun loginUnsuccessfulIfUsernameIncorrect() {
        run {
            step("Try to login with incorrect username") {
                scenario(
                    LoginScenario(
                        username = "12",
                        password = "123456",
                    )
                )
            }
            step("Check current screen") {
                device.activities.isCurrent(LoginActivity::class.java)
            }
        }
    }

    @Test
    fun loginUnsuccessfulIfPasswordIncorrect() {
        run {
            step("Try to login with incorrect password") {
                scenario(
                    LoginScenario(
                        username = "123456",
                        password = "12345",
                    )
                )
            }
            step("Check current screen") {
                device.activities.isCurrent(LoginActivity::class.java)
            }
        }
    }
}
We have considered one case when Scenarios are convenient to use: when the same steps are used in different tests within the framework of testing one screen. But this is not their only purpose.
An application can have multiple screens that can only be accessed by being logged in. In this case, for each such screen, you will have to re-describe all the authorization steps. But when using Scenario, this becomes a very simple task.
Now after logging in, we have the AfterLoginActivity screen. Let's write a test for this screen.
First of all, we create a Page Object
package com.kaspersky.kaspresso.tutorial.screen

import com.kaspersky.kaspresso.screens.KScreen
import com.kaspersky.kaspresso.tutorial.R
import io.github.kakaocup.kakao.edit.KEditText

object AfterLoginScreen : KScreen<AfterLoginScreen>() {

    override val layoutId: Int? = null
    override val viewClass: Class<*>? = null

    val title = KEditText { withId(R.id.title) }
}
Add a test:
package com.kaspersky.kaspresso.tutorial

import androidx.test.ext.junit.rules.activityScenarioRule
import com.kaspersky.kaspresso.testcases.api.testcase.TestCase
import org.junit.Rule
import org.junit.Test

class AfterLoginActivityTest : TestCase() {

    @get:Rule
    val activityRule = activityScenarioRule<MainActivity>()

    @Test
    fun test() {

    }
}
In order to get to this screen, we need to go through the authorization process. Without the use of Scenario, we would have to repeat all the steps: launch the main screen, click on the button, then enter the username and password and click on the button again. But now this whole process comes down to using LoginScenario:
package com.kaspersky.kaspresso.tutorial

import androidx.test.ext.junit.rules.activityScenarioRule
import com.kaspersky.kaspresso.testcases.api.testcase.TestCase
import com.kaspersky.kaspresso.tutorial.screen.AfterLoginScreen
import org.junit.Rule
import org.junit.Test

class AfterLoginActivityTest : TestCase() {

    @get:Rule
    val activityRule = activityScenarioRule<MainActivity>()

    @Test
    fun test() {
        run {
            step("Open AfterLogin screen") {
                scenario(
                    LoginScenario(
                        username = "123456",
                        password = "123456"
                    )
                )
            }
            step("Check title") {
                AfterLoginScreen {
                    title {
                        isVisible()
                        hasText(R.string.screen_after_login)
                    }
                }
            }
        }
    }
}
Thus, through the use of Scenario, the code becomes clean, understandable and reusable. And to check the screens available only to authorized users, now you do not need to take many identical steps.
Best practices
Scenario is very handy if you use it correctly.
- If you have to follow the same steps to run different tests, then this is the case when it is worth creating a Scenario. Examples: screens for authorization, payment for purchases, etc.
- You shouldn't use one Scenario inside another because this code can become very confusing, making it harder to read and reuse it, and in the end you lose all benefits of Scenarios.
- Use Scenario only when needed. You should not create them just because sometime in the future these steps may be used in other tests. If you see that the steps are repeated in different tests, then you can create a `Scenario`, if not, you should not do this. Their number in the project should be minimal.
Summary
In this lesson, we learned what Scenarios are, how to create them, use them, and pass parameters to their constructor. We also considered cases when their use benefits the project, and when, on the contrary, it worsens the readability of the code, increases its coupling and complicates reuse.