RecyclerView. Testing list of elements
In practice, we often have to work with screens that contain lists of elements, and these lists are dynamic, and their size and content can change. When testing such screens, there are some peculiarities. We will talk about them in this lesson.
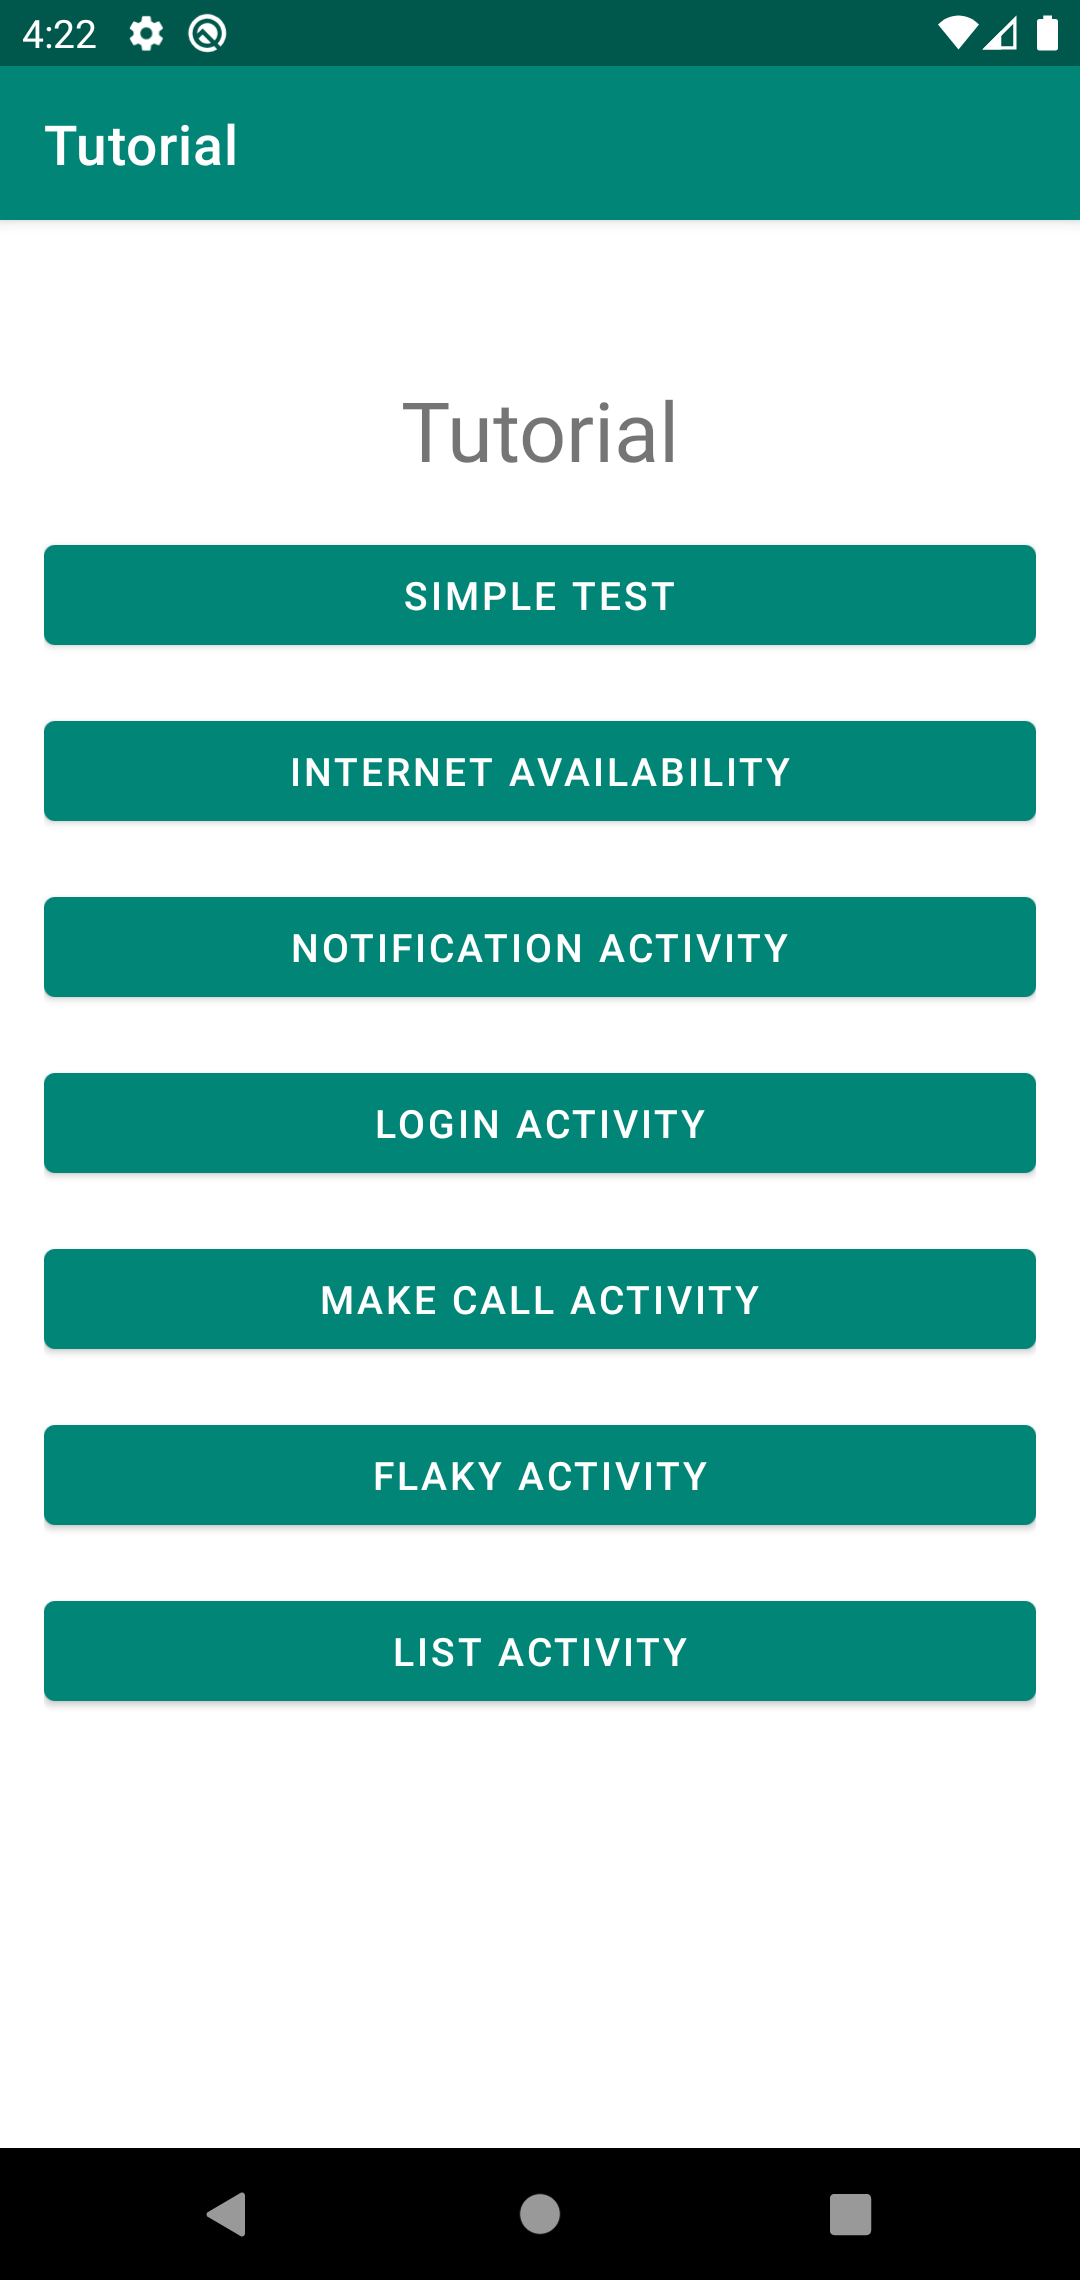
Open the tutorial application and click on the List Activity button.
You will see the following screen:
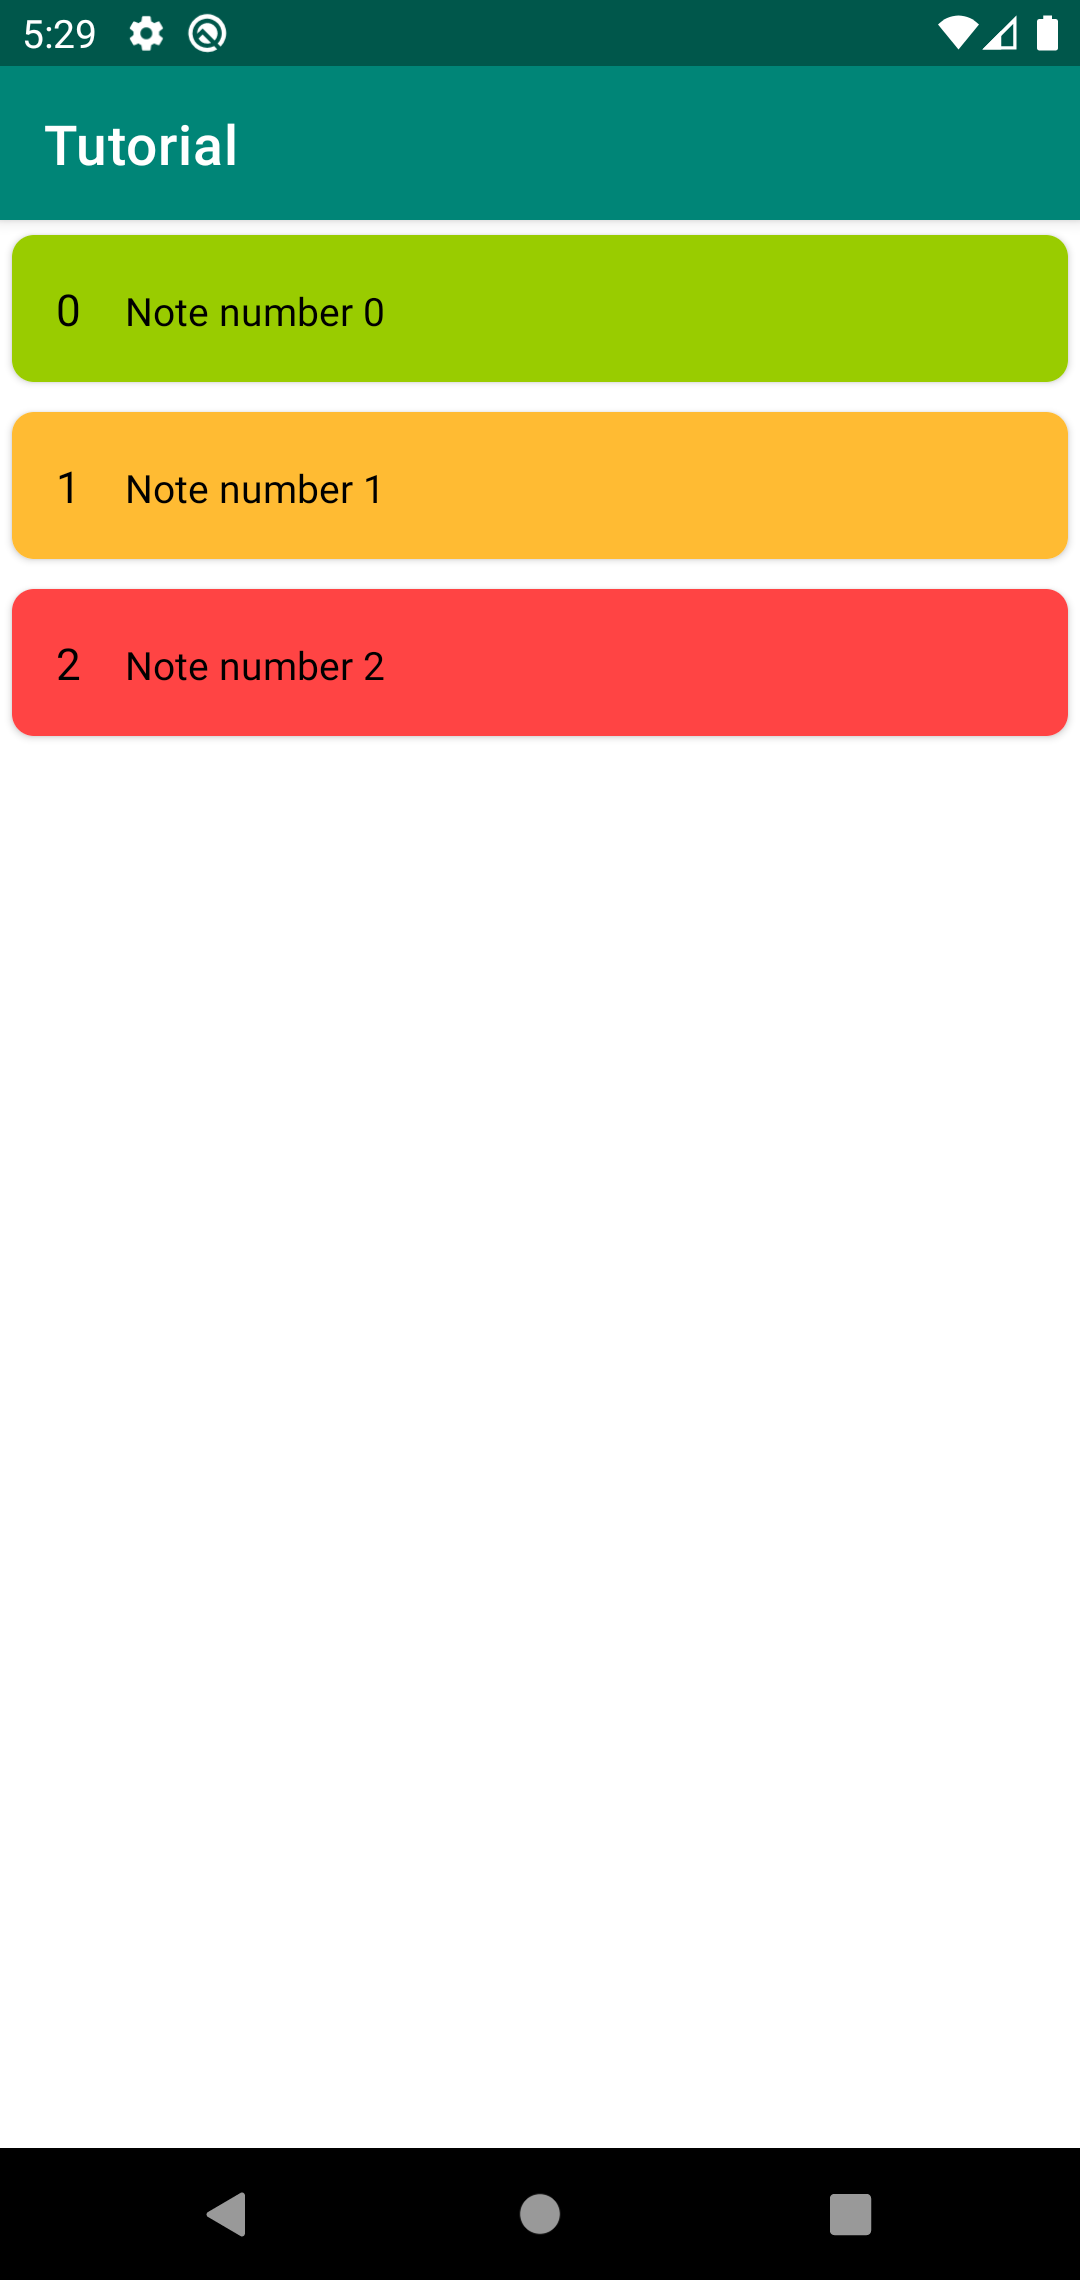
It displays the user's to-do list. Each element of the list has a serial number, text and color, which is set depending on the priority. If the priority is low, then the background color is green, if medium, then orange, if high, then red.
It is also possible to delete list items with a swipe action.
Let's write tests for this screen. We need the IDs of the list elements, we will use the LayoutInspector to find them.
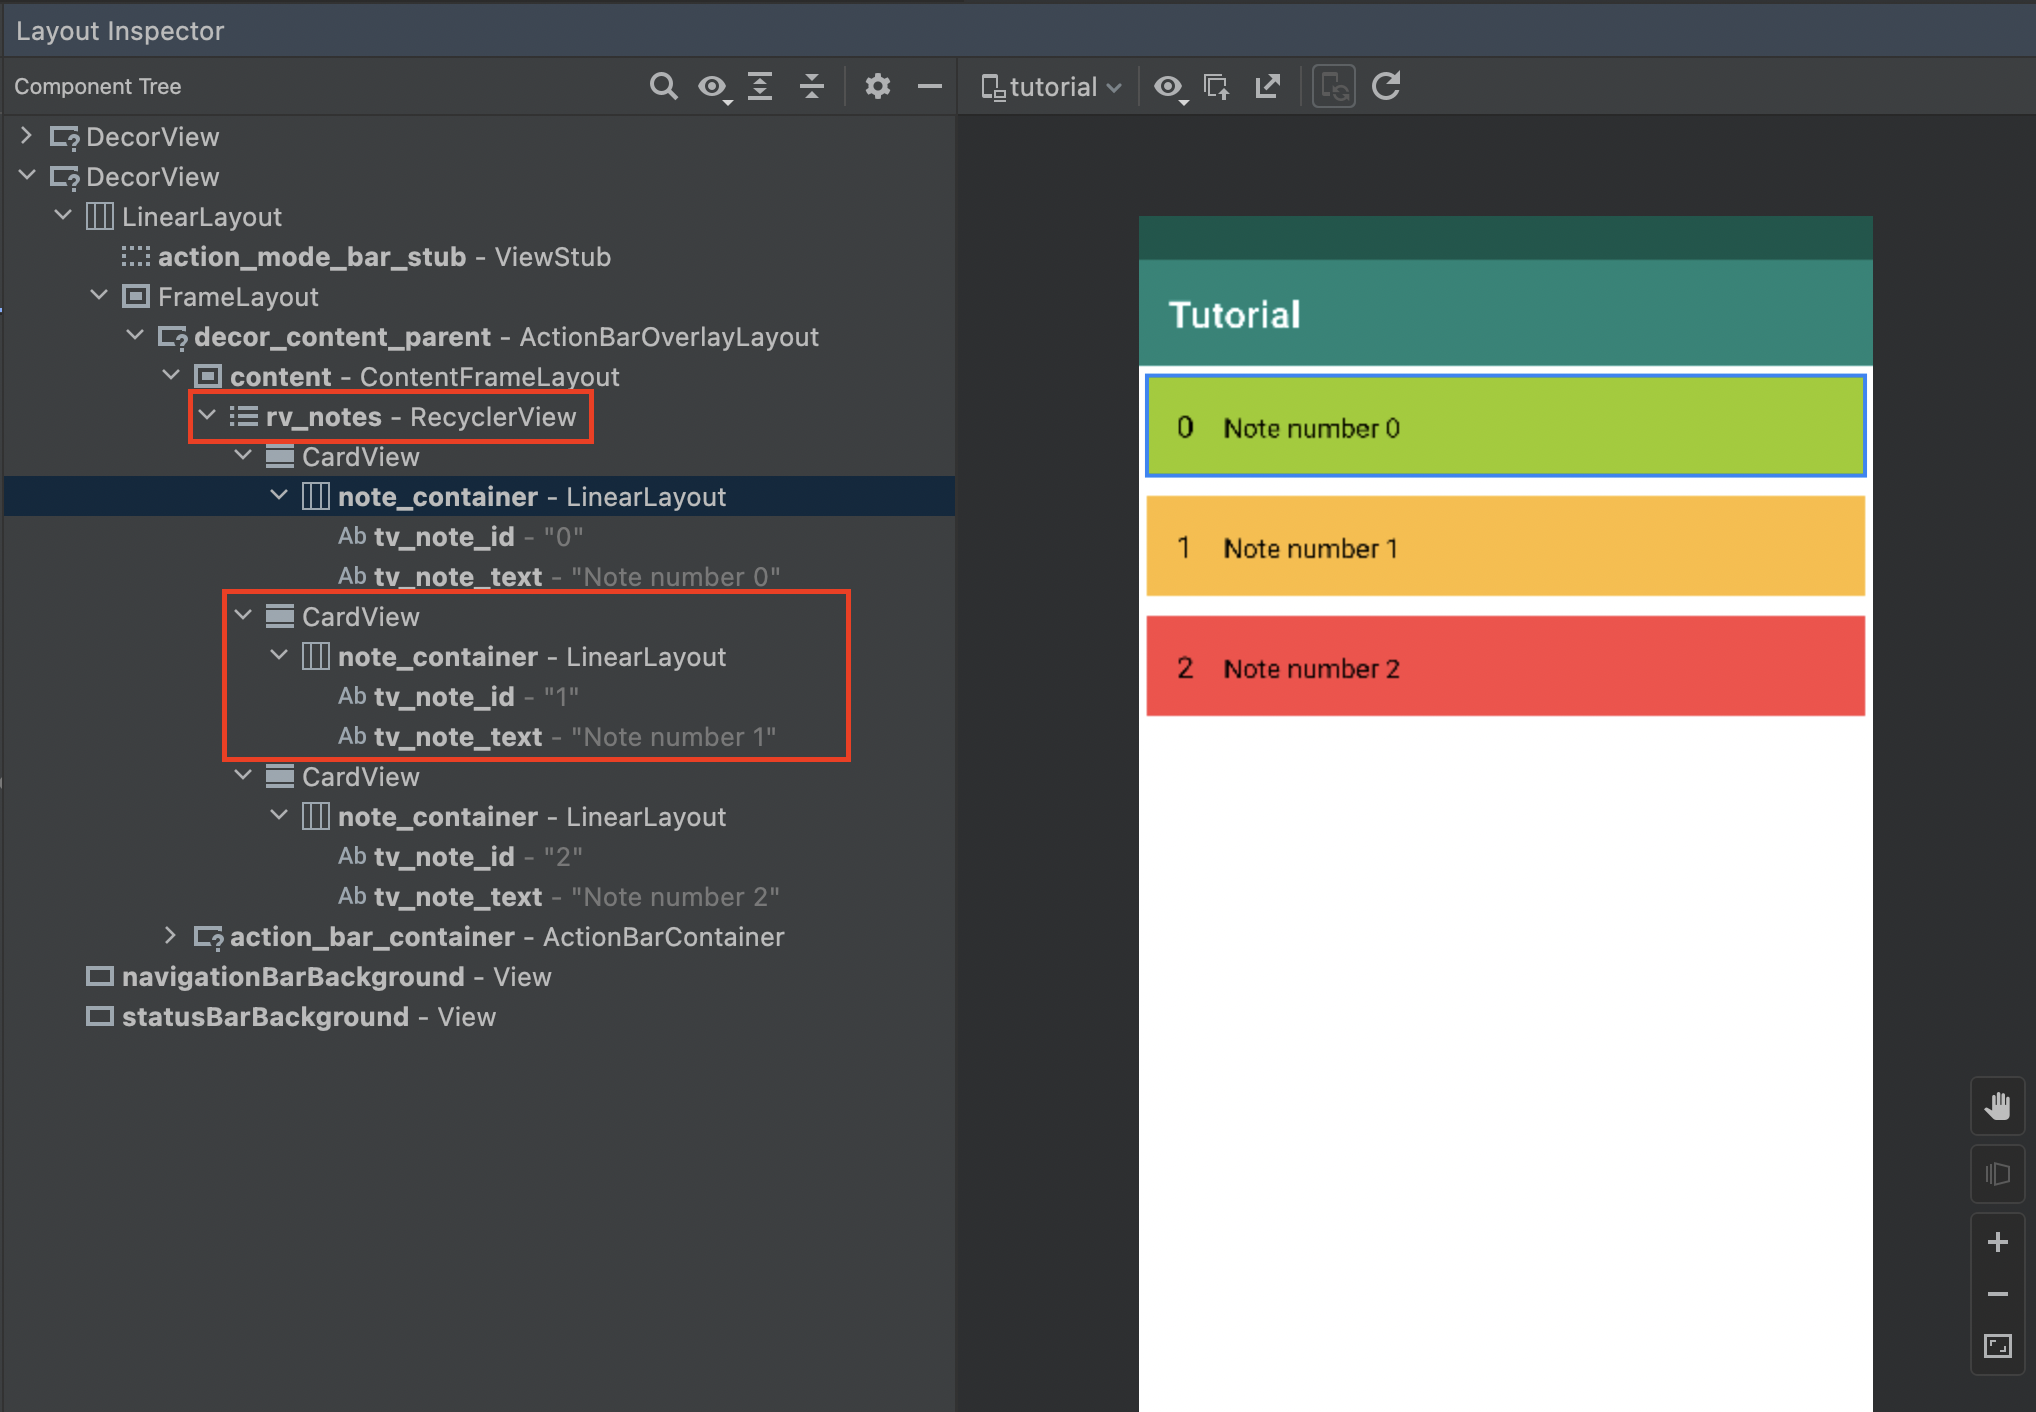
Note that all list items are inside RecyclerView with id rv_notes. The recycler has three objects that have the same IDs: note_container, tv_note_id and tv_note_text.
It turns out that we will not be able to test the screen in the usual way, since all elements have the same ID, instead we use a different approach. The PageObject of the screen with the list of notes will contain only one element - RecyclerView, and the elements of the list will be separate PageObjects, whose content we will check.
Let's start writing a test. First of all let's add PageObject NoteListScreen.
package com.kaspersky.kaspresso.tutorial.screen

import com.kaspersky.kaspresso.screens.KScreen
import com.kaspersky.kaspresso.tutorial.R
import io.github.kakaocup.kakao.recycler.KRecyclerView

object NoteListScreen : KScreen<NoteListScreen>() {

    override val layoutId: Int? = null
    override val viewClass: Class<*>? = null

    val rvNotes = KRecyclerView { withId(R.id.rv_notes) }
}
RecyclerView, then it is assumed that you will be checking the elements of the list, and not the container with these elements. Therefore, when creating an instance of KRecyclerView, it is not enough to pass only the matcher by which the object will be found, you must pass the second parameter, which is called itemTypeBuilder.
Info
If you want to know what parameters to pass to a particular method or constructor, you can press the key combination ctrl + P (cmd + P on Mac OS), and you will see a tooltip that will indicate the necessary arguments.
We have already said earlier that we will need a Page Object for each list item, so we need to create an appropriate class, we will pass an instance of this class to itemTypeBuilder.
In the same file, add the NoteItemScreen class, this time we inherit not from KScreen, but from KRecyclerViewItem, since now it is not a regular Page Object, but a list item RecyclerView
package com.kaspersky.kaspresso.tutorial.screen

import com.kaspersky.kaspresso.screens.KScreen
import com.kaspersky.kaspresso.tutorial.R
import io.github.kakaocup.kakao.recycler.KRecyclerItem
import io.github.kakaocup.kakao.recycler.KRecyclerView

object NoteListScreen : KScreen<NoteListScreen>() {

    override val layoutId: Int? = null
    override val viewClass: Class<*>? = null

    val rvNotes = KRecyclerView { withId(R.id.rv_notes) }

    class NoteItemScreen: KRecyclerItem<NoteItemScreen>() {

    }
}
Please note that earlier when creating the Page Object we wrote the object keyword, but here we need to write class. The reason is that all the tested screens so far have been in a single instance, and here we will have several list elements, each of which will be a Page Object, so we create a class, and for each element we will receive an instance of this class.
In the notes, we will need the root note_container and two TextView. If we try to find them on the screen by id, then an error will occur, since there are several such elements on the screen and it is not clear which one we need.
This problem is solved as follows - each note is a separate View instance and we will search for elements not on the entire screen, but only inside these same View (notes). To implement such logic, the matcher object must be passed as a parameter to the KRecyclerViewItem constructor. During testing, a matcher will be passed for each object, in which we will find the necessary View elements.
Therefore, we pass matcher as a parameter:
package com.kaspersky.kaspresso.tutorial.screen

import android.view.View
import com.kaspersky.kaspresso.screens.KScreen
import com.kaspersky.kaspresso.tutorial.R
import io.github.kakaocup.kakao.recycler.KRecyclerItem
import io.github.kakaocup.kakao.recycler.KRecyclerView
import org.hamcrest.Matcher

object NoteListScreen : KScreen<NoteListScreen>() {

    override val layoutId: Int? = null
    override val viewClass: Class<*>? = null

    val rvNotes = KRecyclerView { withId(R.id.rv_notes) }

    class NoteItemScreen(matcher: Matcher<View>) : KRecyclerItem<NoteItemScreen>(matcher) {

    }
}
package com.kaspersky.kaspresso.tutorial.screen

import android.view.View
import com.kaspersky.kaspresso.screens.KScreen
import com.kaspersky.kaspresso.tutorial.R
import io.github.kakaocup.kakao.common.views.KView
import io.github.kakaocup.kakao.recycler.KRecyclerItem
import io.github.kakaocup.kakao.recycler.KRecyclerView
import io.github.kakaocup.kakao.text.KTextView
import org.hamcrest.Matcher

object NoteListScreen : KScreen<NoteListScreen>() {

    override val layoutId: Int? = null
    override val viewClass: Class<*>? = null

    val rvNotes = KRecyclerView { withId(R.id.rv_notes) }

    class NoteItemScreen(matcher: Matcher<View>) : KRecyclerItem<NoteItemScreen>(matcher) {

        val noteContainer = KView(matcher) { withId(R.id.note_container) }
        val tvNoteId = KTextView(matcher) { withId(R.id.tv_note_id) }
        val tvNoteText = KTextView(matcher) { withId(R.id.tv_note_text) }
    }
}
First, it is now necessary to pass a matcher to the View-element constructor, in which we will search for the required object. If this is not done, the test will fail.
Secondly, if we check some specific behavior of the UI element, then we specify a specific inheritor of KView (KTextView, KEditText, KButton...). For example, if we want to check for text, we create a KTextView that has the ability to get the text.
And if we are checking some common things that are available in all interface elements (background color, size, visibility, etc.), then we can use the parent KView. In this case, we will check the texts of tvNoteId and tvNoteText, so we specified the type KTextView. And the container in which these TextView are located is an instance of CardView, we will only check the background color for it, it does not need to check any specific things, so we specified the parent type as KView
When the PageObject of the list item is ready, you can create an instance of KRecyclerView, for this we pass two parameters:
The first is builder, in which we will find RecyclerView by its id:
val rvNotes = KRecyclerView(
    builder = { withId(R.id.rv_notes) },
)
itemTypeBuilder, here you need to call the itemType function and to create an instance of NoteItemScreen here:
val rvNotes = KRecyclerView(
    builder = { withId(R.id.rv_notes) },
    itemTypeBuilder = {
        itemType {
            NoteItemScreen(it)
        }
    }
)
Info
You can read more about lambda expressions here.
This entry can be shortened using Method Reference, then the final version of the class will look like this:
package com.kaspersky.kaspresso.tutorial.screen

import android.view.View
import com.kaspersky.kaspresso.screens.KScreen
import com.kaspersky.kaspresso.tutorial.R
import io.github.kakaocup.kakao.common.views.KView
import io.github.kakaocup.kakao.recycler.KRecyclerItem
import io.github.kakaocup.kakao.recycler.KRecyclerView
import io.github.kakaocup.kakao.text.KTextView
import org.hamcrest.Matcher

object NoteListScreen : KScreen<NoteListScreen>() {

    override val layoutId: Int? = null
    override val viewClass: Class<*>? = null

    val rvNotes = KRecyclerView(
        builder = { withId(R.id.rv_notes) },
        itemTypeBuilder = { itemType(::NoteItemScreen) }
    )

    class NoteItemScreen(matcher: Matcher<View>) : KRecyclerItem<NoteItemScreen>(matcher) {

        val noteContainer = KView(matcher) { withId(R.id.note_container) }
        val tvNoteId = KTextView(matcher) { withId(R.id.tv_note_id) }
        val tvNoteText = KTextView(matcher) { withId(R.id.tv_note_text) }
    }
}
Main Screen
package com.kaspersky.kaspresso.tutorial.screen

import com.kaspersky.kaspresso.screens.KScreen
import com.kaspersky.kaspresso.tutorial.R
import io.github.kakaocup.kakao.text.KButton

object MainScreen : KScreen<MainScreen>() {

    override val layoutId: Int? = null
    override val viewClass: Class<*>? = null

    val simpleActivityButton = KButton { withId(R.id.simple_activity_btn) }
    val wifiActivityButton = KButton { withId(R.id.wifi_activity_btn) }
    val loginActivityButton = KButton { withId(R.id.login_activity_btn) }
    val notificationActivityButton = KButton { withId(R.id.notification_activity_btn) }
    val makeCallActivityButton = KButton { withId(R.id.make_call_activity_btn) }
    val flakyActivityButton = KButton { withId(R.id.flaky_activity_btn) }
    val listActivityButton = KButton { withId(R.id.list_activity_btn) }
}
Testing NoteListScreen
We create a class for testing, and, as usual, add a transition to this screen:
package com.kaspersky.kaspresso.tutorial

import androidx.test.ext.junit.rules.activityScenarioRule
import com.kaspersky.kaspresso.testcases.api.testcase.TestCase
import com.kaspersky.kaspresso.tutorial.screen.MainScreen
import org.junit.Rule
import org.junit.Test

class NoteListTest : TestCase() {

    @get:Rule
    val activityRule = activityScenarioRule<MainActivity>()

    @Test
    fun checkNotesScreen() = run {
        step("Open note list screen") {
            MainScreen {
                listActivityButton {
                    isVisible()
                    isClickable()
                    click()
                }
            }
        }
    }
}
Now let's check that three items are displayed on the screen with the list of notes, for this we can call the getSize method on KRecyclerView:
package com.kaspersky.kaspresso.tutorial

import androidx.test.ext.junit.rules.activityScenarioRule
import com.kaspersky.kaspresso.testcases.api.testcase.TestCase
import com.kaspersky.kaspresso.tutorial.screen.MainScreen
import com.kaspersky.kaspresso.tutorial.screen.NoteListScreen
import org.junit.Assert
import org.junit.Rule
import org.junit.Test

class NoteListTest : TestCase() {

    @get:Rule
    val activityRule = activityScenarioRule<MainActivity>()

    @Test
    fun checkNotesScreen() = run {
        step("Open note list screen") {
            MainScreen {
                listActivityButton {
                    isVisible()
                    isClickable()
                    click()
                }
            }
        }
        step("Check notes count") {
            NoteListScreen {
                Assert.assertEquals(3, rvNotes.getSize())
            }
        }
    }
}
KRecyclerView has many useful methods, you can put a dot after the object name and see all the possibilities. For example, using firstChild or lastChild you can get the first or last element of NoteItemScreen respectively. You can also find an element by its position, or perform checks on absolutely all notes using the children method. To use them in angle brackets, you need to specify the type KRecyclerViewItem, in our case it is NoteItemScreen.
Let's check the visibility of all elements and that they all contain some text:
package com.kaspersky.kaspresso.tutorial

import androidx.test.ext.junit.rules.activityScenarioRule
import com.kaspersky.kaspresso.testcases.api.testcase.TestCase
import com.kaspersky.kaspresso.tutorial.screen.MainScreen
import com.kaspersky.kaspresso.tutorial.screen.NoteListScreen
import org.junit.Assert
import org.junit.Rule
import org.junit.Test

class NoteListTest : TestCase() {

    @get:Rule
    val activityRule = activityScenarioRule<MainActivity>()

    @Test
    fun checkNotesScreen() = run {
        step("Open note list screen") {
            MainScreen {
                listActivityButton {
                    isVisible()
                    isClickable()
                    click()
                }
            }
        }
        step("Check notes count") {
            NoteListScreen {
                Assert.assertEquals(3, rvNotes.getSize())
            }
        }
        step("Check elements visibility") {
            NoteListScreen {
                rvNotes {
                    children<NoteListScreen.NoteItemScreen> {
                        tvNoteId.isVisible()
                        tvNoteText.isVisible()
                        noteContainer.isVisible()

                        tvNoteId.hasAnyText()
                        tvNoteText.hasAnyText()
                    }
                }
            }
        }
    }
}
package com.kaspersky.kaspresso.tutorial

import androidx.test.ext.junit.rules.activityScenarioRule
import com.kaspersky.kaspresso.testcases.api.testcase.TestCase
import com.kaspersky.kaspresso.tutorial.screen.MainScreen
import com.kaspersky.kaspresso.tutorial.screen.NoteListScreen
import org.junit.Assert
import org.junit.Rule
import org.junit.Test

class NoteListTest : TestCase() {

    @get:Rule
    val activityRule = activityScenarioRule<MainActivity>()

    @Test
    fun checkNotesScreen() = run {
        step("Open note list screen") {
            MainScreen {
                listActivityButton {
                    isVisible()
                    isClickable()
                    click()
                }
            }
        }
        step("Check notes count") {
            NoteListScreen {
                Assert.assertEquals(3, rvNotes.getSize())
            }
        }
        step("Check elements visibility") {
            NoteListScreen {
                rvNotes {
                    children<NoteListScreen.NoteItemScreen> {
                        tvNoteId.isVisible()
                        tvNoteText.isVisible()
                        noteContainer.isVisible()

                        tvNoteId.hasAnyText()
                        tvNoteText.hasAnyText()
                    }
                }
            }
        }
        step("Check elements content") {
            NoteListScreen {
                rvNotes {
                    childAt<NoteListScreen.NoteItemScreen>(0) {
                        noteContainer.hasBackgroundColor(android.R.color.holo_green_light)
                        tvNoteId.hasText("0")
                        tvNoteText.hasText("Note number 0")
                    }
                    childAt<NoteListScreen.NoteItemScreen>(1) {
                        noteContainer.hasBackgroundColor(android.R.color.holo_orange_light)
                        tvNoteId.hasText("1")
                        tvNoteText.hasText("Note number 1")
                    }
                    childAt<NoteListScreen.NoteItemScreen>(2) {
                        noteContainer.hasBackgroundColor(android.R.color.holo_red_light)
                        tvNoteId.hasText("2")
                        tvNoteText.hasText("Note number 2")
                    }
                }
            }
        }
    }
}
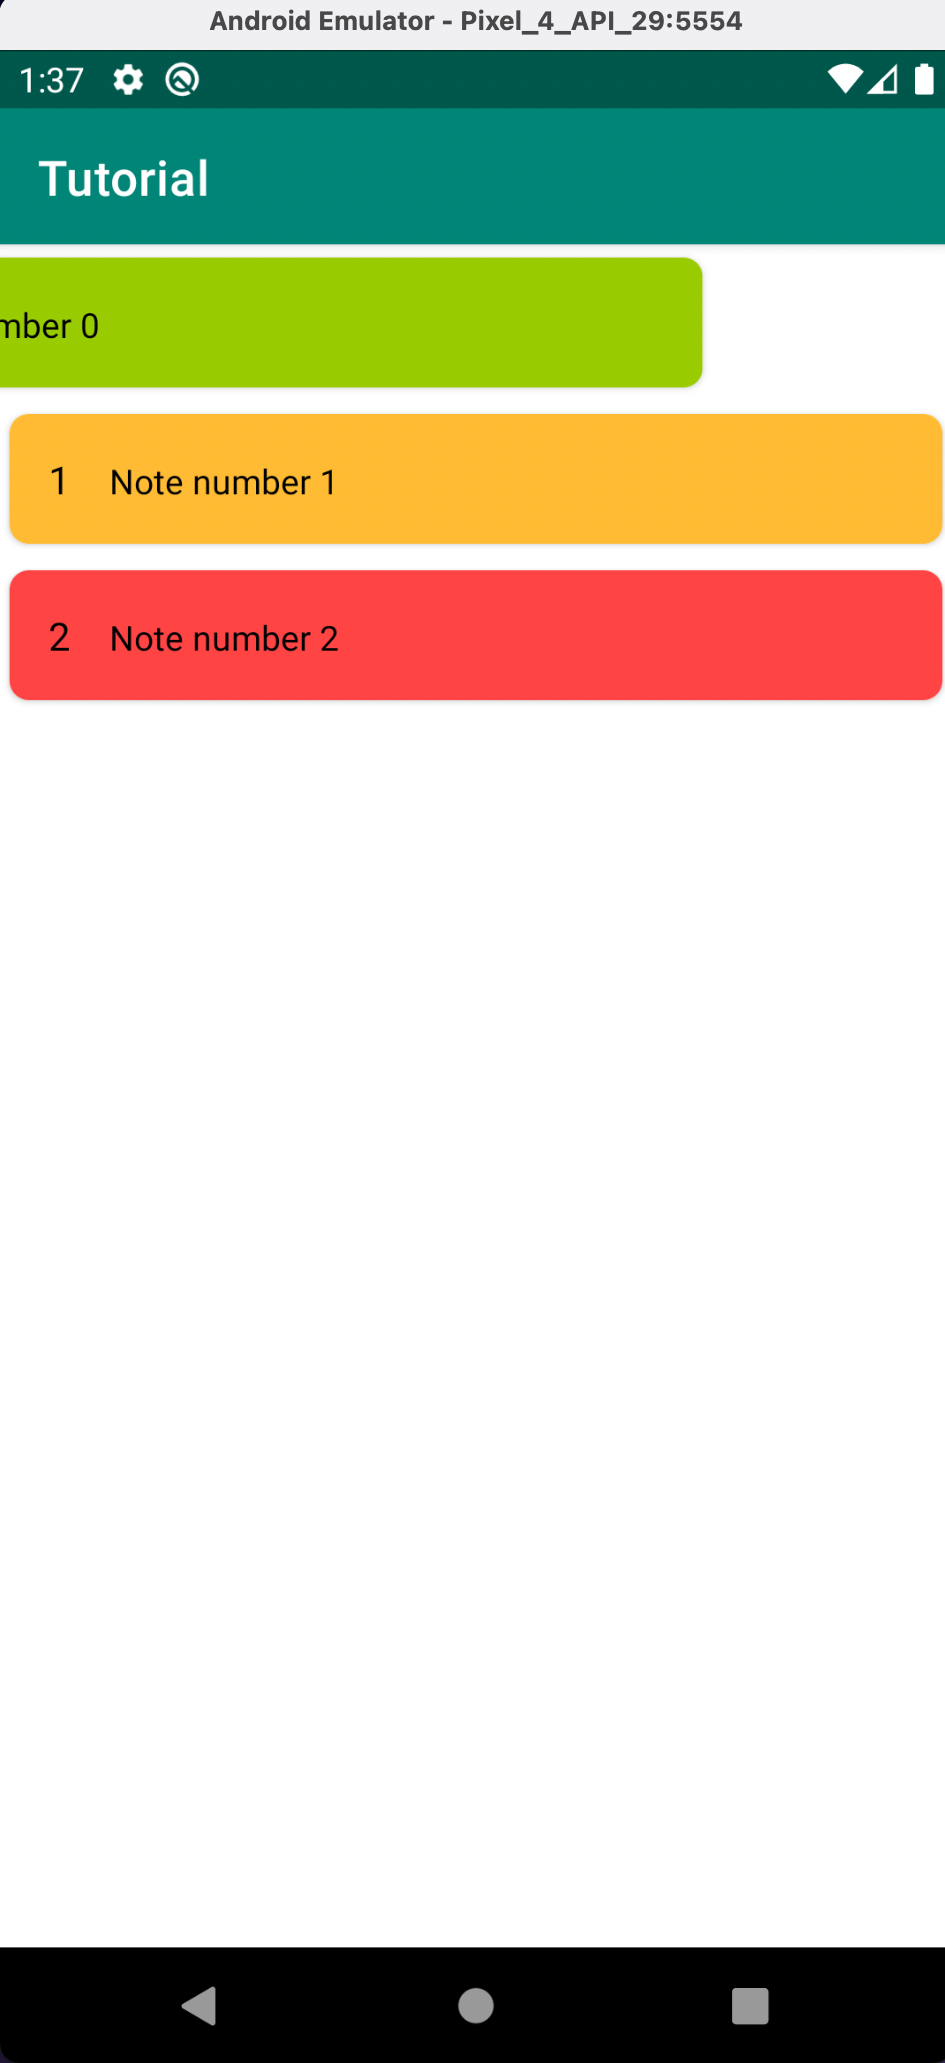
Swipe check
The application has the ability to delete notes with a swipe action. Let's check this point - remove the first note and make sure that two elements with the corresponding content remain on the screen.
To perform some actions with View elements, we can get the view object and call its perform method as a parameter, passing the desired action. In this case, we swipe to the left, then the code will look like this:
package com.kaspersky.kaspresso.tutorial

import androidx.test.espresso.action.ViewActions
import androidx.test.ext.junit.rules.activityScenarioRule
import com.kaspersky.kaspresso.testcases.api.testcase.TestCase
import com.kaspersky.kaspresso.tutorial.screen.MainScreen
import com.kaspersky.kaspresso.tutorial.screen.NoteListScreen
import org.junit.Assert
import org.junit.Rule
import org.junit.Test

class NoteListTest : TestCase() {

    @get:Rule
    val activityRule = activityScenarioRule<MainActivity>()

    @Test
    fun checkNotesScreen() = run {
        step("Open note list screen") {
            MainScreen {
                listActivityButton {
                    isVisible()
                    isClickable()
                    click()
                }
            }
        }
        step("Check notes count") {
            NoteListScreen {
                Assert.assertEquals(3, rvNotes.getSize())
            }
        }
        step("Check elements visibility") {
            NoteListScreen {
                rvNotes {
                    children<NoteListScreen.NoteItemScreen> {
                        tvNoteId.isVisible()
                        tvNoteText.isVisible()
                        noteContainer.isVisible()

                        tvNoteId.hasAnyText()
                        tvNoteText.hasAnyText()
                    }
                }
            }
        }
        step("Check elements content") {
            NoteListScreen {
                rvNotes {
                    childAt<NoteListScreen.NoteItemScreen>(0) {
                        noteContainer.hasBackgroundColor(android.R.color.holo_green_light)
                        tvNoteId.hasText("0")
                        tvNoteText.hasText("Note number 0")
                    }
                    childAt<NoteListScreen.NoteItemScreen>(1) {
                        noteContainer.hasBackgroundColor(android.R.color.holo_orange_light)
                        tvNoteId.hasText("1")
                        tvNoteText.hasText("Note number 1")
                    }
                    childAt<NoteListScreen.NoteItemScreen>(2) {
                        noteContainer.hasBackgroundColor(android.R.color.holo_red_light)
                        tvNoteId.hasText("2")
                        tvNoteText.hasText("Note number 2")
                    }
                }
            }
        }
        step("Check swipe to dismiss action") {
            NoteListScreen {
                rvNotes {
                    childAt<NoteListScreen.NoteItemScreen>(0) {
                        view.perform(ViewActions.swipeLeft())
                    }
                    childAt<NoteListScreen.NoteItemScreen>(0) {
                        noteContainer.hasBackgroundColor(android.R.color.holo_orange_light)
                        tvNoteId.hasText("1")
                        tvNoteText.hasText("Note number 1")
                    }
                    childAt<NoteListScreen.NoteItemScreen>(1) {
                        noteContainer.hasBackgroundColor(android.R.color.holo_red_light)
                        tvNoteId.hasText("2")
                        tvNoteText.hasText("Note number 2")
                    }
                }
            }
        }
    }
}
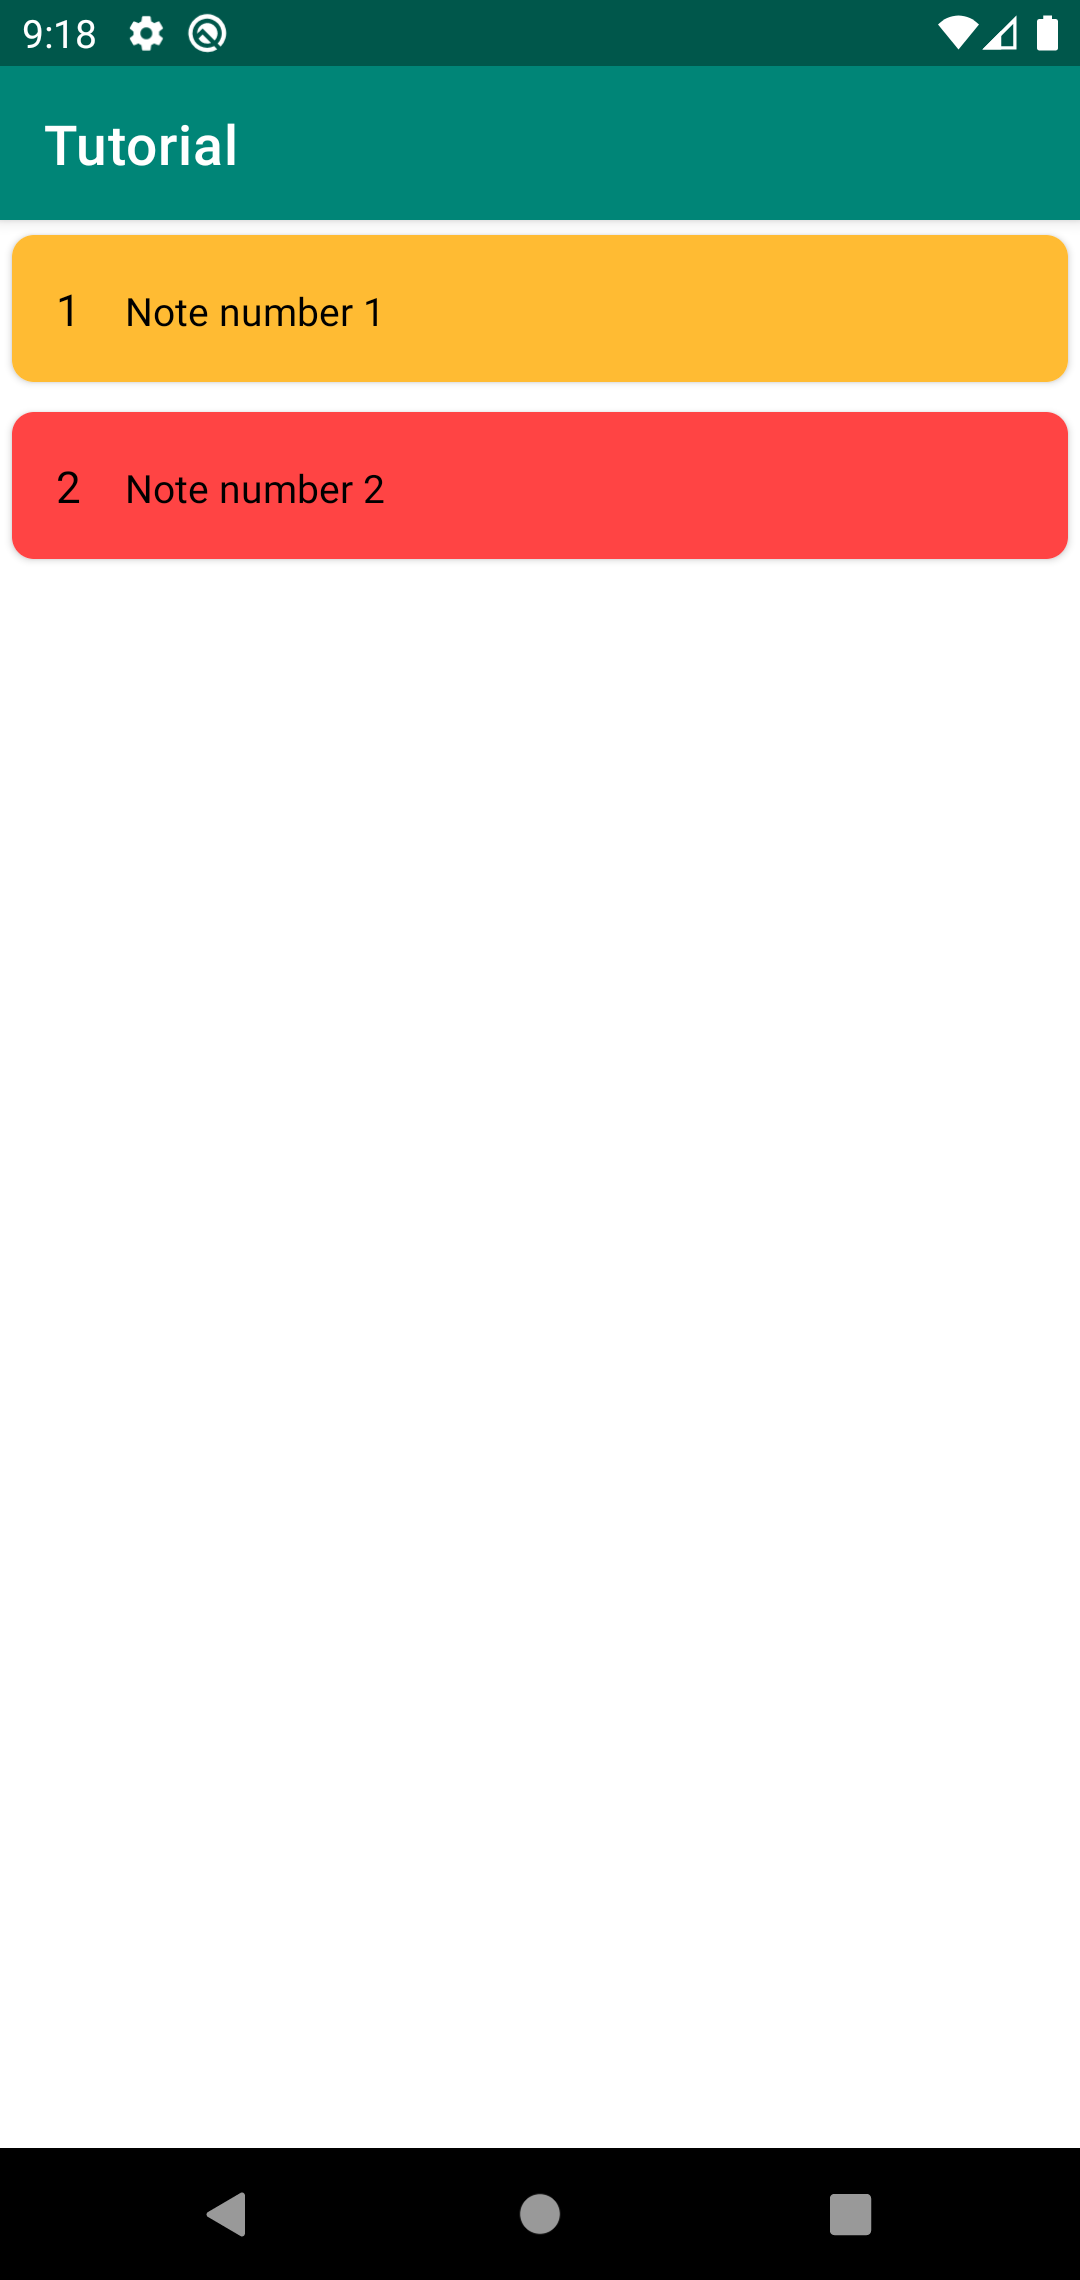
In the last step, we remove the element at index 0 and check that “Note number 1” now lies at this index.
Wait for idle
You may have noticed that all checks are performed immediately after the swipe, without even waiting for the animation to complete. Now the test passes successfully, but sometimes it can lead to errors.
Therefore, in cases where some action is performed with animation and it takes time to complete, you can call the device.uiDevice.waitForIdle method. This method will stop the test execution until the screen enters the idle state - when no action is taking place and no animations are being performed.
We add this line to the test after the swipe, and check that the number of elements has become two:
package com.kaspersky.kaspresso.tutorial

import androidx.test.espresso.action.ViewActions
import androidx.test.ext.junit.rules.activityScenarioRule
import com.kaspersky.kaspresso.testcases.api.testcase.TestCase
import com.kaspersky.kaspresso.tutorial.screen.MainScreen
import com.kaspersky.kaspresso.tutorial.screen.NoteListScreen
import org.junit.Assert
import org.junit.Rule
import org.junit.Test

class NoteListTest : TestCase() {

    @get:Rule
    val activityRule = activityScenarioRule<MainActivity>()

    @Test
    fun checkNotesScreen() = run {
        step("Open note list screen") {
            MainScreen {
                listActivityButton {
                    isVisible()
                    isClickable()
                    click()
                }
            }
        }
        step("Check notes count") {
            NoteListScreen {
                Assert.assertEquals(3, rvNotes.getSize())
            }
        }
        step("Check elements visibility") {
            NoteListScreen {
                rvNotes {
                    children<NoteListScreen.NoteItemScreen> {
                        tvNoteId.isVisible()
                        tvNoteText.isVisible()
                        noteContainer.isVisible()

                        tvNoteId.hasAnyText()
                        tvNoteText.hasAnyText()
                    }
                }
            }
        }
        step("Check elements content") {
            NoteListScreen {
                rvNotes {
                    childAt<NoteListScreen.NoteItemScreen>(0) {
                        noteContainer.hasBackgroundColor(android.R.color.holo_green_light)
                        tvNoteId.hasText("0")
                        tvNoteText.hasText("Note number 0")
                    }
                    childAt<NoteListScreen.NoteItemScreen>(1) {
                        noteContainer.hasBackgroundColor(android.R.color.holo_orange_light)
                        tvNoteId.hasText("1")
                        tvNoteText.hasText("Note number 1")
                    }
                    childAt<NoteListScreen.NoteItemScreen>(2) {
                        noteContainer.hasBackgroundColor(android.R.color.holo_red_light)
                        tvNoteId.hasText("2")
                        tvNoteText.hasText("Note number 2")
                    }
                }
            }
        }
        step("Check swipe to dismiss action") {
            NoteListScreen {
                rvNotes {
                    childAt<NoteListScreen.NoteItemScreen>(0) {
                        view.perform(ViewActions.swipeLeft())
                        device.uiDevice.waitForIdle()
                    }

                    Assert.assertEquals(2, getSize())

                    childAt<NoteListScreen.NoteItemScreen>(0) {
                        noteContainer.hasBackgroundColor(android.R.color.holo_orange_light)
                        tvNoteId.hasText("1")
                        tvNoteText.hasText("Note number 1")
                    }

                    childAt<NoteListScreen.NoteItemScreen>(1) {
                        noteContainer.hasBackgroundColor(android.R.color.holo_red_light)
                        tvNoteId.hasText("2")
                        tvNoteText.hasText("Note number 2")
                    }
                }
            }
        }
    }
}
Extract methods to Page Object
There is one more point that we will consider in this lesson.
There are times when you need to add some behavior to the Page Object. For example, now you can swipe through the elements of the list. In the test, this is done with this line of code view.perform(ViewActions.swipeLeft()).
Every time we need to swipe, we will have to perform the same actions - get the view object, call the method passing the parameter. Instead, we can add the necessary functionality in the Page Object class and then use it where necessary.
Add a method to the NoteItemScreen class, let's call it swipeLeft:
class NoteItemScreen(matcher: Matcher<View>) : KRecyclerItem<NoteItemScreen>(matcher) {

    val noteContainer = KView(matcher) { withId(R.id.note_container) }
    val tvNoteId = KTextView(matcher) { withId(R.id.tv_note_id) }
    val tvNoteText = KTextView(matcher) { withId(R.id.tv_note_text) }

    fun swipeLeft() {
        view.perform(ViewActions.swipeLeft())
    }
}
NoteItemScreen object:
childAt<NoteListScreen.NoteItemScreen>(0) {
    swipeLeft()
    device.uiDevice.waitForIdle()
}
package com.kaspersky.kaspresso.tutorial

import androidx.test.ext.junit.rules.activityScenarioRule
import com.kaspersky.kaspresso.testcases.api.testcase.TestCase
import com.kaspersky.kaspresso.tutorial.screen.MainScreen
import com.kaspersky.kaspresso.tutorial.screen.NoteListScreen
import org.junit.Assert
import org.junit.Rule
import org.junit.Test

class NoteListTest : TestCase() {

    @get:Rule
    val activityRule = activityScenarioRule<MainActivity>()

    @Test
    fun checkNotesScreen() = run {
        step("Open note list screen") {
            MainScreen {
                listActivityButton {
                    isVisible()
                    isClickable()
                    click()
                }
            }
        }
        step("Check notes count") {
            NoteListScreen {
                Assert.assertEquals(3, rvNotes.getSize())
            }
        }
        step("Check elements visibility") {
            NoteListScreen {
                rvNotes {
                    children<NoteListScreen.NoteItemScreen> {
                        tvNoteId.isVisible()
                        tvNoteText.isVisible()
                        noteContainer.isVisible()

                        tvNoteId.hasAnyText()
                        tvNoteText.hasAnyText()
                    }
                }
            }
        }
        step("Check elements content") {
            NoteListScreen {
                rvNotes {
                    childAt<NoteListScreen.NoteItemScreen>(0) {
                        noteContainer.hasBackgroundColor(android.R.color.holo_green_light)
                        tvNoteId.hasText("0")
                        tvNoteText.hasText("Note number 0")
                    }
                    childAt<NoteListScreen.NoteItemScreen>(1) {
                        noteContainer.hasBackgroundColor(android.R.color.holo_orange_light)
                        tvNoteId.hasText("1")
                        tvNoteText.hasText("Note number 1")
                    }
                    childAt<NoteListScreen.NoteItemScreen>(2) {
                        noteContainer.hasBackgroundColor(android.R.color.holo_red_light)
                        tvNoteId.hasText("2")
                        tvNoteText.hasText("Note number 2")
                    }
                }
            }
        }
        step("Check swipe to dismiss action") {
            NoteListScreen {
                rvNotes {
                    childAt<NoteListScreen.NoteItemScreen>(0) {
                        swipeLeft()
                        device.uiDevice.waitForIdle()
                    }

                    Assert.assertEquals(2, getSize())

                    childAt<NoteListScreen.NoteItemScreen>(0) {
                        noteContainer.hasBackgroundColor(android.R.color.holo_orange_light)
                        tvNoteId.hasText("1")
                        tvNoteText.hasText("Note number 1")
                    }

                    childAt<NoteListScreen.NoteItemScreen>(1) {
                        noteContainer.hasBackgroundColor(android.R.color.holo_red_light)
                        tvNoteId.hasText("2")
                        tvNoteText.hasText("Note number 2")
                    }
                }
            }
        }
    }
}
Info
Note that no business logic needs to be added to the Page Object. You can give these objects certain properties, add functionality, but you should not add complex logic. The Page Object should remain a screen model with described interface elements and functions for interacting with these elements.
Summary
In this tutorial, we learned how to test lists of items set in RecyclerView. We learned how to find elements, how to interact with them and check their behavior for compliance with the expected result.