Working with adb
In the last lesson, we wrote the first test on Kaspresso, and at this stage, our test can interact with the elements of the application interface, can somehow influence them (e.g. click on the button) and check their state (visibility, clickability and etc.).
But often it is not enough to use only the capabilities of our application for testing. For example, during a test, we might want to test the operation of the application in various external states:
- When there is no Internet
- During an incoming call
- With a low battery
- When changing device orientation
- Etc.
In all of the above scenarios, the test must control the device and execute commands that are outside the responsibility of the application we are testing. In these cases, we can use the Android Debug Bridge (ADB) capabilities.
ADB is a command line tool that allows you to interact with your device through various commands. They can help you perform actions such as installing and removing programs, getting a list of installed applications, starting a specific Activity, turning off your Internet connection, and much more.
We can execute all adb commands ourselves through the command line, but the Kaspresso library supports working with adb and can execute them automatically. Adb-server needs to be started so that tests that work with adb can run.
Check java and adb
The process of launching adb-server is very simple, if the paths to java and adb are correctly registered on your computer. But if the paths are not registered, then they will have to be registered. Therefore, the first thing we will do is check if any additional work is required or if you already have everything ready to start adb-server.
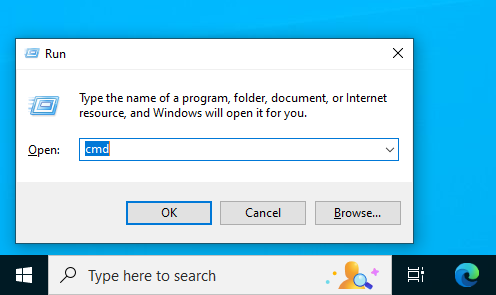
Open a command prompt.
On Windows the key combination is Win + R, in the window that opens, enter cmd and press Enter.
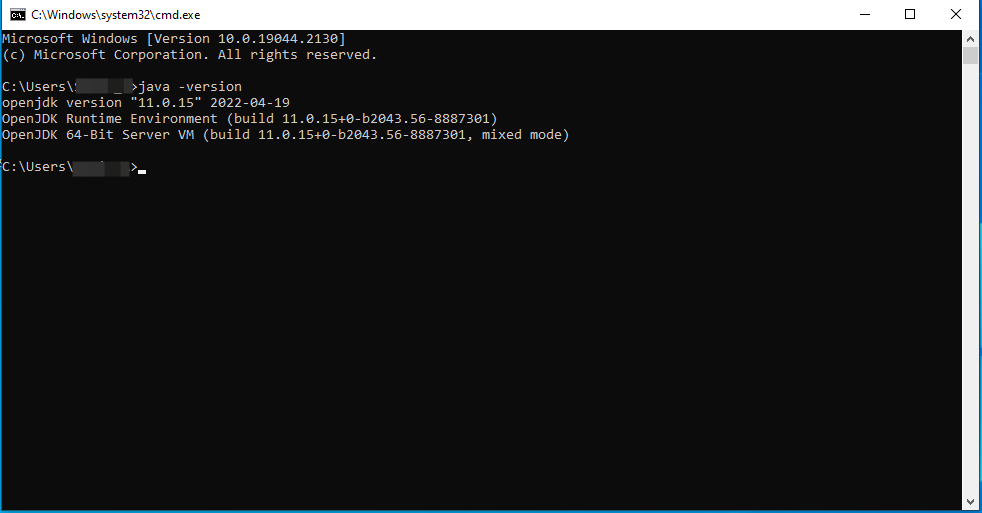
First, we check that the path to java is correct. To do this, we write java -version.
If everything is fine, then you will see the installed version of Java.
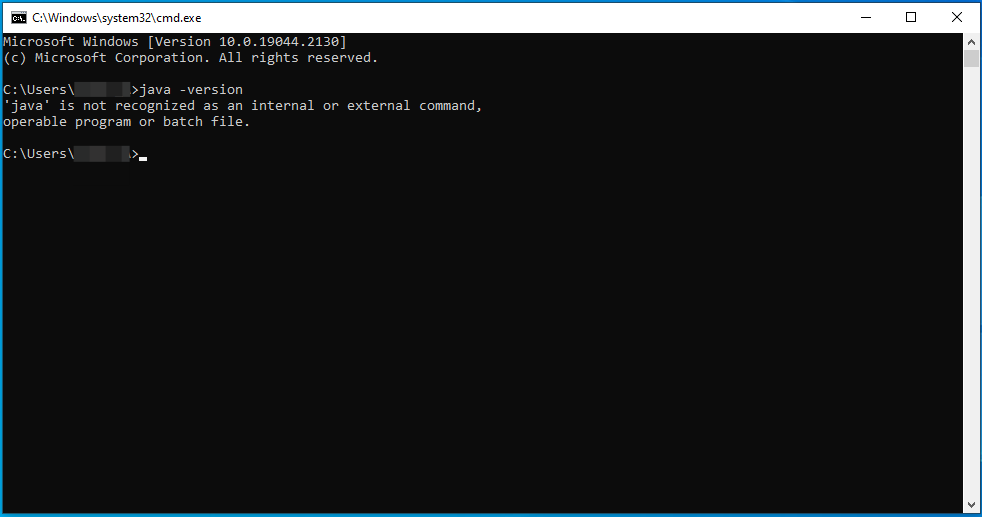
If the paths are written incorrectly, you will see something similar to this:
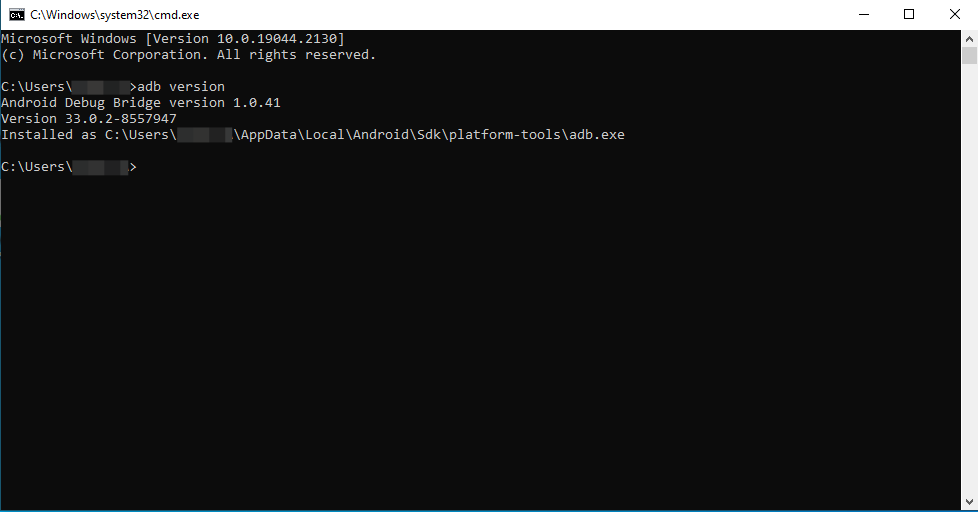
Now we do the same check for adb. We print in the console adb version.
If everything is fine, then you will see your ADB version.
Otherwise, you will see something like this error:

If everything works for you on both points, then you can skip the next step.
Setting up java and adb
The solution to these problems may differ depending on your operating system and some other factors, so we will present here the most popular solution for OS Windows. If you have a different OS, or for some reason this solution does not help you, then search the Internet for information on how to do the steps below in your situation. Without solving these problems, you will not be able to start adb-server and the tests will not work.
If you have reached this lesson, then you have successfully launched the application from Android Studio on the emulator, which means that java and adb are installed on your computer. The system simply does not know where to look for these programs. What needs to be done is to find the location of these programs and register the paths to them in the system.
We are looking for the path to java, usually it is located in the jre\bin folder (in some versions it will be located in jbr\bin). It can often be found at C:\Program Files\Java\jre1.8.0\bin.
If it is there, copy this path, if not, open Android Studio. Go to File -> Settings -> Build, Execution, Deployment -> Build Tools -> Gradle.
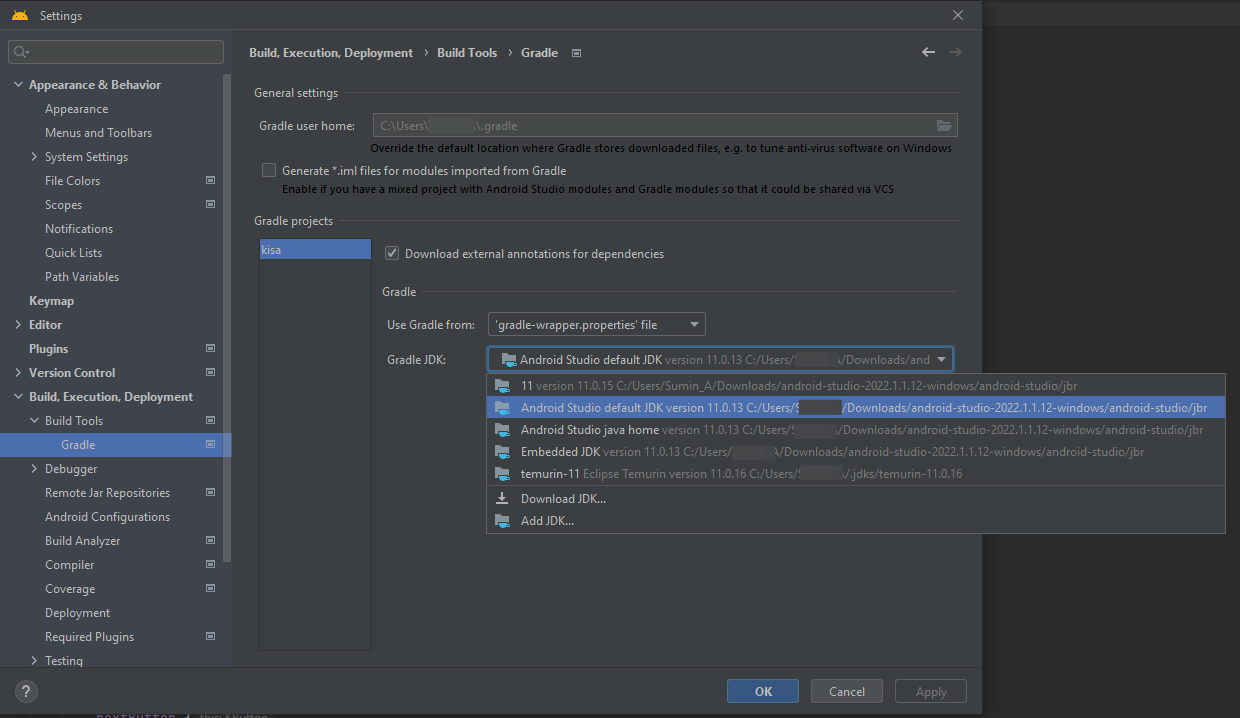
The path to the desired folder will be written here, and you can copy it.
Now it needs to be registered in the environment variables, for this press win + x -> select System -> Advanced System Settings -> Advanced -> Environment Variables.
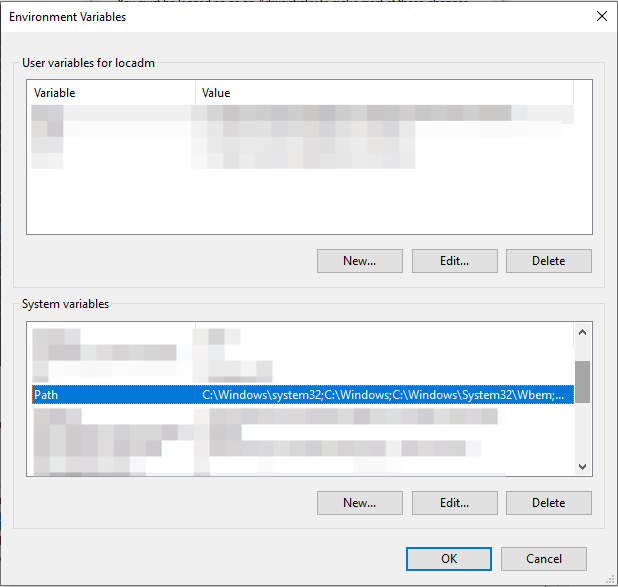
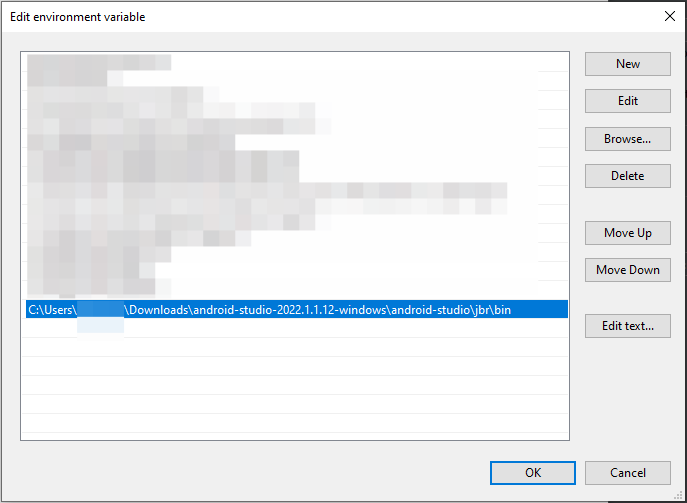
In the System Variables section, select Path and click Edit -> New -> Paste the copied path to the folder with java -> Click OK.
Restart the computer for the changes to take effect and check the java -version command again.
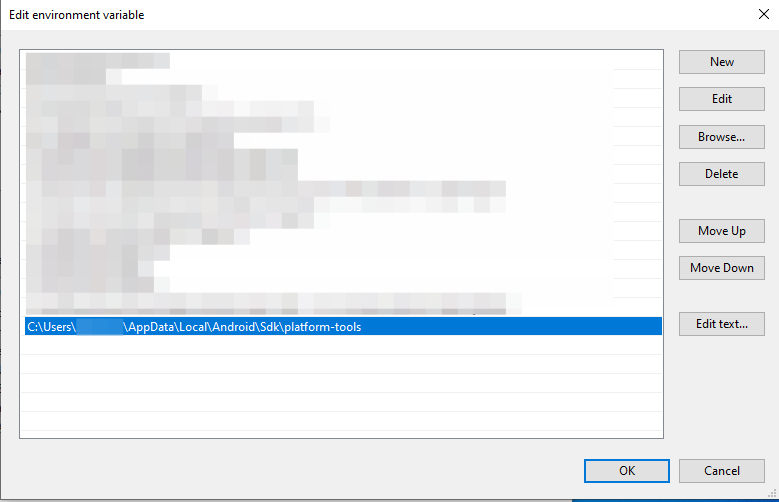
It remains for us to do the same for adb. We are looking for the path to the platform-tools folder, which contains adb.
Open Android Studio -> Tools -> SDK Manager. The Android SDK Location field contains the path to the Sdk folder, which contains platform-tools.
Copy this path and add it to System Variables as we did earlier with java.
Restart the computer and check the adb version command.
Now we can start running adb-server. If the java and adb commands still do not work for you, then google it, there are a lot of options for solving the problem. All you need to do is find the path to java and adb and set them to environment variables.
Try different commands
Before running the tests, let's see what adb can do and look at a few commands.
First, we can see what devices are currently connected to adb. To do this, enter the command adb devices.
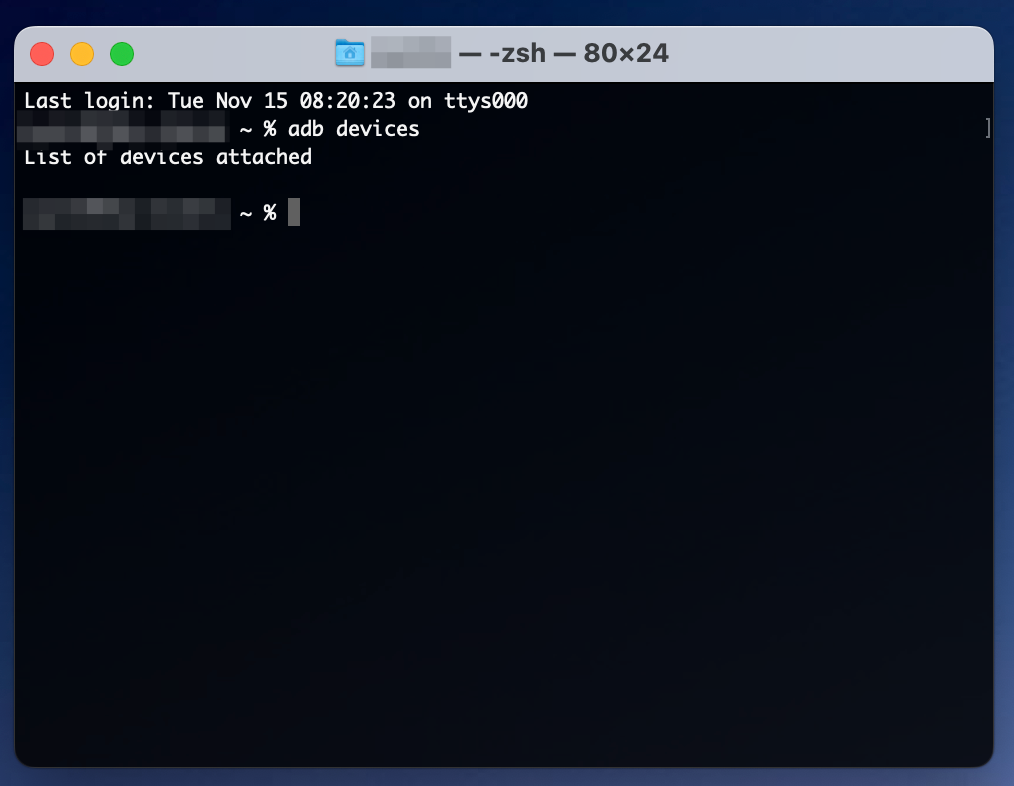
So far we have not connected any devices to adb, so the list is empty. Let's run the application on the emulator and run the command again.
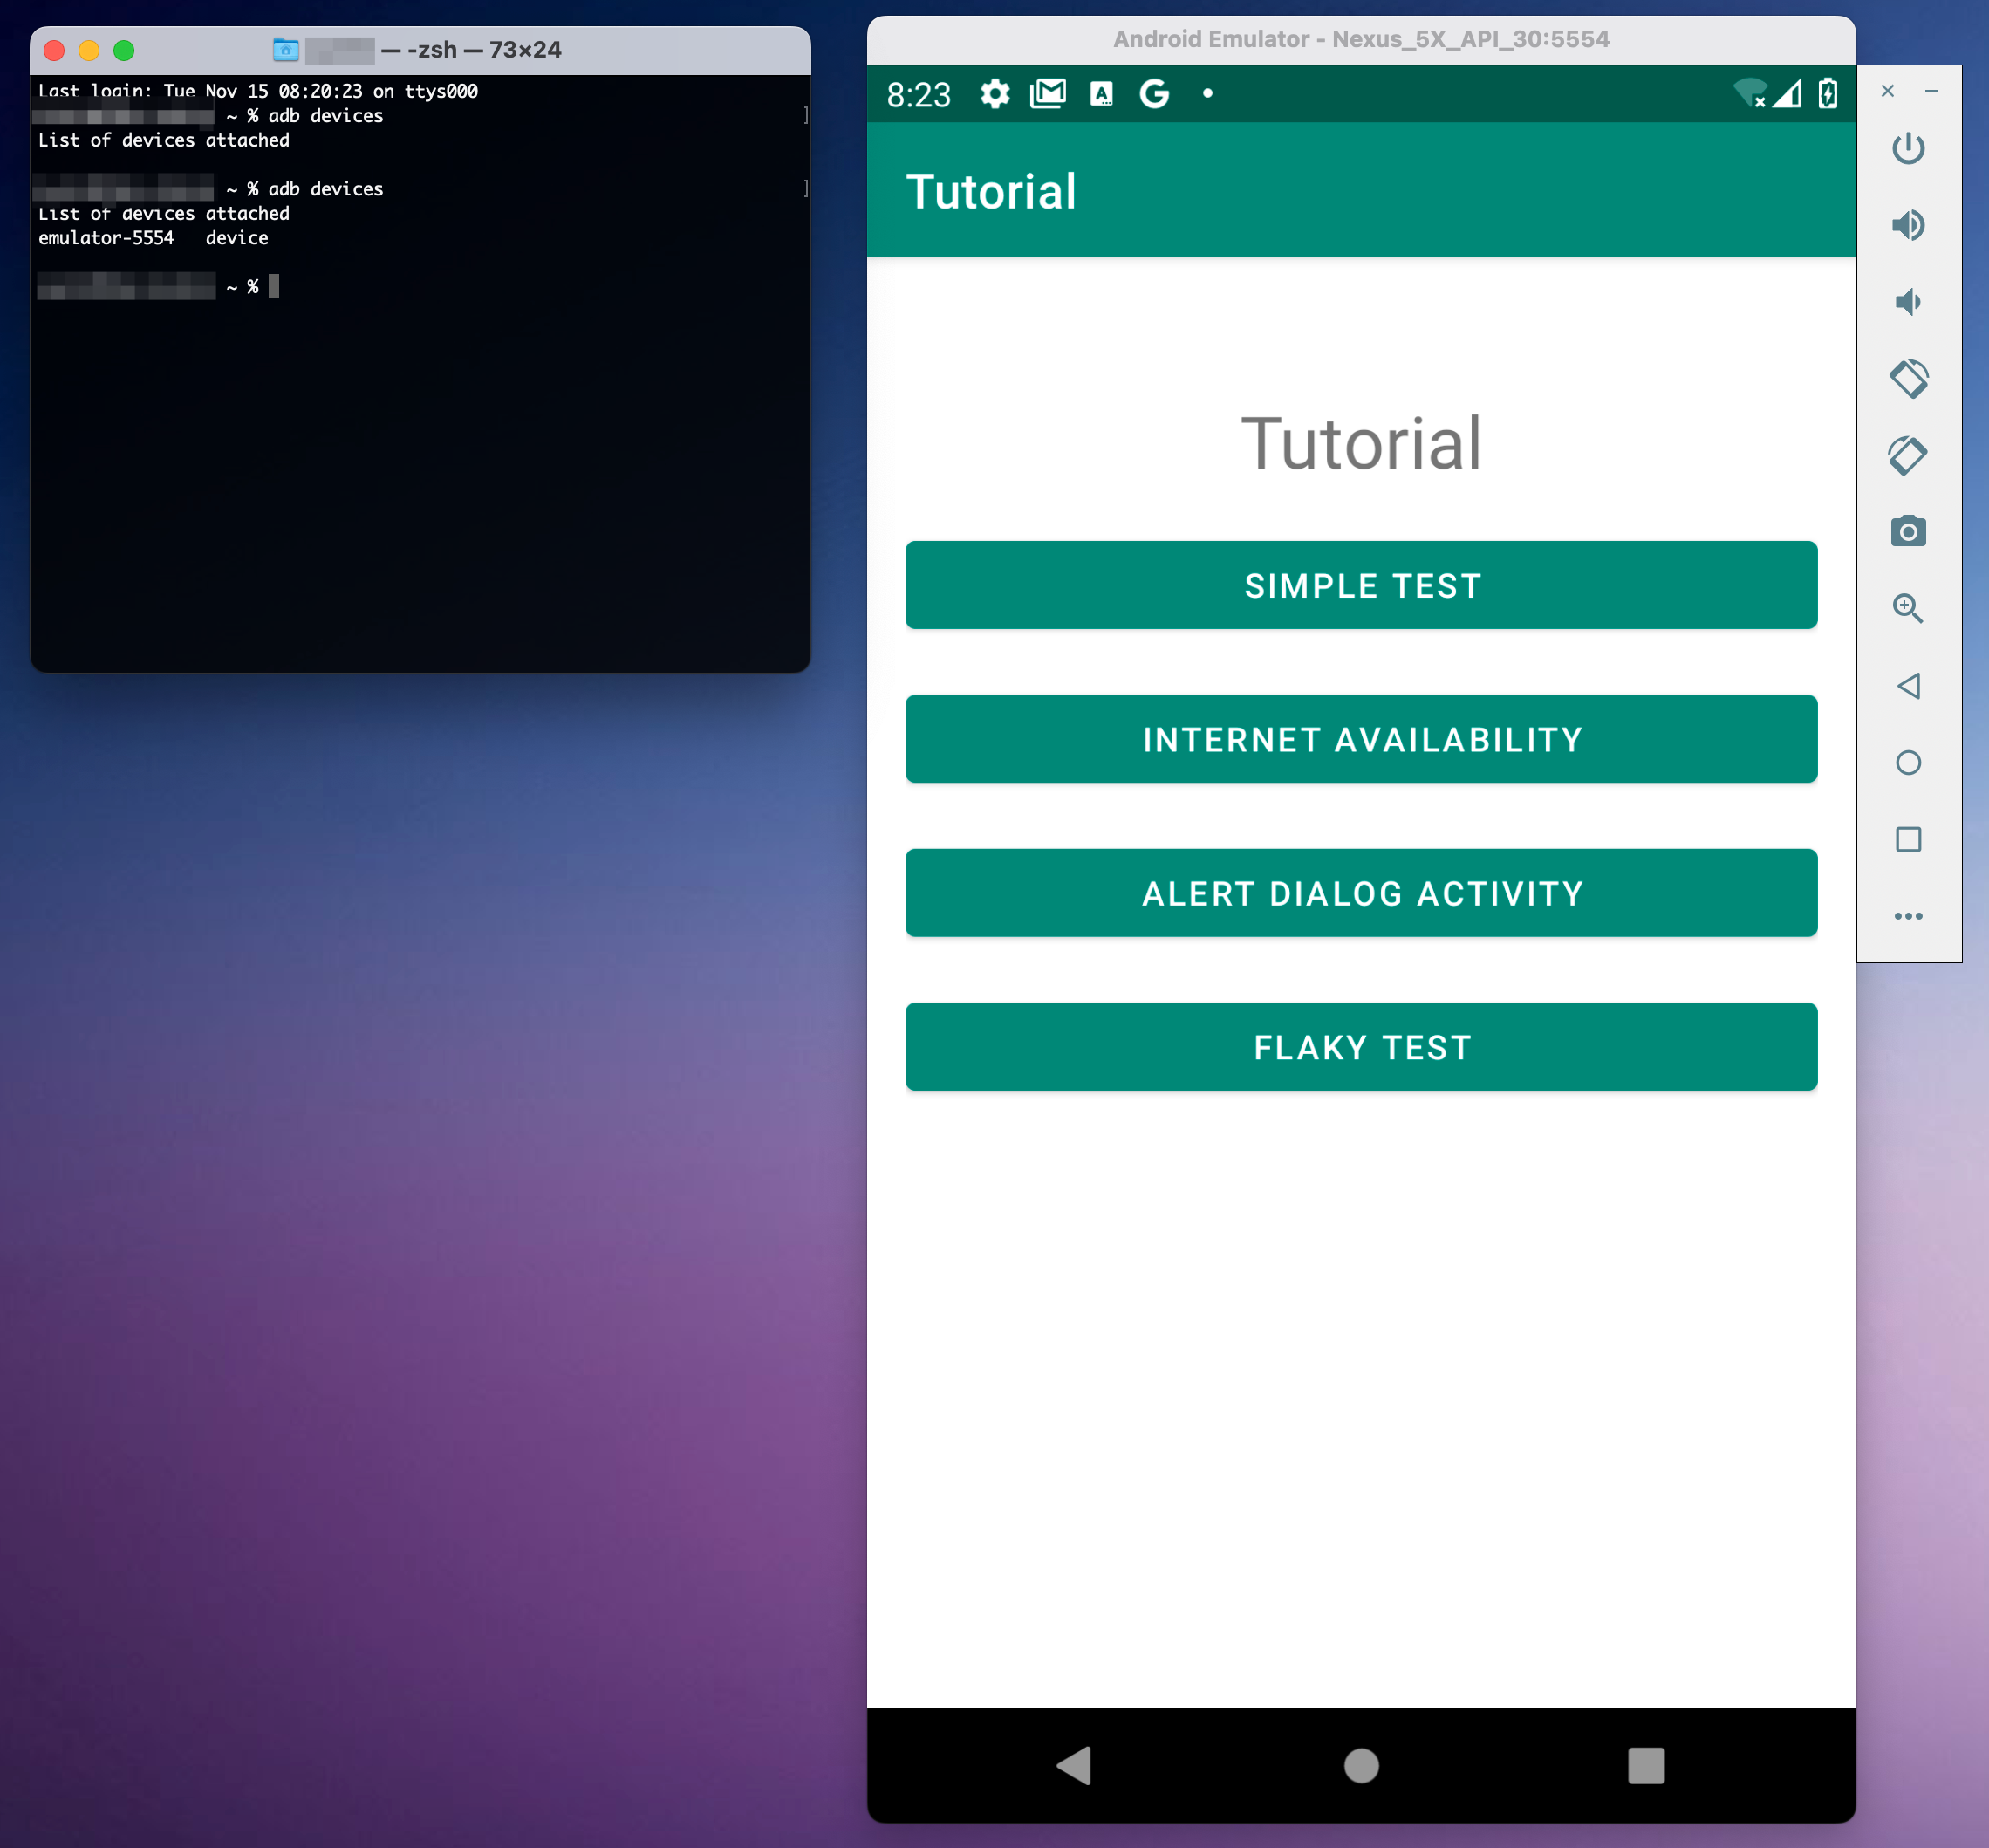
Now our emulator is displayed in the list of devices.
With adb commands we can:
- Reboot device
- Install an application
- Remove an application
- Upload files from/to a phone
- etc.
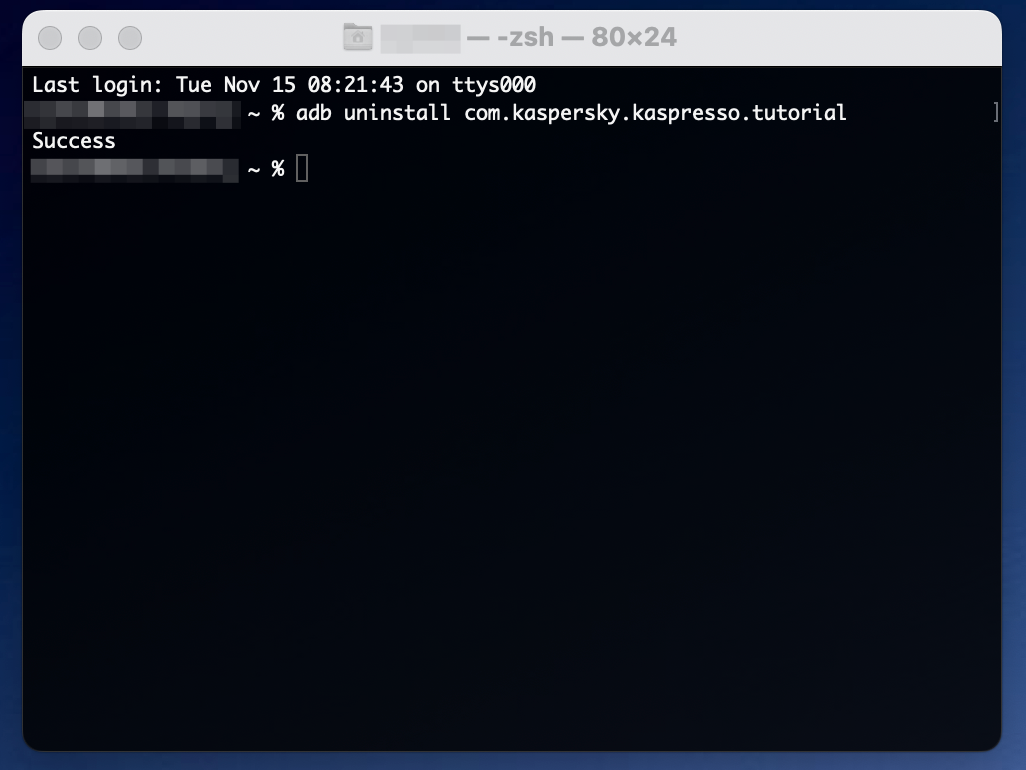
For practice, let's remove the tutorial app we just launched. This is done with the command adb uninstall package_name.
The most interesting tasks can be performed by running the adb shell command. It invokes the Android console (shell) to execute Linux commands on the device.
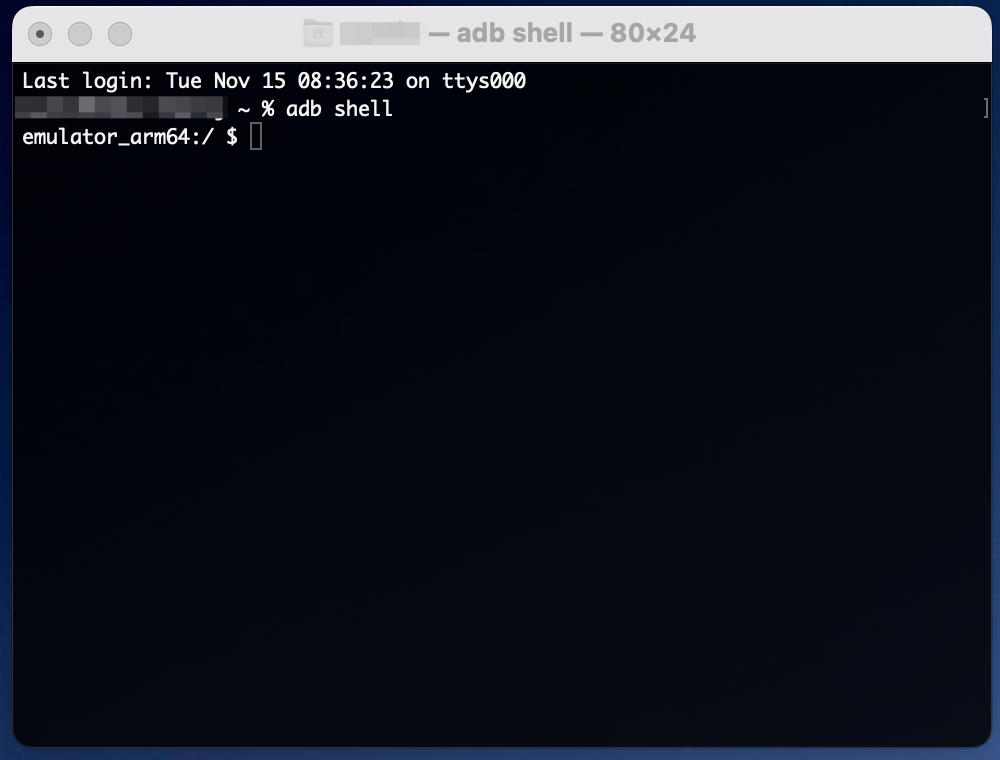
Here are some examples of such commands.
Getting a list of all installed applications pm list packages.
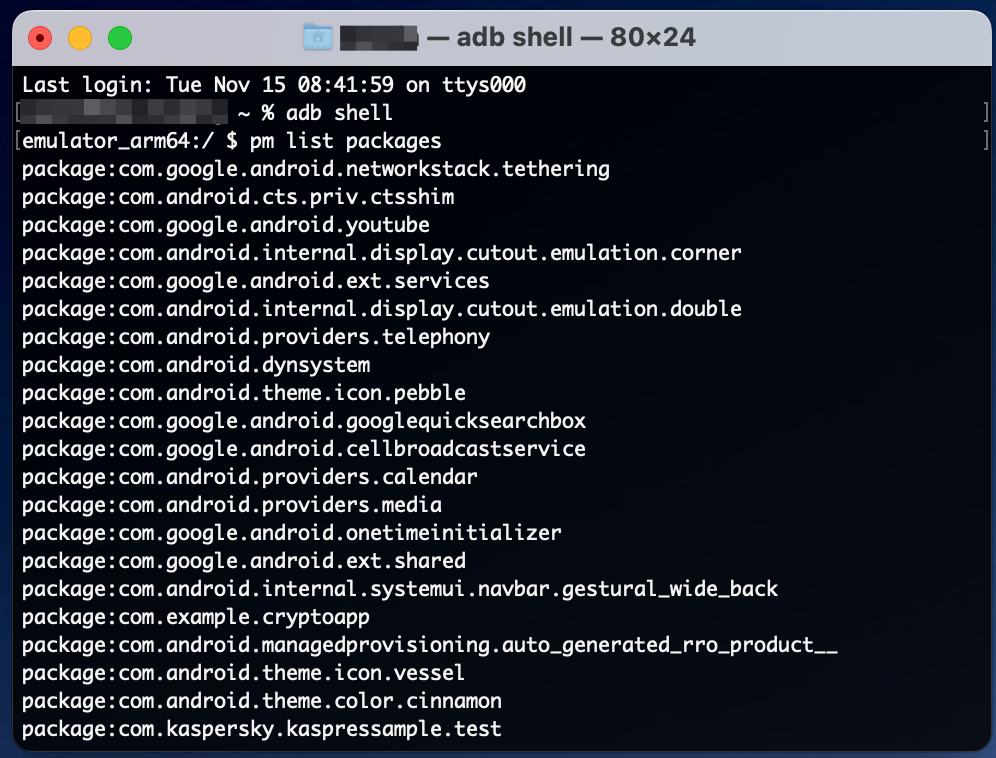
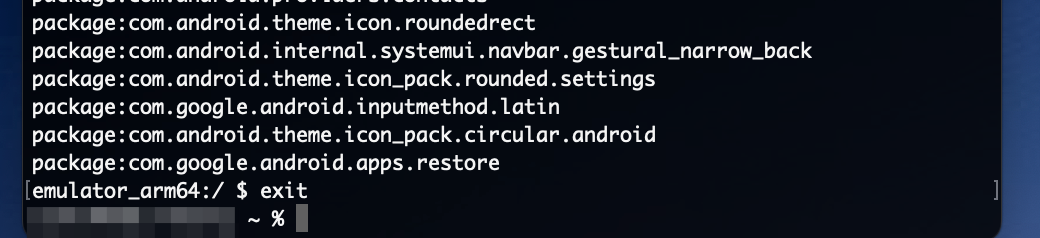
Please note that we first started the shell-console, and then wrote commands, already being in it. Therefore, at the current stage, other adb commands will not work for you until you close the shell console through the exit command.
At the same time, you can execute shell-commands without opening a shell-console. To do this, specify the full name of the command along with adb shell. For example, let's try to take a screenshot and save it to the device. In Android Studio, you can open File Explorer, which displays all the files and folders on the device.
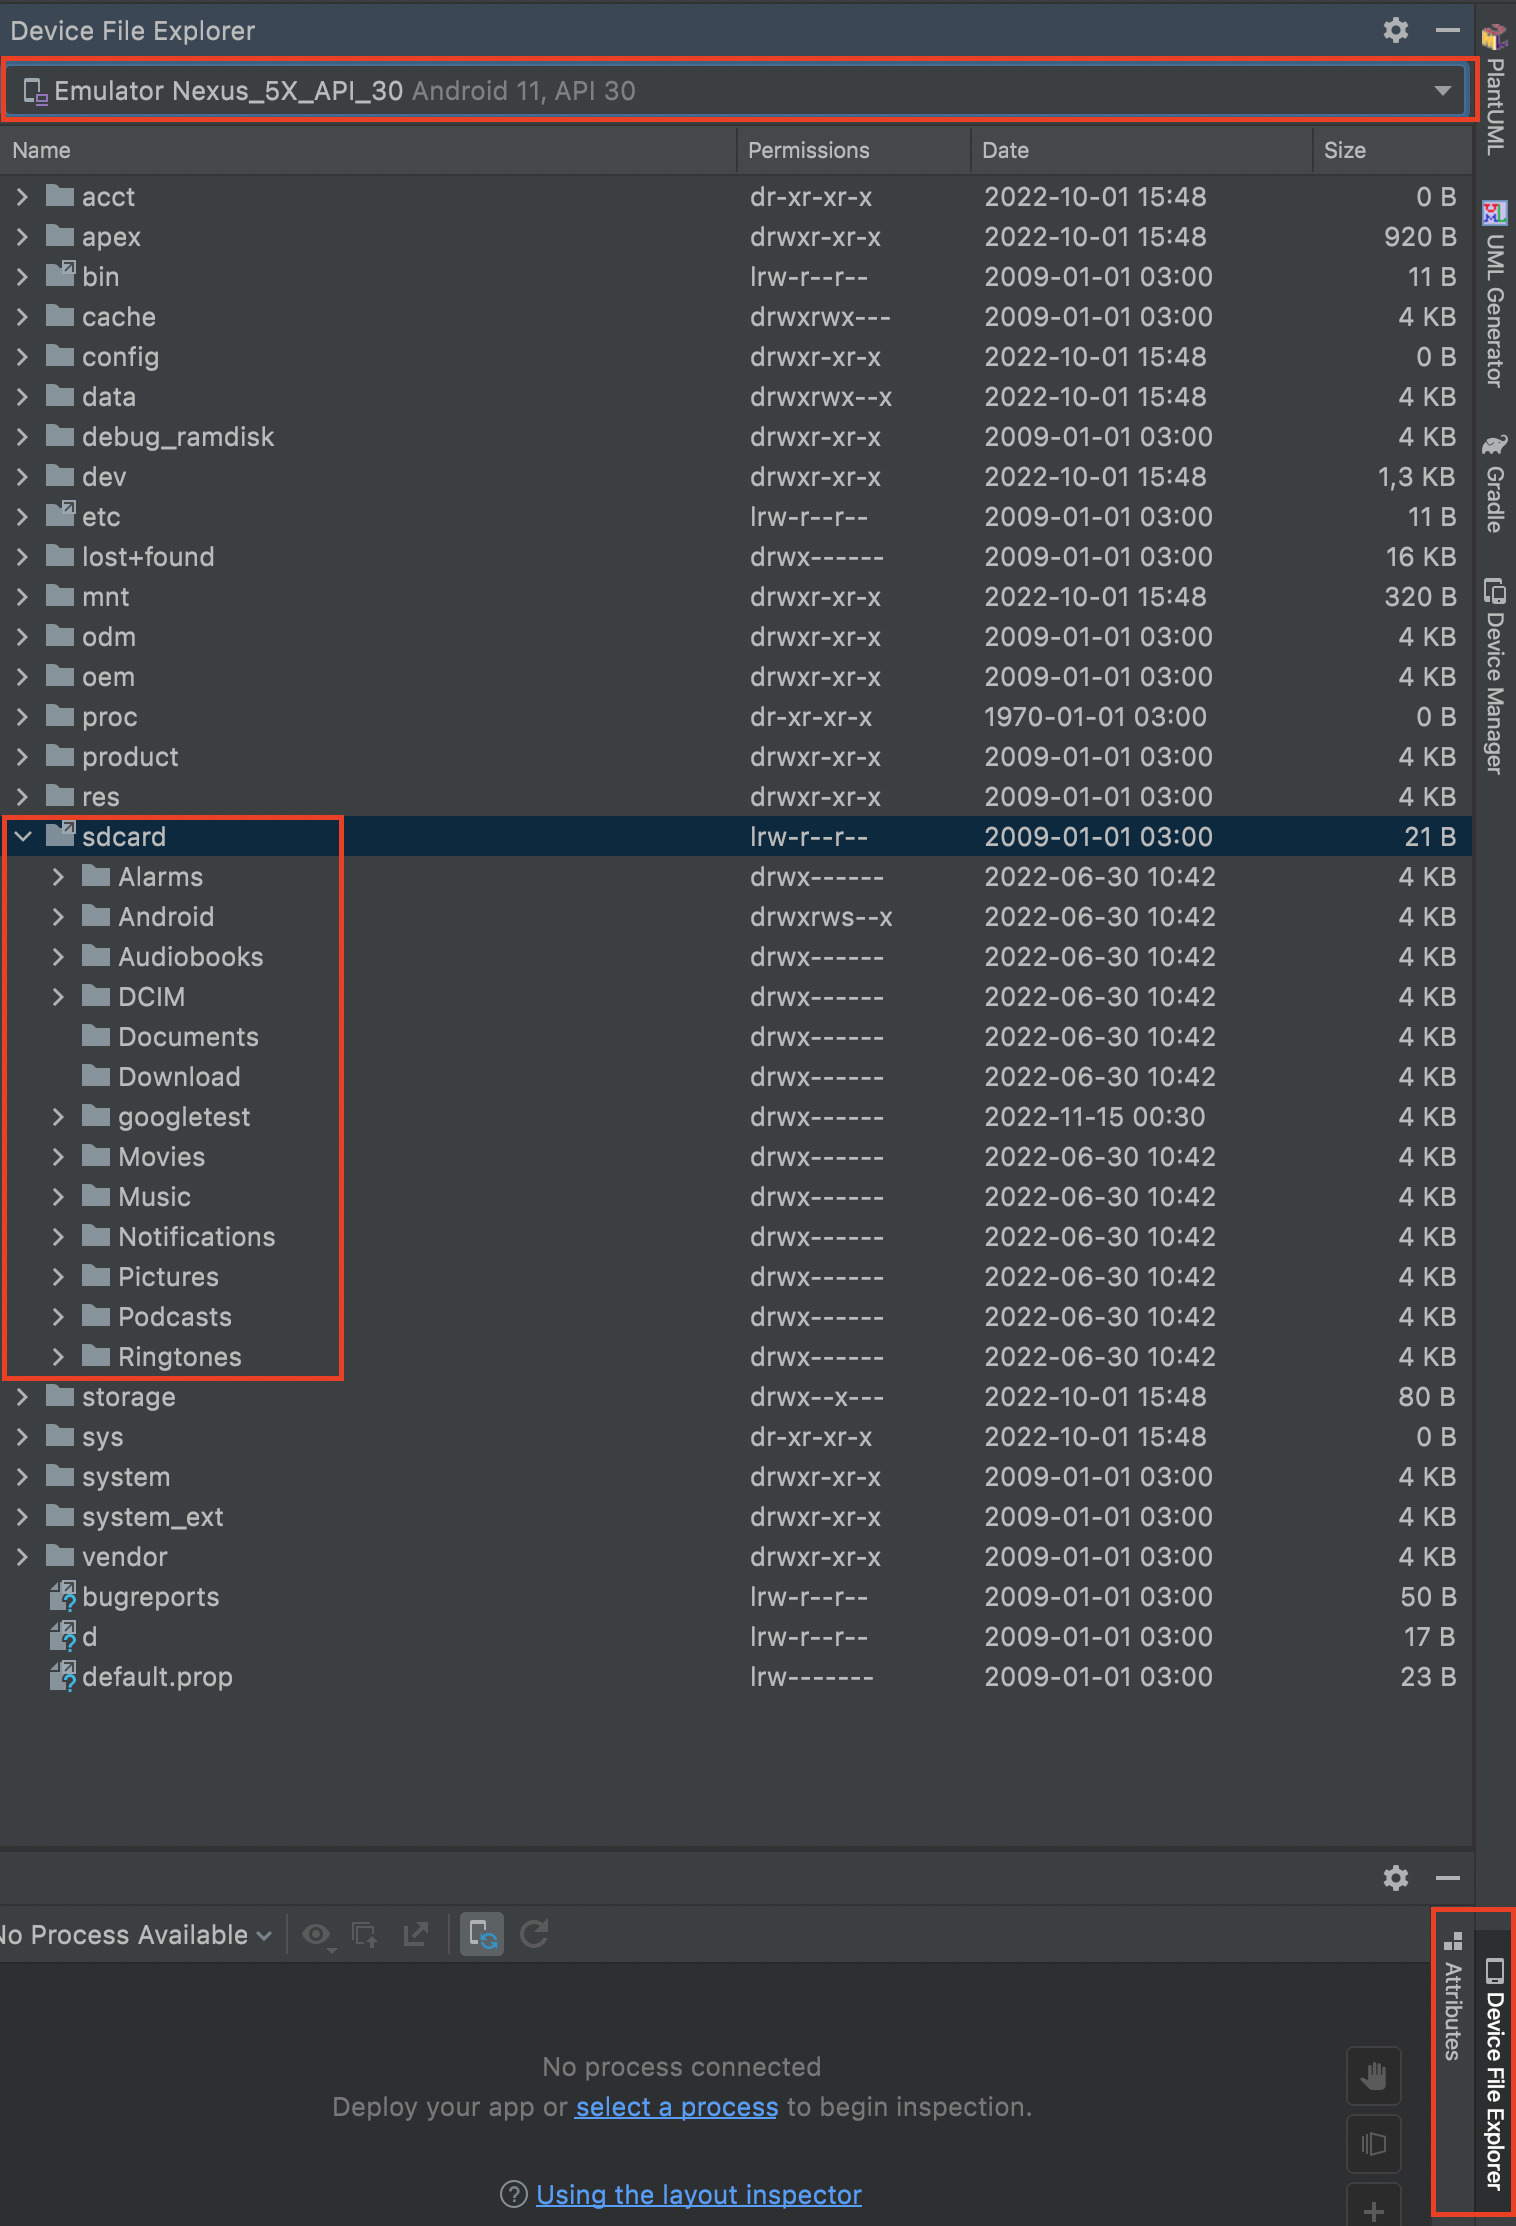
Screenshots are usually saved on sdcard, we will do the same.
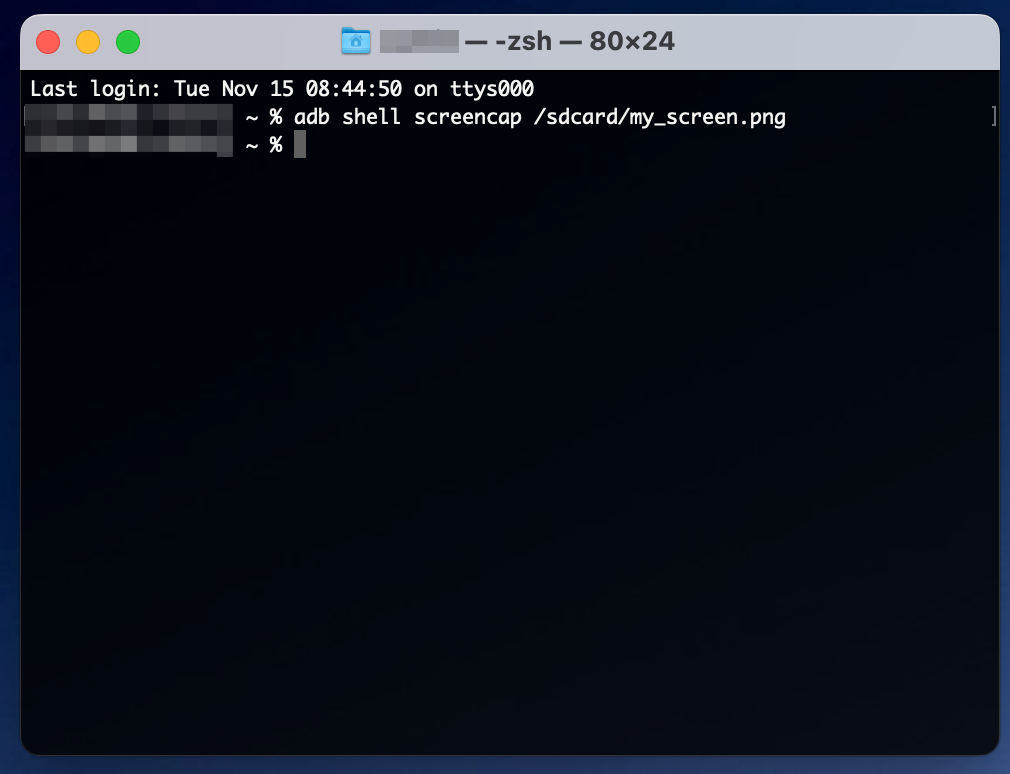
To create a screenshot, use the adb shell screencap /{pathToFile}/{name_of_image.png} command. In our case, it will look like this: adb shell screencap /sdcard/my_screen.png.
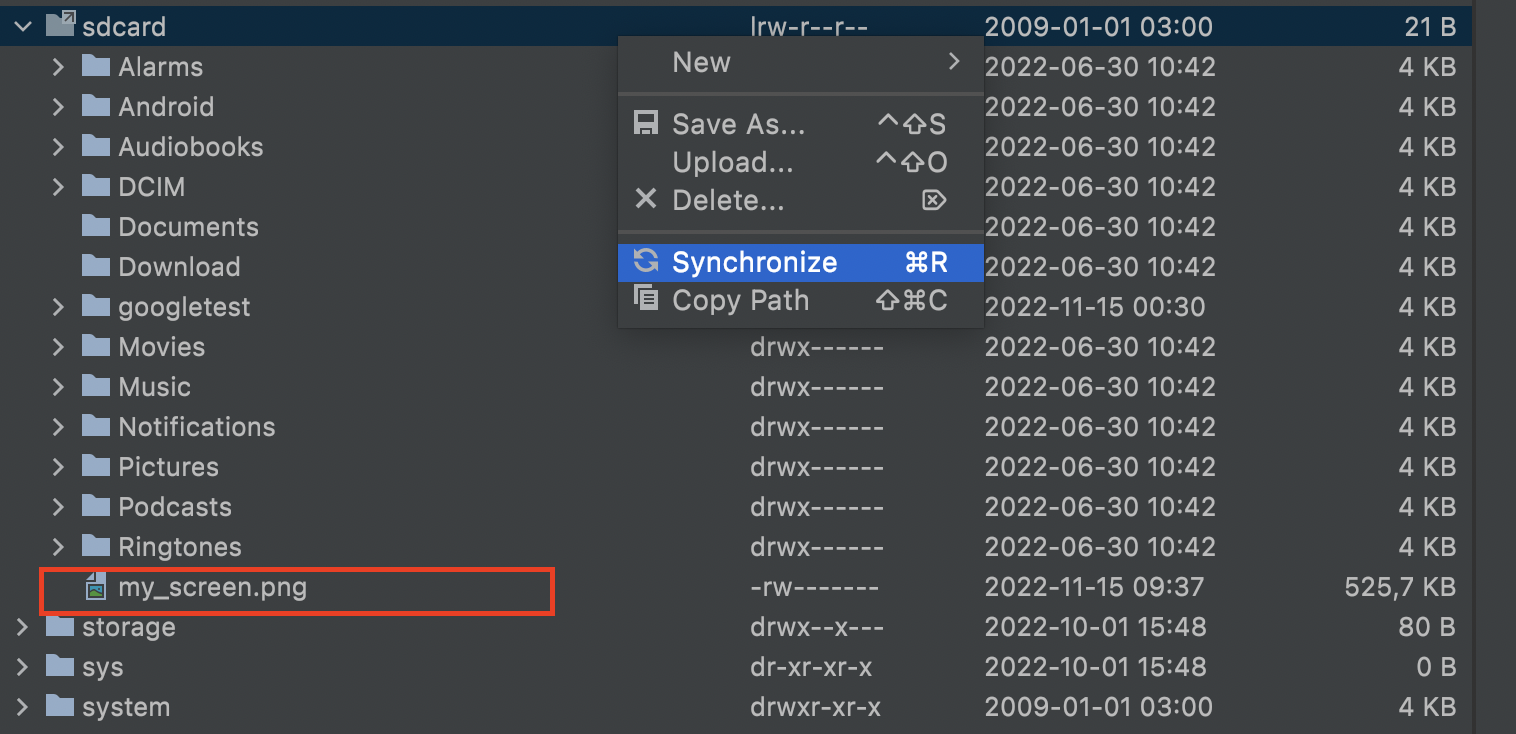
In Device File Explorer, right-click and press Synchronize, after which the screenshot we created will be displayed in the folder.
Working with adb in autotests
So, we've had a little practice with adb, now we need to learn how to work with it during the test run. That is, the test that we will create must be able to run adb commands and check the operation of the application after executing these commands.
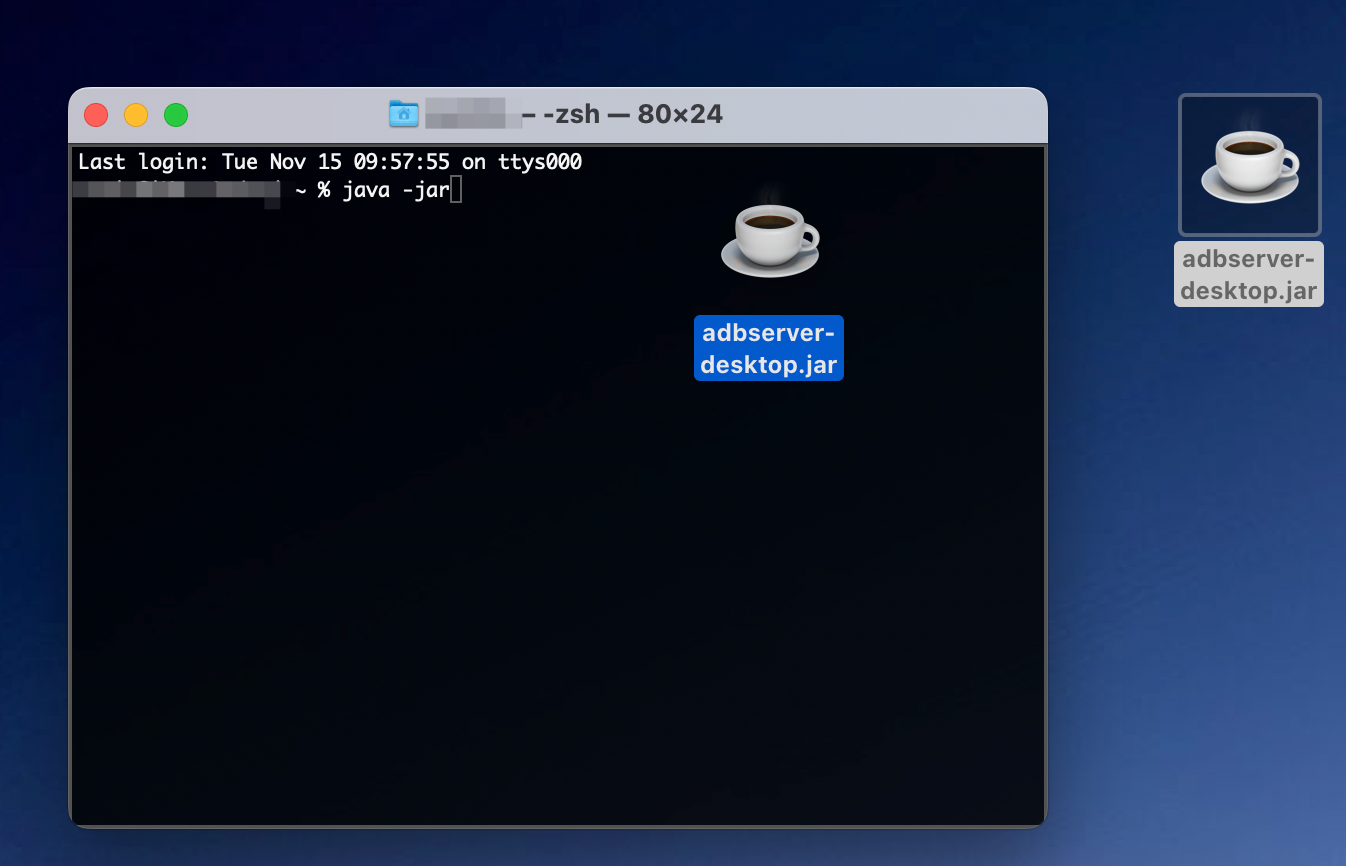
In order for the tests to be able to execute adb commands, we need to run adb-server on our computer. First you need to download the adbserver-desktop.jar file on the official Kaspresso github and run the following command in the terminal:
java -jar <path/to/file>/adbserver-desktop.jar
In order for the path to the file to be correctly written in the console, it is enough to write the java -jar command and simply drag the adbserver-desctop.jar file to the console, the path to the file will be inserted automatically.
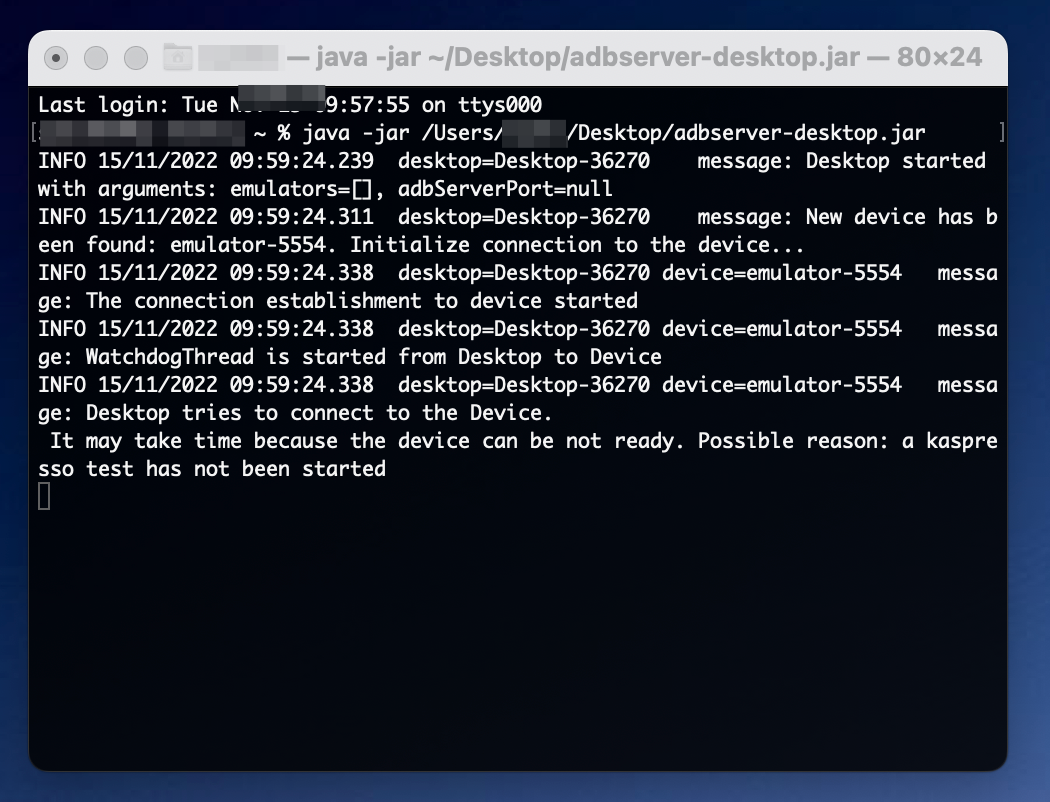
After entering the command, press Enter. AdbServer will start. When running the test, the device will tell the desktop the necessary adb commands to run the test.
We can start creating an autotest.
Create a new AdbTest class in the com.kaspersky.kaspresso.tutorial package and inherit from the TestCase class.
package com.kaspersky.kaspresso.tutorial

import com.kaspersky.kaspresso.testcases.api.testcase.TestCase

class AdbTest : TestCase() {
}
Kaspresso has a special abstraction AdbServer for working with adb. An instance of this class is available in BaseTestContext and in BaseTestCase, which our AdbTest class inherits.
Earlier in the console, we ran the adb devices command, which displayed a list of connected devices. Let's run the same command with a test. Create a test() method and annotate it with @Test.
package com.kaspersky.kaspresso.tutorial

import com.kaspersky.kaspresso.testcases.api.testcase.TestCase
import org.junit.Test

class AdbTest : TestCase() {

    @Test
    fun test() {

    }
}
To execute an adb command, we can access the adbServer field directly and call one of the methods - performAdb, performCmd or performShell. The names of the methods should make it clear what they do.
- `performAdb` executes an adb command
- `performShell` executes a shell command
- `performCmd` executes a command line
Now we want to call the adb command devices call the appropriate method adbServer.performAdb("devices").
package com.kaspersky.kaspresso.tutorial

import com.kaspersky.kaspresso.testcases.api.testcase.TestCase
import org.junit.Test

class AdbTest : TestCase() {

    @Test
    fun test() {
        adbServer.performAdb("devices")
    }
}
Run the test. Test completed successfully. Please note that in order to run this test, you must meet 2 conditions:
- adb-server is running
- the application you are testing must have permission to use the Internet in the manifest
We dealt with the first point earlier, now let's deal with the second. Every application that interacts with the Internet must contain a permission to use the Internet. It is written in the manifest.
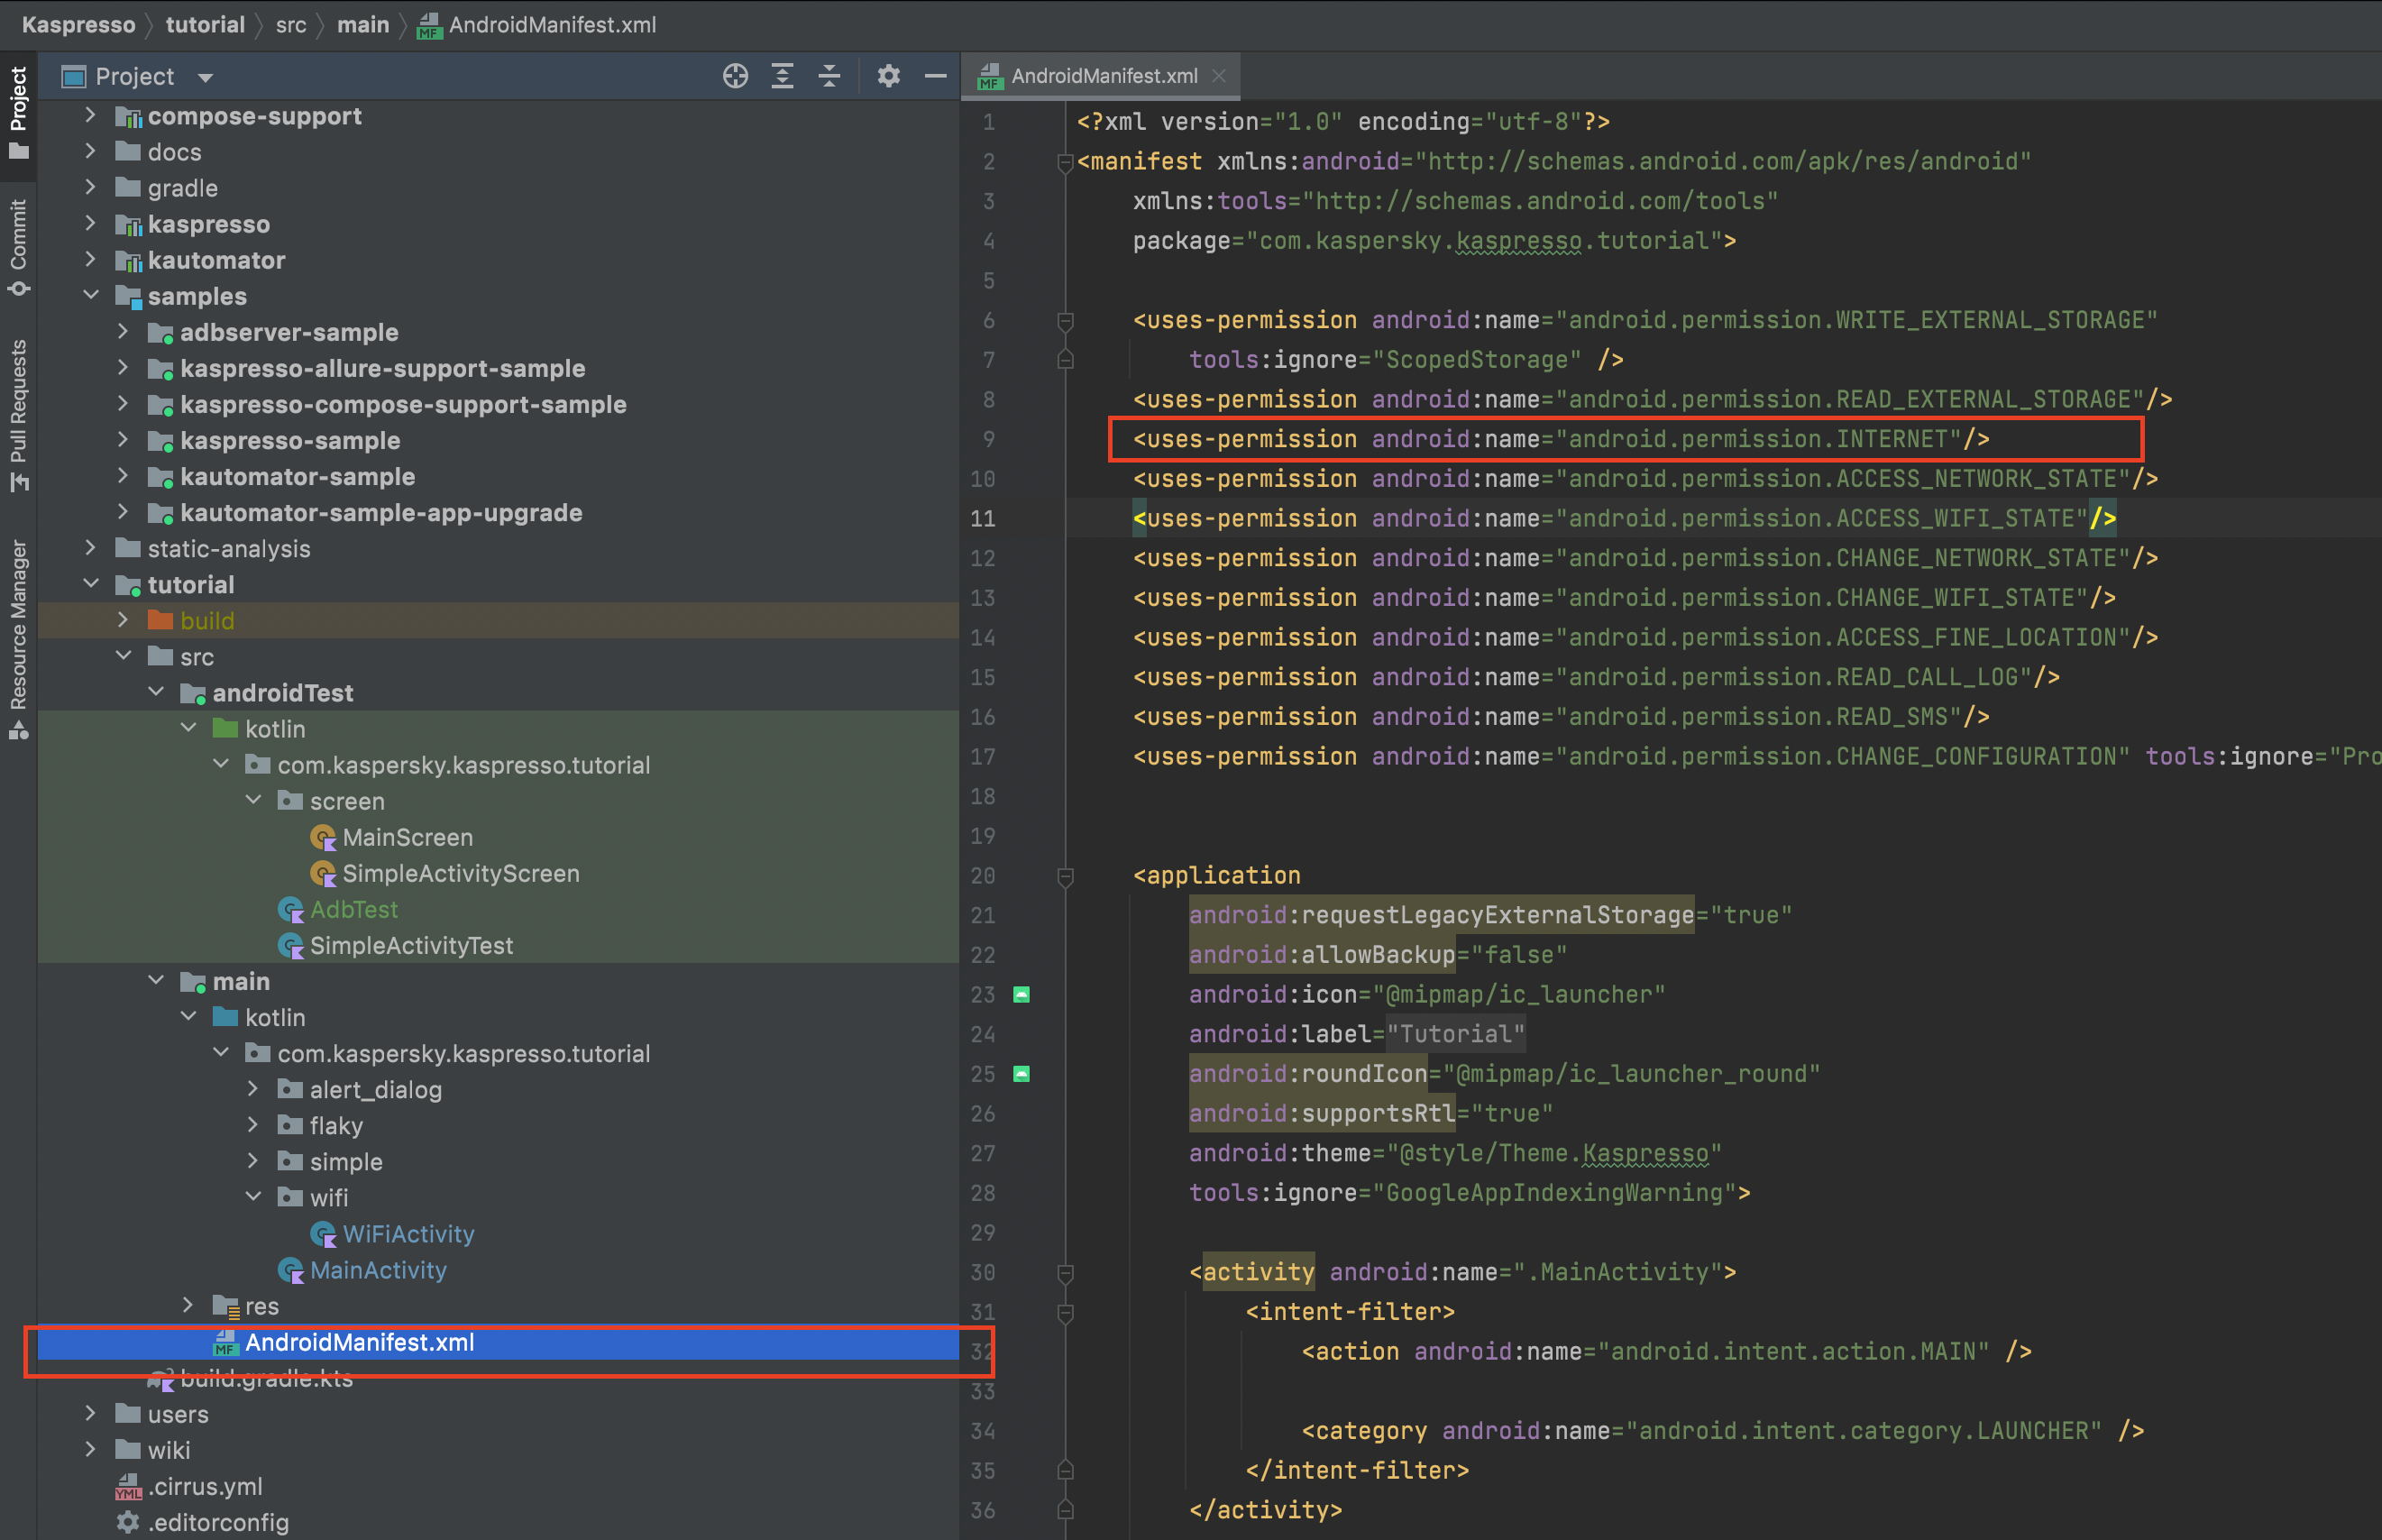
If you forget to specify this permission, the test will not work.
Now the test runs the adb command, but does not check the result of its execution. This adb devices command returns a list of resulting strings (type List<String>). At the moment, this collection (list of strings) contains only one line like this: exitCode=0, message=List of devices attached emulator-5555 device. Let's add a check that the first (and only) element of this collection contains the word "emulator", just to practice and make sure we get the output of the adb command correctly.
package com.kaspersky.kaspresso.tutorial

import com.kaspersky.kaspresso.testcases.api.testcase.TestCase
import org.junit.Assert // This class needs to be imported
import org.junit.Test

class AdbTest : TestCase() {

    @Test
    fun test() {
        val result = adbServer.performAdb("devices")
        Assert.assertTrue( // Method Assert.assertTrue() can be used to check if some condition is met, pay attention to the imports
            Assert.assertTrue("emulator" in result.first()) // method 'in' checks that the first element of the result list contains the word "emulator"
        )
    }
}
Let's launch the test. It passed successfully.
Now let's try to execute a non-existent adb command. First, let's see how its execution looks in the terminal. Let's execute adb undefined_command.
Info
Please note that adb-server is currently running in the terminal, if we want to work with the command line while the server is running, we need to launch another terminal window and work in it
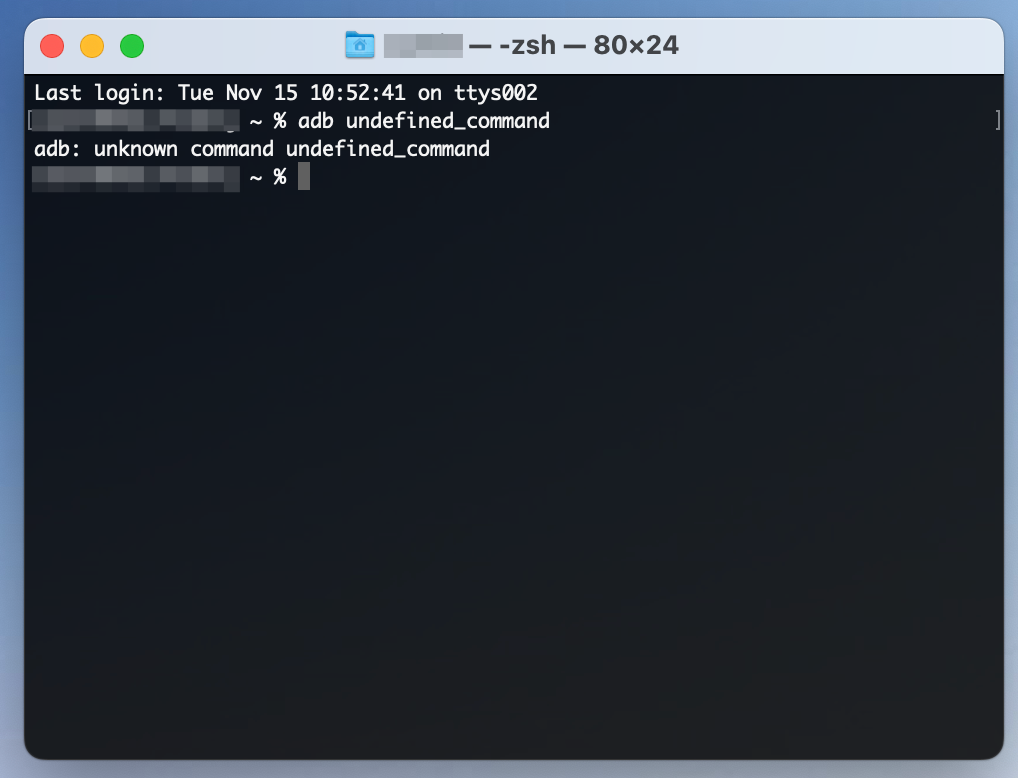
When executing this command inside the test, it will throw an AdbServerException exception and the message field will contain a string with the text that we saw in the console: unknown command undefined_command. To prevent the test from failing, we need to handle this exception in a try catch block, and inside the catch block, we can add a check that the error message really contains the text specified above.
package com.kaspersky.kaspresso.tutorial

import com.kaspersky.kaspresso.internal.exceptions.AdbServerException
import com.kaspersky.kaspresso.testcases.api.testcase.TestCase
import org.junit.Assert
import org.junit.Test

class AdbTest : TestCase() {

    @Test
    fun test() {
        val result = adbServer.performAdb("devices")
        Assert.assertTrue("emulator" in result.first())

        val command = "undefined_command"
        try {
            adbServer.performAdb(command)
        } catch (e: AdbServerException) {
            Assert.assertTrue("unknown command $command" in e.message)
        }
    }
}
Let's launch the test. It passed successfully.
We learned how to run adb commands inside tests. Let's practice adb shell commands. Previously, we got a list of installed applications using a query like adb shell pm list packages. Now we will execute it inside the test and check that our application is in the list of installed ones.
val packages = adbServer.performShell("pm list packages")
Assert.assertTrue("com.kaspersky.kaspresso.tutorial" in packages.first())
Note that if we call a shell command with performShell, then we don't need to write adb shell.
Now we have hardcoded the name of the application package, but there is a much more convenient way. Inside the tests we can interact with the Device object, get some information about the device, the current application, and much more. From this object, we can get the package name of the current application. To do this, you need to access the targetContext property of the device object and get packageName from the context. The test code in this case will change to this:
...
val packages = adbServer.performShell("pm list packages")
Assert.assertTrue(device.targetContext.packageName in packages.first())
...
Let's launch the test. It passed successfully.
The last type of commands that we will look at in this lesson are [cmd commands]. These are the commands that we write in the console. For example, to run an adb command, we write adb command_name in the console. Now, if we call performCmd instead of performAdb in the test, then we will need to write the entire command:
val result = adbServer.performCmd("adb devices")
Assert.assertTrue("emulator" in result.first())
In this case, the result of the program will not change.
For practice, we can execute some cmd-command. For example, hostname prints the name of the host (your computer). If we run it in the console, the result will be something like this:
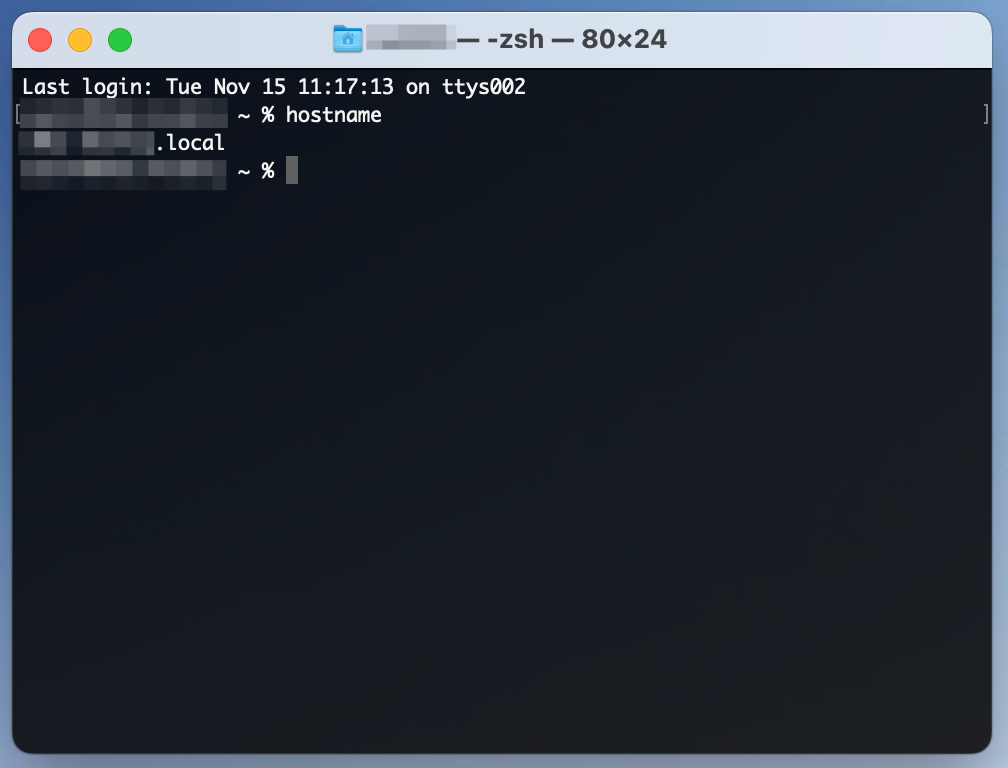
Let's execute the same command inside the test and check that the result is not empty.
val hostname = adbServer.performCmd("hostname")
Assert.assertTrue(hostname.isNotEmpty())
Let's launch the test. It passed successfully.
One of the tests we have previously written checks if there is an emulator in the list of connected devices.
val result = adbServer.performCmd("adb devices")
Assert.assertTrue("emulator" in result.first())
We added it just for reference purposes, and to practice different commands. Real tests can be run both on emulators and on real devices, and tests should not crash because of this, so we will delete this test. The resulting AdbTest code will look like this:
package com.kaspersky.kaspresso.tutorial

import com.kaspersky.kaspresso.internal.exceptions.AdbServerException
import com.kaspersky.kaspresso.testcases.api.testcase.TestCase
import org.junit.Assert
import org.junit.Test

class AdbTest : TestCase() {

    @Test
    fun test() {
        val command = "undefined_command"
        try {
            adbServer.performAdb(command)
        } catch (e: AdbServerException) {
            Assert.assertTrue("unknown command $command" in e.message)
        }

        val packages = adbServer.performShell("pm list packages")
        Assert.assertTrue(device.targetContext.packageName in packages.first())

        val hostname = adbServer.performCmd("hostname")
        Assert.assertTrue(hostname.isNotEmpty())
    }
}
Summary
In this lesson, we learned what adb is, set up adb-server operation, learned how to execute various types of commands (cmd, adb, shell) in the console and in autotests, and also learned about the Device object, from which we can receive various information about the device and application we are testing.